
I always start with a moisture test. Lay down a rubber mat for 24 hours, and if it’s damp underneath, stop right there.
Once I’m sure it’s dry and fully cured (28 days minimum), I check if water beads or soaks in to know if I’m dealing with bare or sealed concrete.
Then I grab my sealer: water-based for easy cleanup, or solvent-based if I want that glossy showroom look.
Prep thoroughly by sweeping, degreasing, etching if water beads, rinsing, and drying another day.
Roll on two thin coats in a crosshatch pattern, perpendicular to each other, and wait for full cure before anyone steps foot on it.
Test for Moisture Before You Start
Where do we even begin with concrete? You’ve got to respect it, or it’ll humble you fast. Before applying sealant, run a moisture test on your concrete floor.
Concrete demands respect, or it’ll humble you fast—test for moisture before you seal.
Test #1: Lay down a rubber mat, wait 24 hours, lift it, and check for dampness underneath.
Test #2: Tape an 18″x18″ square of 3-mil plastic with duct tape, seal the edges tight, and check after a day.
If there’s moisture present, stop. Do not proceed without a dry surface. Check multiple spots because water tends to hide in corners. Call a professional if you’re unsure; this is the practical choice.
Confirm Concrete Is Fully Cured (28+ Days)
Once you’ve sorted the moisture situation (and hopefully didn’t find a swamp hiding under your rubber mat), it’s time to address curing time.
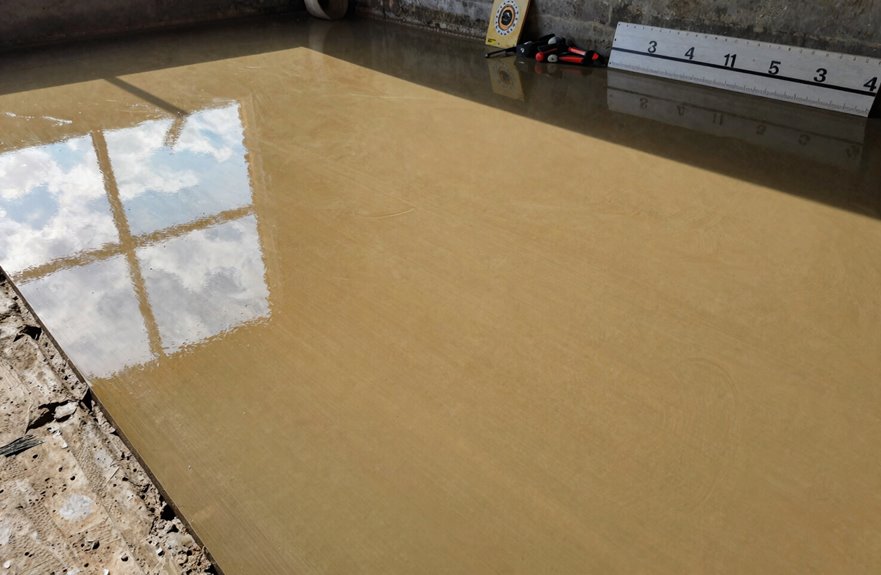
Concrete cure time isn’t just a suggestion. You need 28+ days minimum, check your manufacturer’s specs since some require longer. Rushing this step wastes money and materials.
Focus on these critical factors: dry conditions, since rain compromises the cure; temperature above 50°F during application and for 24 hours after; and proper sealer adhesion. Cold, damp concrete causes sealer to flake and peel. Meeting these conditions ensures the sealer bonds correctly and performs as intended.
Check If Your Floor Is Bare or Previously Sealed
| What You See | What It Means |
|---|---|
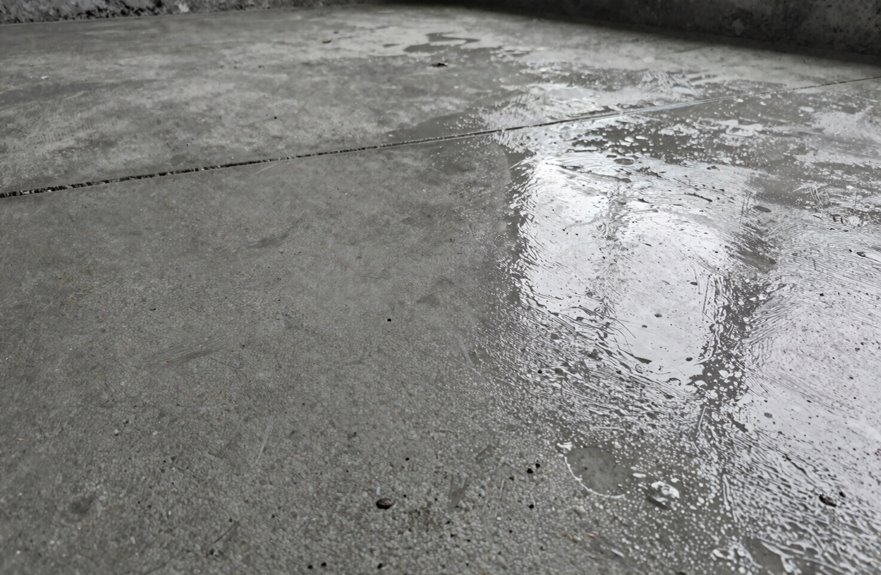
| Water beads up, sits pretty | Previously sealed, not bare concrete |
| Water soaks in fast (under 60 seconds) | Bare concrete, ready for action after surface cleaning |
| Beads in one spot, soaks in another | Moisture issues present; test more areas |
| You’re totally confused | Call a pro |
Test multiple spots since moisture distribution varies. If the water drop test produces unclear results, contact your painting contractor for assessment before proceeding.
Choose Between Water-Based and Solvent-Based Sealers
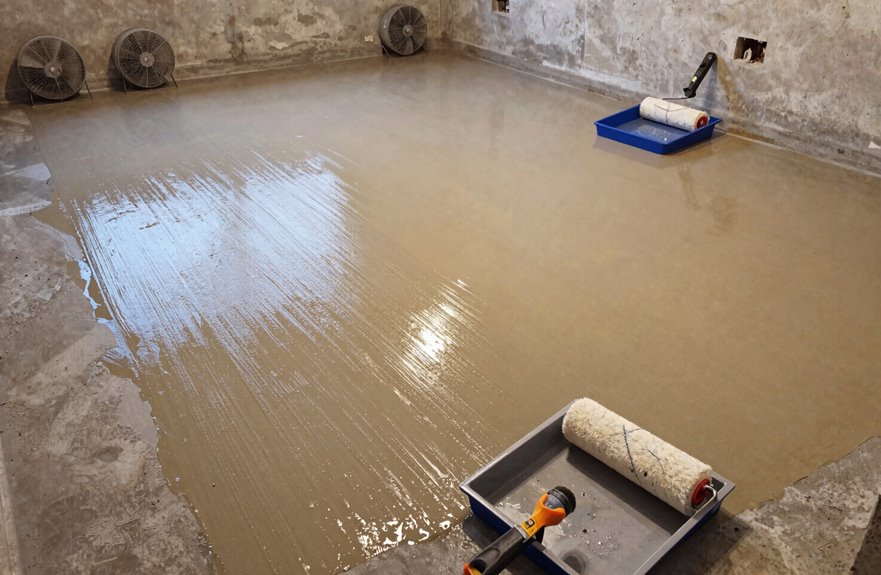
Water-based sealers keep things low-odor and eco-friendlier, which matters if you’re working in a basement with zero ventilation. The smell resembles wet paint rather than harsh chemicals. Solvent-based options typically pack more durability and deliver that glossy showroom finish seen in professional garage projects. However, you’ll encounter stronger fumes and a larger environmental footprint with solvent-based products.
Environmental Impact Comparison
Because I’m standing there in the hardware aisle, absolutely paralyzed by the sealer selection, choosing between water-based and solvent-based sealers isn’t just about how shiny you want your floor. (I once picked solvent-based for my basement studio and spent three days with every window cranked open while my cat glared at me from the driveway.) Water-based sealers emit dramatically fewer VOCs that make your eyes water and your conscience ache. Cleanup is simply soap and water rather than dealing with nasty chemical solvents that require special disposal.
What my experience taught me:
- Water-based wins for indoor sealing with minimal environmental impact
- Solvent-based demands hazmat-level disposal, including ruined garage clothes
- Water-based stays clearer on light concrete with no amber aging like 1970s Polaroid yellowing
Water-based sealers reduce indoor air pollution and eliminate the need for hazardous waste disposal protocols that solvent-based products require.
Application Odor Levels
The smell-test showdown reveals that water-based sealers produce significantly less odor than their solvent-based rivals. A garage sealed with solvent-based products can retain chemical odors for days.
Water-based sealer produces minimal odor, making it suitable for basements or living spaces. Solvent-based sealers generate strong odors that require serious ventilation and open windows, even in cold weather.
Before selecting a product, check the Safety Data Sheet (SDS). Some products labeled “low-odor” still produce noticeable chemical smell. If you’re sensitive to odors, water-based sealers are the better choice.
Application method affects odor distribution. Sprayers disperse odor faster than rollers. Drying time also influences how long odors persist in the space. Selecting the appropriate application method and product type will minimize odor exposure during and after application.
Durability and Lifespan
Odor matters, but you likely don’t want to repeat this process annually. You’re the type who completes projects correctly the first time.
What actually extends your seal’s lifespan:
- Pick your fighter – Water-based plays nice (low odor, easy cleanup), but solvent-based penetrates deeper for serious durability in high-traffic zones.
- Two-coat application is non-negotiable – Cross-hatch those coats perpendicular for maximum protection.
- Respect curing time – Full cure requires days, not hours, and that’s where real strength develops.
Your sealer choice (acrylic, siloxane, or similar) dictates everything. Some formulations last 20 years, while others need replacement within two years. Select based on your specific conditions and expected traffic patterns.
Prep, Etch, and Clean Bare Concrete Thoroughly
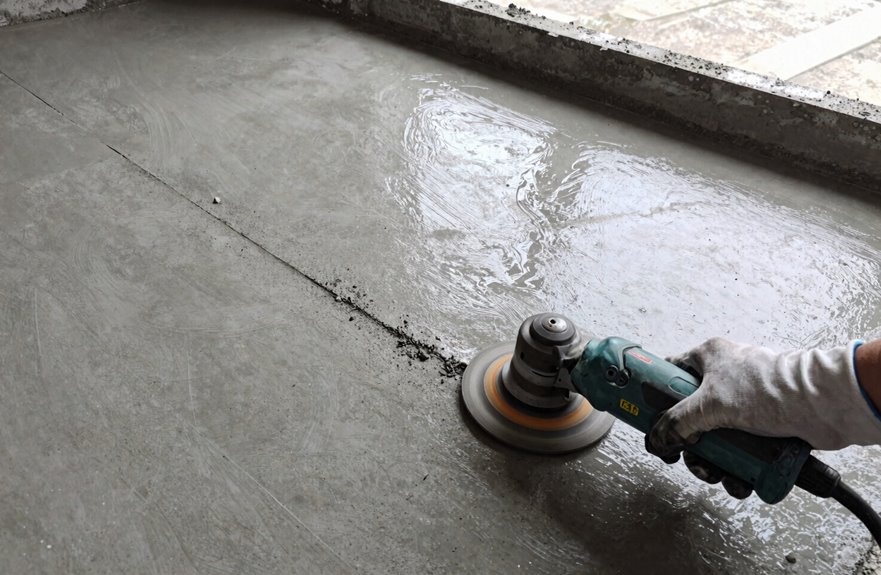
Before sealing, the concrete must be properly prepared and thoroughly cleaned.
Clear everything out, then sweep away all dirt, dust, and debris. Next, use concrete cleaner to scrub oily spots, making sure to degrease every surface. Rinse with a hose, then allow 24 hours of drying time before proceeding.
To determine if etching is needed, sprinkle water on the surface. If the water beads up, the concrete requires etching. Dry completely before sealing, as moisture will compromise the sealer’s adhesion and durability.
Roll On Two Thin Coats, Perpendicular to Each Other
I’m rolling on two thin coats of sealer, and technique is everything here. I use a roller for the open areas and a brush for those pesky edges, making sure my second coat runs perpendicular to the first, like a crosshatch pattern, so I don’t miss a single spot or leave weird streaks. That perpendicular direction prevents puddles and thick patches that’ll peel later, giving you a professional, hard-as-nails finish.
Coat Application Technique
Once the floor is prepped and your sealer is ready, it’s time for the main event. Technique is critical at this stage.
I grab my roller and apply the sealer using this approach:
- Cut in edges with a brush first (corners require careful attention)
- Roll on thin coats. Resist the urge to apply thick layers.
- Let that first sealer coat dry completely before applying the second coat.
My rolling technique uses smooth, even pressure with no puddling. This means balanced coverage without thick spots. Uneven thickness creates surface irregularities and reduces durability. I learned this on my garage floor through trial and error.
Patience is essential. Allow proper cure time between coats to achieve professional-looking results.
Perpendicular Direction Benefit
I roll the second coat perpendicular to the first. This simple move, shifting my roller ninety degrees, changes everything between perpendicular coats. I wait for that first layer to hit the manufacturer’s recoat time, then I attack from a new angle. No streaks, no sad thin spots, no “did I miss a section?” panic later.
Two thin coats beat one thick gloopy disaster every time. Puddling never happens. I grab my roll-and-brush application combo; roller for the wide open spaces, brush for those sneaky edges, and watch the even finish emerge like Bob Ross painting happy little concrete floors. This perpendicular dance balances film formation and adhesion beautifully. My sealed floor is built to last and gorgeous to behold.
Wait for Full Cure Before Foot Traffic
Though you’re eager to see that gorgeous sealed finish in action, you must resist the urge. Premature foot traffic causes permanent damage, such as sneaker prints.
Follow these steps:
- Check that drying time against the manufacturer instructions for accuracy.
- Block off the space completely, as premature foot traffic ruins the work you’ve completed.
- Test for tackiness with your fingertip in a back corner before declaring the job finished.
Temperature and humidity extend that cure window, so plan for dry, mild days. Full cure requires several days of patience. Plan accordingly.






