
I learned this the hard way after my drill went straight into a water pipe.
First, I measure my window and blind clearance, adding 4-6 inches per side, because fabric catching on slats will compromise the finished look.
Then I match bracket projection to my blind depth.
Cheap Amazon basics paired with chunky faux wood creates installation problems.
I mark height and width next.
Ceiling-skimming curtains require 2 inches below the ceiling, not flush installation.
I install with Kwik-Hang brackets, which work well for rental situations.
Finally, I hang, level, and train those panels until they pool like a magazine spread.
The bracket installation and panel training determine whether curtains hang properly over blinds.
Measure Your Window and Blind Clearance First
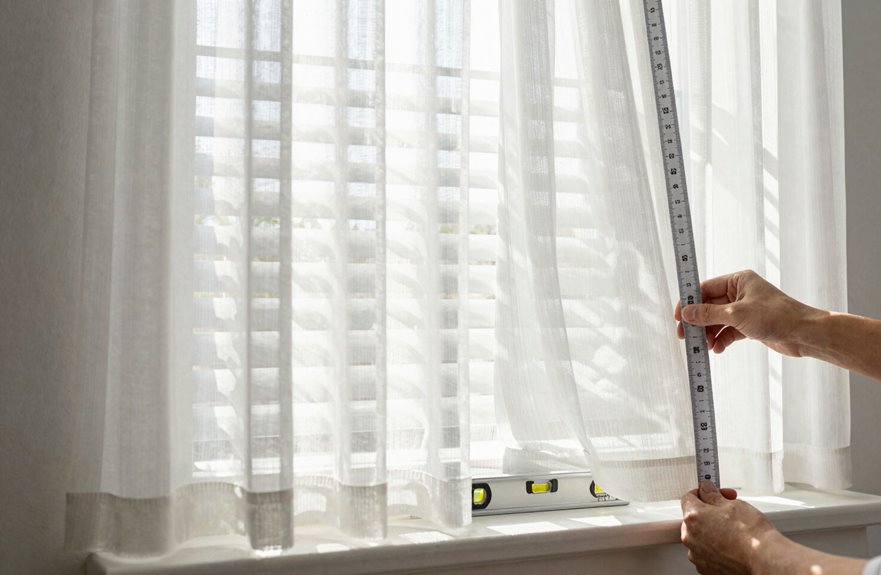
Why do so many curtain projects go sideways before the first bracket’s even mounted? Nobody grabs their tape measure first.
I learned this the hard way with my first over-blinds hang in 2019. Here’s my process: I measure my window frame, then add 4–6 inches per side for outside-mounted coverage. Next, I check how far my blinds stick out. If they’re 4 inches deep, I need that same rod extension or my fabric catches every slat.
For ceiling-height placement, I go 2 inches below the ceiling for visual impact, but only if I’ve confirmed clearance for my brackets above the blind stack. I always visualize the final fold against my measurement. That extra two minutes with a ruler prevents costly mistakes and reinstallation.
Match Your Rod and Brackets to Your Blind Type
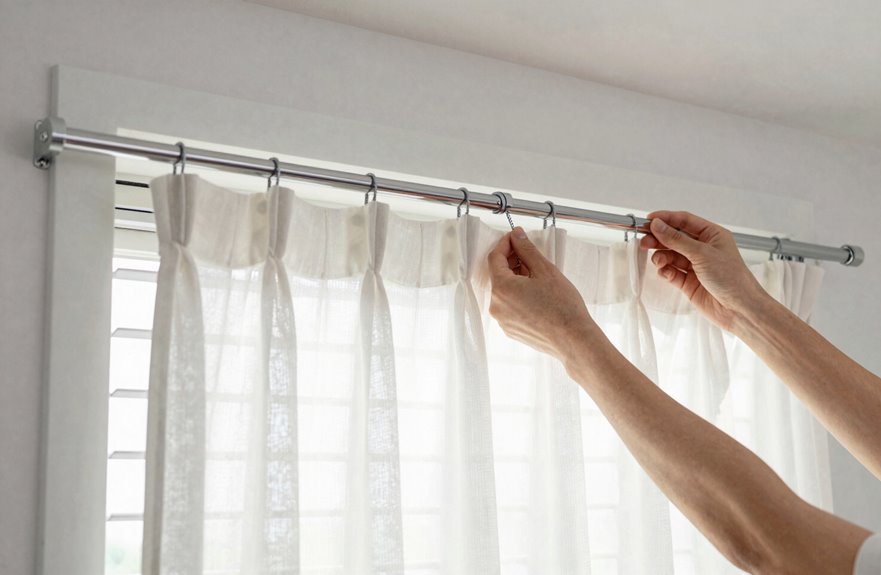
Once I’ve got my numbers locked down, I immediately start obsessing over hardware because the wrong bracket depth can torpedo everything I just measured.
The wrong bracket depth can torpedo everything I just measured.
My blinds stick out, so I need curtain rod brackets with serious projection; at least 4 inches is required, or my panels snag every time I open them. Exterior mounting above the frame is my go-to move because it balances the bulk and keeps lines crisp.
Here’s what I’m grabbing:
- Brackets that clear my blinds’ depth with room to spare
- A curtain rod length extending past my window width for full coverage
- No-drill options when I’m renting and my landlord’s already stressed
That clearance is essential. Without sufficient bracket projection, curtains will bunch or drag when opening and closing instead of operating smoothly.
Mark How High and Wide to Hang Curtains Over Blinds
Where exactly do I put this thing so it doesn’t look like I hung it blindfolded? (Spoiler: I’ve definitely done that before, and the photographic evidence haunts me.) After I’ve got my brackets picked out, I grab my tape measure and a pencil, my two most trusted frenemies, and start mapping the real estate above my window.
| What I’m Measuring | Why It Actually Matters |
|---|---|
| Height | Rod placement 4+ inches above the frame clears blinds, or ceiling-skimming for drama |
| Width | 6–15 inches past each edge so curtains fully cover blinds when drawn |
| Projection | 4+ inches from wall so fabric clears protruding heads |
| Final numbers | Confirms drill-free mounting options before committing |
I measure twice because nobody wants lopsided curtains. This precision ensures proper alignment and prevents the need for remounting or adjustments after installation, whether I’m drilling, sticking, or going completely drill-free.
Install With Drills, Adhesive, or No-Drill Brackets
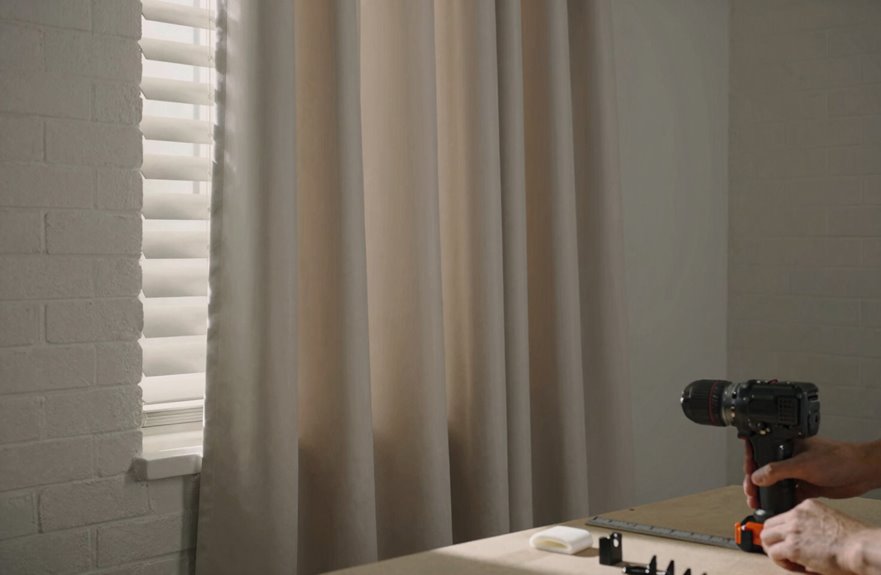
Grab your tools. This is where you install the curtain rod. There are three methods to choose from:
- Drilled brackets: Mount these 4–6 inches above the frame for taller, fuller drapes. This standard approach works every time for clearing blinds.
- Adhesive hooks: Use weight-rated ones (5–10 pounds total), mark carefully, and stick with lightweight panels. This method requires precision during application.
- Kwik-Hang no-drill brackets: Hammer these onto the casing, thread your rod through, and install without drilling. Use this option when blinds protrude badly.
For rod projection, aim for 4 or more inches out. Extend 6–15 inches past each side for polished light control and a finished appearance.
Hang, Level, and Train Your Curtains
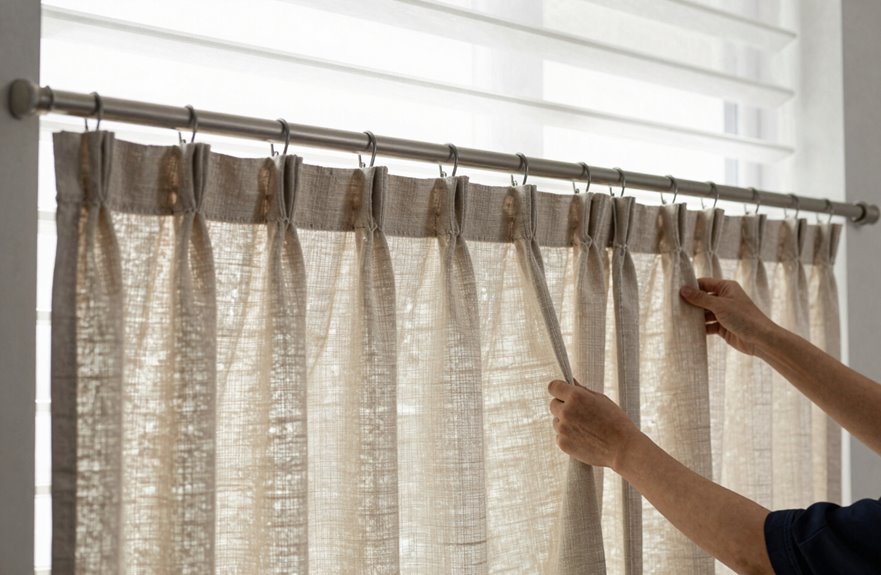
Getting those curtains up requires proper planning. I grab my level and mark where the brackets go. Hang the rod about 2 inches below the ceiling, extending it 6-15 inches past the window frame. That projection prevents the curtains from snagging on blinds. My blinds stick out roughly 4 inches, so I need enough clearance. If your blinds are extra chunky, use a longer projection rod. This became apparent during my first apartment.
Once I’ve drilled into studs or used anchors, drywall requires proper support, I secure everything and step back. The finishing touch involves training the curtains by arranging the folds so they fall just right. This creates layered perfection over those blinds.






