
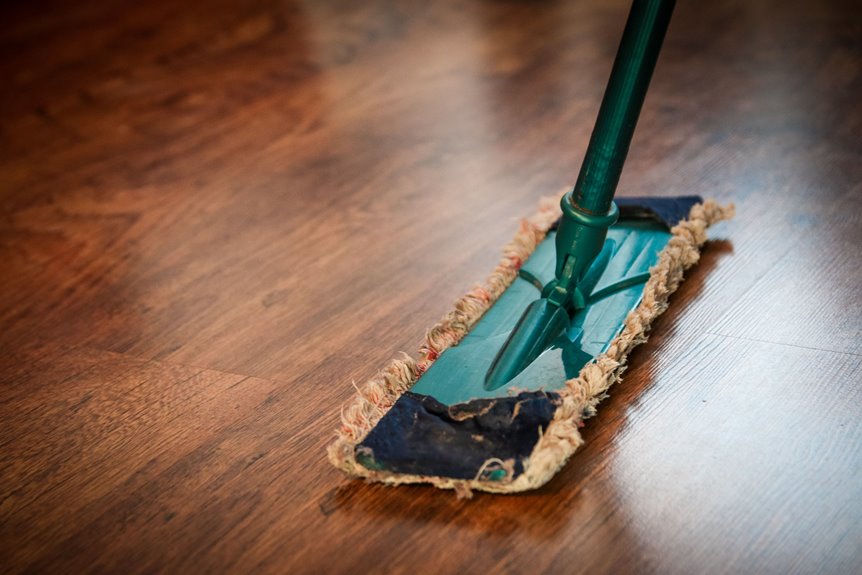
I mix one cup of white vinegar into a gallon of warm water, about the temperature of a cozy bath, and grab my trusty microfiber mop with the blue handle that’s seen better days. I sweep first, because pushing crumbs around with a wet mop is basically creating floor soup, and nobody wants that. The vinegar cuts through grime like magic, leaves no streaks on my laminate, and costs less than that fancy “artisanal” cleaner my sister swears by. I work in long strokes, rinse my mop often, and crack a window because the smell is assertive. The shine afterward makes the temporary vinegar smell worthwhile. I’ve been doing this every other week for years, and the method has proven effective over time.
Floors That Can’t Handle Vinegar (Check This First)
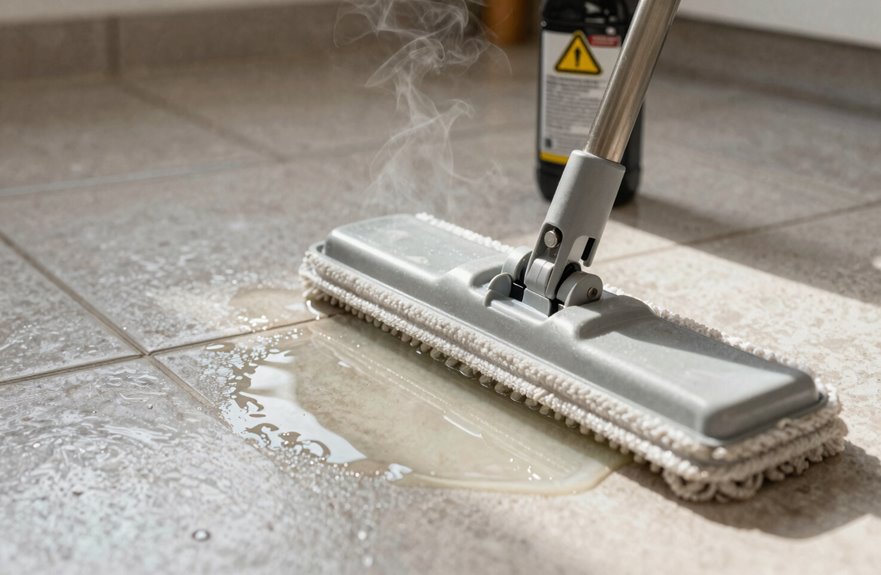
Hold up. Before you grab that jug of vinegar and start sloshing it around like you’re auditioning for a cleaning commercial, you need to know that vinegar safety isn’t just a suggestion. It can damage your floors.
I’ve watched natural stone weep, hardwood seams swell like bad breakups, and marble floors etch into cloudy regret. Terrazzo and limestone will dull quickly. Even grout can crumble under vinegar’s acidic effects if you’re too generous.
Always test a hidden corner first, behind the toilet usually. Read the manufacturer guidelines before applying vinegar to any floor. Your floors deserve care beyond a “spray and pray” approach. Knowing when vinegar isn’t appropriate protects your investment.
White Vinegar or Apple Cider: Which to Use?
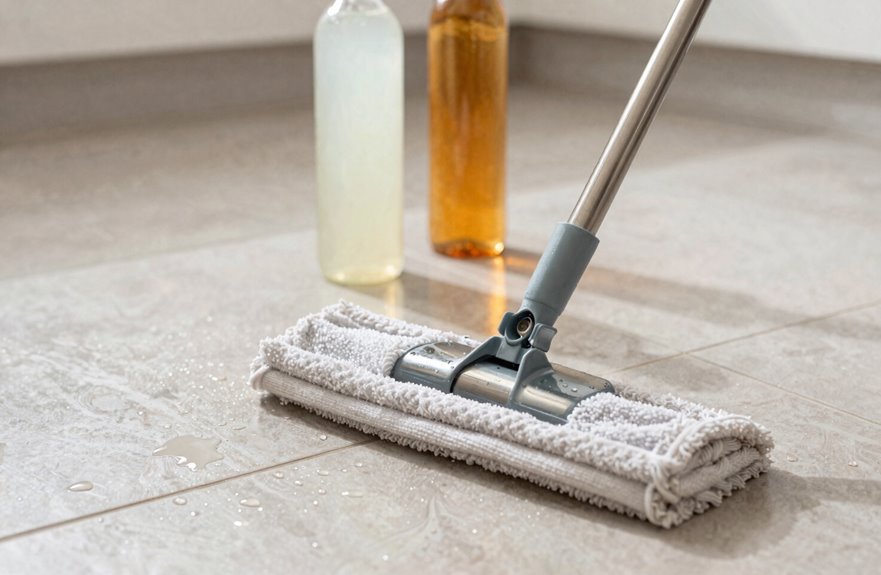
Most cleaning enthusiasts reach straight for that big jug of white vinegar. White vinegar is highly effective for mopping; it’s the workhorse of floor cleaning.
Apple cider vinegar smells like a cozy autumn morning, but white vinegar delivers superior shine and strong antibacterial properties.
The vinegar scent can be managed by lighting a candle, opening a window, and adding a few drops of orange essential oil.
White vinegar is typically diluted with water, sometimes with additional ingredients for tougher messes. It removes mineral deposits effectively, remains non-toxic, and leaves floors gleaming.
Your Vinegar Mopping Supply List
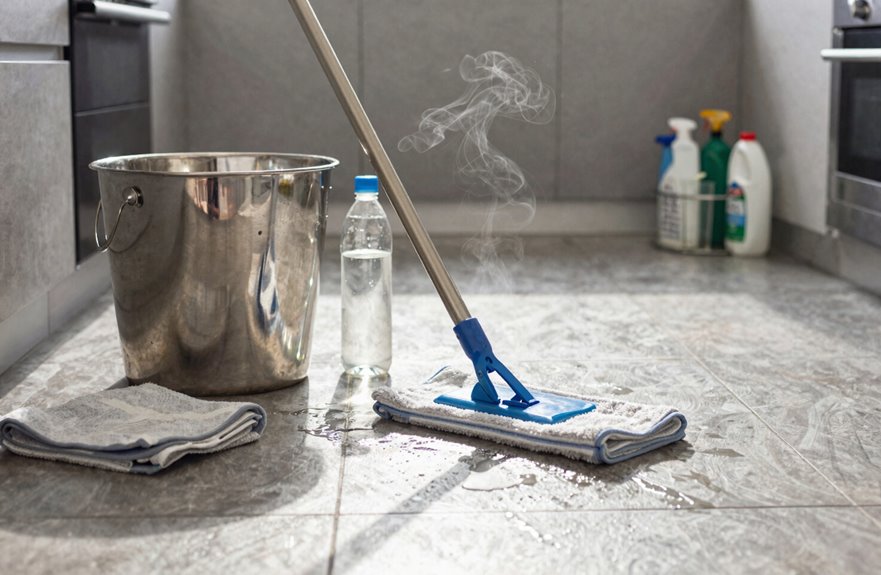
Before we start mopping with vinegar, gather the necessary supplies. You’ll need a sturdy bucket, a durable mop, warm water, and white vinegar. Also gather baking soda, a soft brush for cleaning grout, and a towel to prevent slipping hazards.
Essential Mopping Tools
The right tools make all the difference between a floor that sparkles and one that looks neglected. Gathering everything beforehand prevents you from stopping mid-mop.
Here’s what works when mopping floors:
| Tool | Why I Can’t Skip It |
|---|---|
| Microfiber mop | Traps dirt without scratching my vintage oak |
| Two buckets | One for solution, one for rinsing. This approach is essential. |
| Soft-bristle brush | Attacks stubborn coffee stains effectively |
I also grab rubber gloves to protect my hands, a clean towel for drying, and sometimes a spray bottle for spot treatments. Having these ready makes cleaning more efficient and manageable.
Vinegar Mixture Ingredients
With my mop and buckets lined up like eager soldiers, I’m ready to tackle the real star of this cleaning show: the vinegar mixture itself. (I once tried mopping with straight vinegar and nearly pickled my own nostrils, so proportions matter.) White vinegar, baking soda, and warm water form my holy trinity here. I get a little giddy watching that fizzy science-fair reaction when I dissolve a cup of baking soda into about a liter of water first, then pour in my cup of vinegar.
For my tile floors, I dial it back to a 1:10 vinegar-to-water ratio; think one-tenth gallon vinegar per gallon water. Too strong and you’re skating on a slick of regret. Sometimes I’ll add orange essential oil because nobody wants their kitchen smelling like a fish-and-chip shop. These vinegar mixture ingredients transform your ordinary Tuesday mopping into something almost magical.
Prep Floors in 10 Minutes: Sweep, Vacuum, Clear
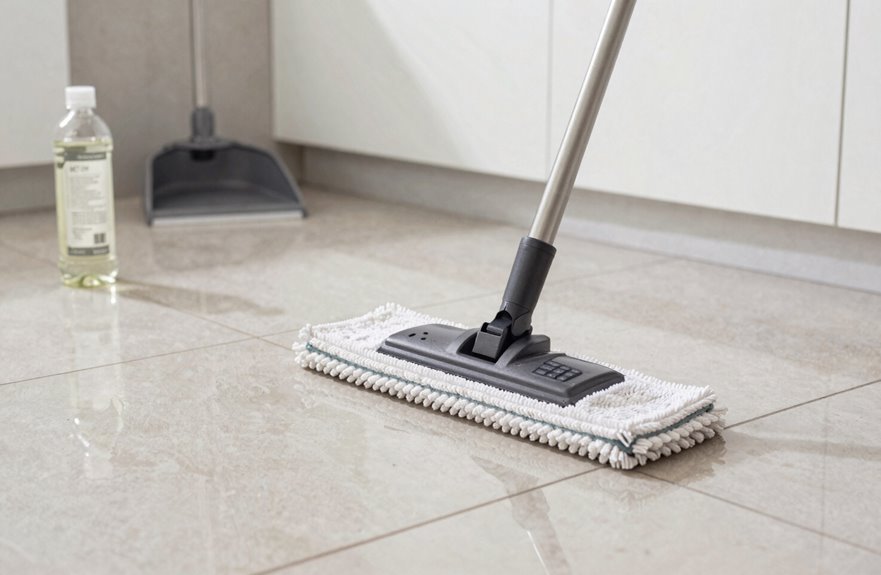
I start every mopping session by shoving chairs onto the rug (sorry, not sorry, dining room) and hunting down rogue Legos like it’s an Olympic sport because nothing kills vinegar’s cleaning buzz like a mid-swipe collision with a toy truck. Then I grab my Shark vacuum, the one with the crevice tool that actually reaches baseboards. I chase dust bunnies from corners with the determination of someone who’s definitely skipped this step before and paid the price. Once I’ve cleared every obstacle and my floors are actually visible, I’m ready to mix that warm water and vinegar solution. Ten minutes of prep saves twenty minutes of frustration later.
Clear the Area
A good vinegar mop starts with a clear runway, and I’ll get your floors prepped in ten minutes flat.
First, I vacuum the floors, including that weird spot behind the toilet that’s easy to ignore. Then I shove furniture aside like I’m staging a dance floor: chairs, trash cans, that rogue laundry basket. Here’s my chaos-to-clean system:
- Grab a buddy or bribe a kid to lift heavy pieces
- Stack chairs on tables, café-style
- Corral cords and rugs into another room entirely
- Mix your vinegar solution now, while you’re motivated
I always forget something. Last week it was my dog’s Kong toy under the couch, so do a quick scan. Open space means even cleaner floors with no weird vinegar lines where your ottoman sat. I’ve learned this the hard way.
Remove Surface Debris
I switch to the soft-bristle attachment for corners and grout lines, because pushing debris deeper wastes time and effort. Under tables, along baseboards, and in those sneaky edges where hair and mystery flakes congregate, nothing escapes. I spot-check for sticky residues like last week’s juice splash and give them a quick pre-treat. A clean surface makes mopping more effective.
Ensure Full Access
The real magic starts when you can actually reach the floor you’re trying to clean. Move that coffee table, scoot the dog bed, and yes, even that pile of magazines you’ve been meaning to read since 2019.
Here’s how I prep like a pro:
- Slide furniture aside (even inches help) so my mop hits every inch
- Sweep or vacuum thoroughly. Dust bunnies are not invited to my vinegar party
- Clear corners and edges where grime loves to hide
- Mix my solution early: one cup baking soda plus one cup white vinegar per liter of warm water
I always crack a window too. Ventilation is essential when vinegar is doing its thing. This ten-minute prep makes a measurable difference in cleaning effectiveness.
Vinegar-to-Water Ratios for Every Floor Type
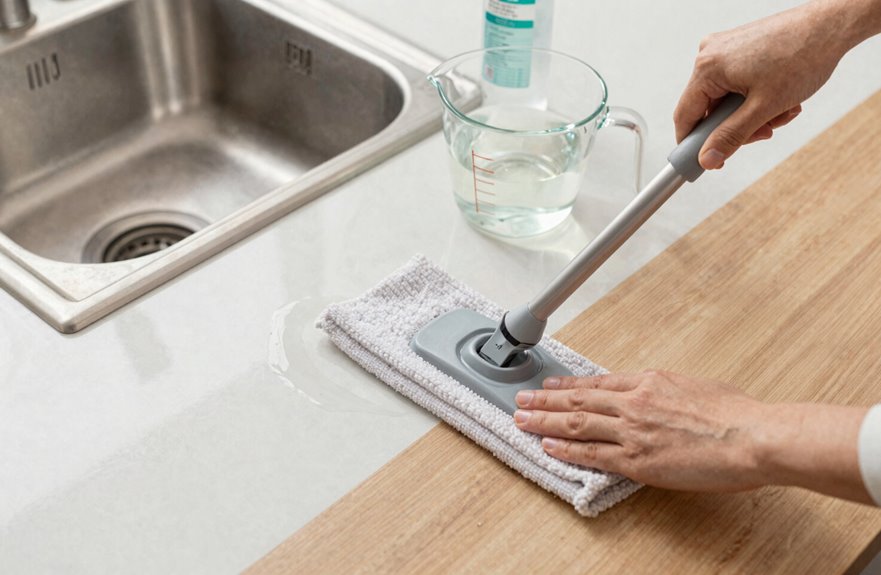
Because I’ve definitely flooded my bathroom floor with straight vinegar once, I learned that lesson the hard way. Here are ratios that actually work.
For most floors, a 1:10 vinegar and water ratio works well; that’s one cup vinegar to ten cups water, warm but not scalding. Tile floors should be cleaned at 104°F (40°C) to effectively remove grime. Some people use full-strength vinegar from the jug, then rinse with plain water after, but that’s unnecessary for daily cleaning.
The key is to dampen your mop rather than drench it. Soaking ruins finishes faster than my cat destroys houseplants. If you’re concerned about the vinegar smell, add a few drops of orange essential oil. This improves both the scent and the cleaning results.
Mop With Vinegar: The Complete Step-by-Step
I’ll walk you through every single step, from grabbing your supplies (a measuring cup, a sturdy mop, and that jug of white vinegar you’ve probably had since 2019) to mixing the fizzy baking soda-vinegar solution that looks like a middle school science project, and finally the actual mopping with those satisfying long strokes followed by a quick rinse. The process is straightforward enough that anyone can execute it successfully.
Gather Your Supplies
Before you start mopping, gather your gear. Running out of vinegar mid-clean will derail your progress.
Here’s what you need:
- A sturdy bucket (the workhorse of any good clean)
- White vinegar and baking soda for that satisfying fizz
- A trusty mop and soft-bristled brush for pre-cleaning stubborn spots
- Clean towels for that final buffing shine
Having your supplies organized prevents unnecessary store runs and keeps your cleaning process on track.
Mix Your Solution
Why does the perfect vinegar solution feel like such a science experiment every single time? I’ve learned the hard way, and I’m here to save you the mess.
I fill my bucket with warm water up to 40°C, which feels pleasantly hot to my touch but won’t scald. My ratio is one cup of vinegar per gallon of water. No guessing, no eyeballing like I’m some mad scientist, though I definitely used to.
Now, if you’re adding baking soda for extra cleaning power, dissolve it separately first. I made this rookie mistake once and watched my kitchen bubble like a volcano project. That was not ideal.
Once everything’s calm, mix thoroughly. Your vinegar cleaning solution should look clear and smell tangy but not overwhelming. Your floor is ready to be cleaned.
Mop and Rinse
How exactly do you turn that bucket of vinegar water into gleaming floors without leaving your kitchen smelling like a pickle factory? Let’s make this happen together.
Here’s my foolproof routine that actually works:
- Vacuum first. Skipping this means pushing crumbs around like a sad snowplow.
- Grab your 1:10 vinegar solution with warm water, not hot enough to steam your eyebrows, and fill your trusty O-Cedar bucket.
- Mop with long, consistent strokes, keeping that mop just damp. You’re cleaning, not swimming.
- Rinse frequently, then follow with clean warm water to banish any lingering vinegar.
Open those windows, maybe blast a fan, and watch your floors dry naturally. The vinegar smell dissipates as moisture evaporates, leaving you with clean floors.
Do You Need to Rinse After Vinegar Mopping?
So here’s the million-dollar question we all wonder about at 9 PM on a Tuesday: do you actually need to rinse after vinegar mopping, or can you just collapse on the couch and call it done?
I’ve tested both approaches, usually while half-watching The Great British Bake Off. Rinsing helps sweep away that lingering vinegar residue and whatever dirt you’ve just loosened, which means no dull streaks mocking you in the morning light. Many people do a quick pass with plain warm water afterward, and it genuinely makes floors sparkle like those Pinterest photos we all save but never recreate.
That said, if your floor dries clean without any slippery film, you can skip the rinsing step. Just check your work to confirm.
Stubborn Stains? Add Baking Soda
The real magic happens when I bring out the baking soda. For those stubborn spots, this combo saves the day.
Here’s my battle plan:
- I spray baking soda and vinegar directly on the stain, watching that satisfying fizz erupt like a tiny science fair volcano.
- I grab my stiff-bristled brush and attack the grout lines, because that’s where dirt loves to hide.
- I let the foam work its magic briefly, then scrub and rinse with clean water to remove grime.
- I mop up excess moisture and let everything air-dry, preventing water spots.
For persistent mineral deposits, I’ll reapply the baking soda treatment. Most stubborn spots require multiple applications to fully dissolve.
Kill the Vinegar Smell: 3 Methods That Work
Why does my kitchen smell like a pickle factory exploded every time I clean? I’ve found three effective ways to banish that vinegar smell.
First, I drop orange essential oil into my mop bucket, just a few drops, and suddenly I’m mopping through a citrus grove instead of a deli counter. Second, I fling open every window and crank my Vornado fan; that cross-breeze whisks the vinegar smell away before it settles into my couch cushions. Third, I light my favorite Capri Blue Volcano candle post-mop, because masking beats lingering every time.
I always dilute properly too. Straight vinegar gets a quick rinse and dry. Your nose and your dinner guests will appreciate the difference.
Why Vinegar Works for Floor Cleaning
A jug of white vinegar sits under my sink like a clandestine tool I almost forgot I owned. Vinegar is a powerhouse cleaner with several advantages:
- It’s non-toxic (my dog can lick the floor without drama)
- Antibacterial properties kill germs without harsh chemicals
- Dissolves lime scale and mineral deposits effectively
- Leaves floors shiny without that chemical film
White vinegar works best for floor cleaning. Apple cider vinegar smells nicer, but white vinegar delivers superior cleaning results. Some folks dilute it, others use it straight from the jug. Pure vinegar cuts through grime faster and more effectively. Add orange essential oil if you prefer a scented option.
5 Vinegar Mopping Mistakes That Damage Floors
First mistake? Going full-strength. I dilute 1:10 now after watching my engineered oak go cloudy. Second, skipping the rinse. That sticky film attracts dirt like my cat to sunbeams. Third, soaking floors. Puddles warp wood faster than you can say “oops.” Fourth, mixing with bleach, which produces toxic gas. Fifth, attacking natural stone undiluted. I’ve made these vinegar and cleaning mistakes so you can avoid them.
Your Weekly Vinegar Mopping Schedule
How often do you actually look at your floors without wincing? I’ve been there, friend. I swear by my weekly vinegar ritual because it keeps my sanity and my grout intact.
Here’s my foolproof routine that actually works:
- Vacuum first, always. I learned the hard way that pushing crumbs around with vinegar water creates paste. No thanks.
- Mix one cup white vinegar per liter of warm water (about 104°F, I use my kettle’s temp setting). Damp mop, don’t soak.
- Attack stubborn spots with baking soda and vinegar paste, scrubbing gently with a soft brush before the main event.
- Air-dry with windows open. I add orange oil drops when I’m feeling fancy, and occasionally rinse with plain water to prevent residue buildup.
Join me in this sparkling-floor club.
How Often Is Too Often for Vinegar Mops?
My weekly ritual works wonders, but I’ve definitely gotten overzealous and paid the price. I once vinegar-mopped my grandmother’s oak floors three times in five days, resulting in noticeable dullness. Vinegar mopping frequency isn’t one-size-fits-all. I stick to every 1–2 weeks in bedrooms, but hit kitchens and entryways, where my muddy-pawed dog reigns, more often. I always test hidden corners first, especially on delicate finishes like my friend Sarah’s engineered hardwood. I pair vinegar sessions with daily Swiffer dusting using microfiber cloths, so I’m not overdoing the acidic stuff. When my floors lost their shine last spring, I diluted more, rinsed better, and dried faster. The results restored the reflective quality I wanted.






