
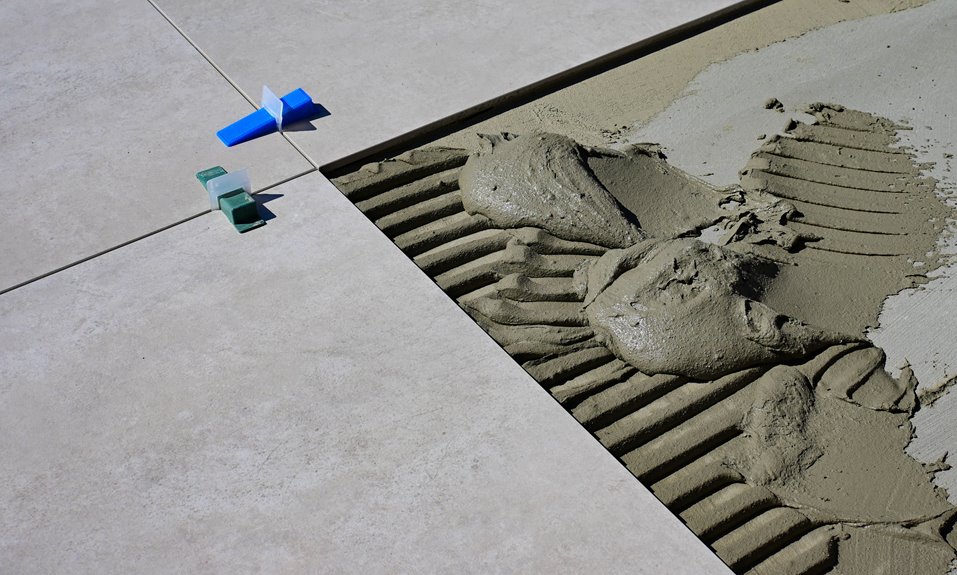
I’ve torn out enough tile floors to know this job lives or dies by your prep. First, grab an SDS hammer with a tile chisel bit; those tiles will shatter like cheap pottery (wear goggles, I learned the hard way). Seal the room floor-to-ceiling with plastic; silica dust will find every vent otherwise. Work in sections from the walls inward, pry up fragments, then attack stubborn thinset with a diamond grinder. Chip epoxy mountains down first, then grind smooth. You’re aiming for flatness within 1/8 inch over ten feet. Schluter Ditra won’t forgive less. The real secrets are a HEPA vacuum running constantly and checking twice with a straightedge before you even think about new tile. Proper surface preparation and equipment selection directly determine whether demolition stays on schedule and within budget.
Tools That Actually Work: From SDS Hammers to Diamond Grinders
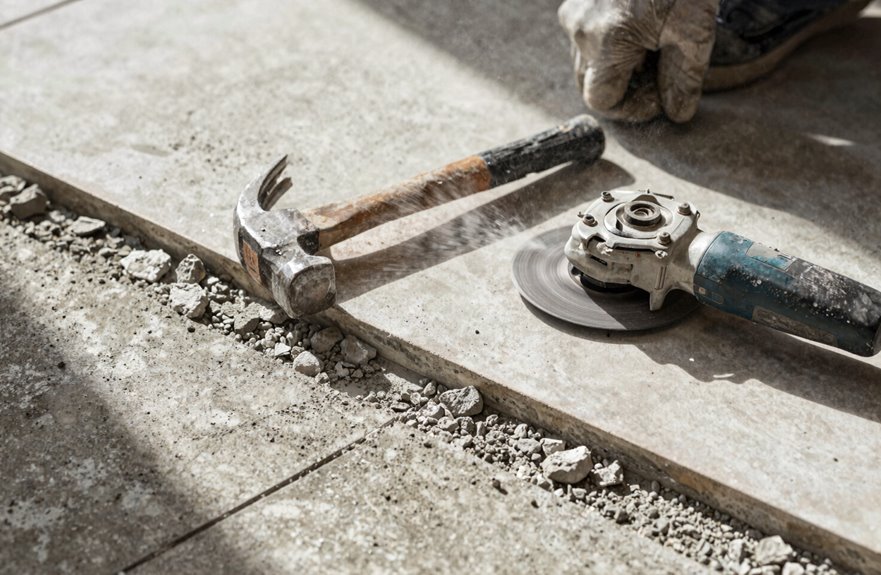
Why does tile removal feel like such a mystery until you’re knee-deep in broken ceramic and regret? I’ve been there, and I’m here to save you from my mistakes.
Start with an SDS hammer. That rotary action with a tile chisel bit transforms hours of tapping into minutes of satisfying demolition. The tiles will fly.
Once you’ve shattered everything, grab a floor scraper for stubborn fragments. Thinset removal demands a diamond grinder. That electric beast with a diamond cup wheel chews through adhesive like nothing else, leaving smooth concrete behind.
Expect concrete floor debris everywhere, seriously everywhere. Plan two days minimum. I made three rental runs before getting it right, and you won’t need to repeat that mistake.
Contain Concrete Dust Before It Spreads Through Your House
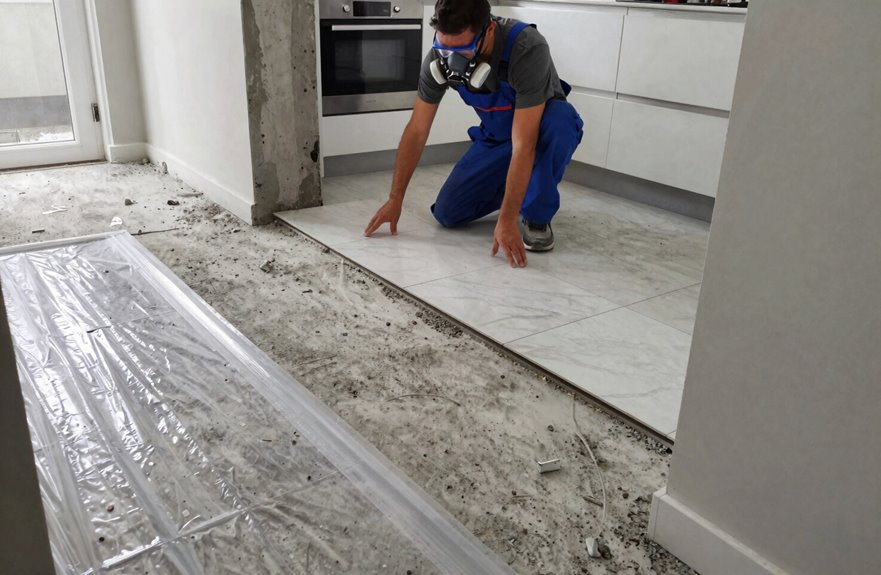
How exactly does concrete dust find its way into your toothbrush drawer three rooms away? I learned that lesson the hard way (don’t ask about the coffee filters).
Real professionals handle dust containment by following specific protocols to protect their equipment and health. First, seal off your workspace with plastic sheeting and painter’s tape, creating a barrier with floor-to-ceiling coverage and no gaps.
Then put on a respirator, since concrete dust contains silica that shouldn’t be inhaled. Rent a proper dust extractor and vacuum constantly as you work. A HEPA vacuum will remove silica particles before they settle into hard-to-reach areas throughout your home.
This approach protects your HVAC filters from clogging and prevents fine particles from contaminating other rooms in your house.
Break, Pry, and Lift: Remove Tile in Controlled Sections
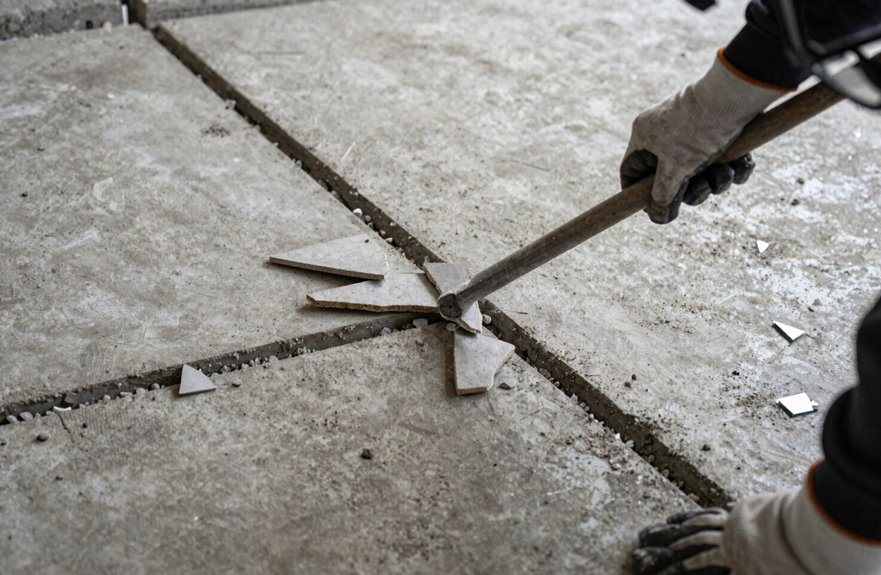
Attack the tile like you’re peeling an orange—find that first edge and everything gets easier. Start near a fixture or wall where the tile’s already vulnerable. Grab your hammer and chisel, or better yet, a pry bar for leverage, and work in controlled sections. Avoid excessive force, as it cracks surrounding areas you’re trying to save.
For stubborn spots, an SDS hammer reduces fatigue, but watch the pressure, as gouging happens quickly. Break center tiles with a sharp chisel first, then scrape the fragments clean. Debris removal requires sweeping and vacuuming between sections to prevent ceramic dust buildup and tool damage.
Chip First, Then Grind: The Two-Stage Thinset Removal Process
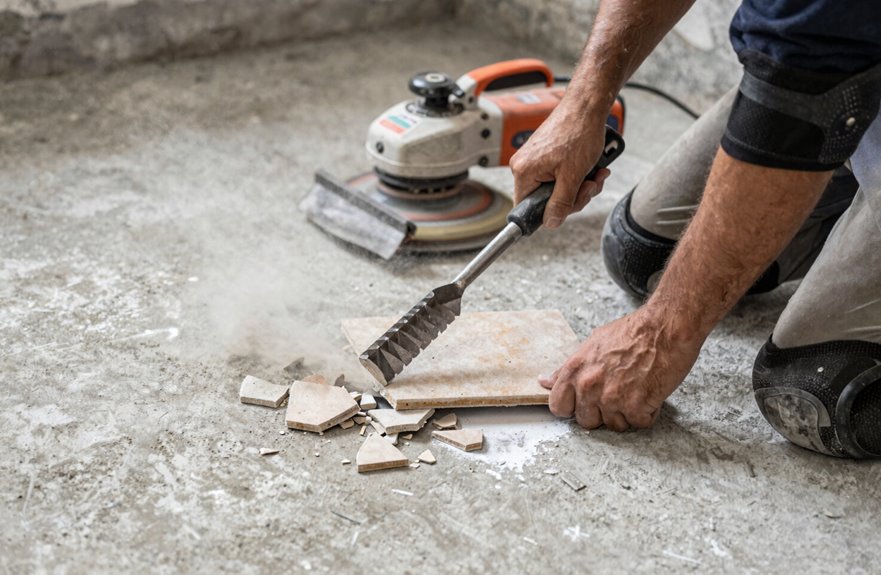
Once you’ve peeled up that last stubborn tile, you’re staring at what looks like a Jackson Pollock painting gone wrong; splotches of thinset everywhere, and not the artistic kind.
Now we’ve reached the brutal heart of tile removal. Grab your hammer and chisel (I love my trusty Bosch, but any will do) and chip those mortar mountains down to hills first. Skip this step and you’ll grind forever.
For stubborn epoxy spots, hit them with epoxy remover; it’s worth every penny. Then comes the grinding phase. Fire up that grinder with a diamond cup and watch those high spots disappear. The dust is significant (seriously, seal that room), and you’re achieving pro-level subfloor prep.
A smooth concrete surface awaits you.
How Flat Is Flat Enough? Surface Standards for Ditra or New Tile
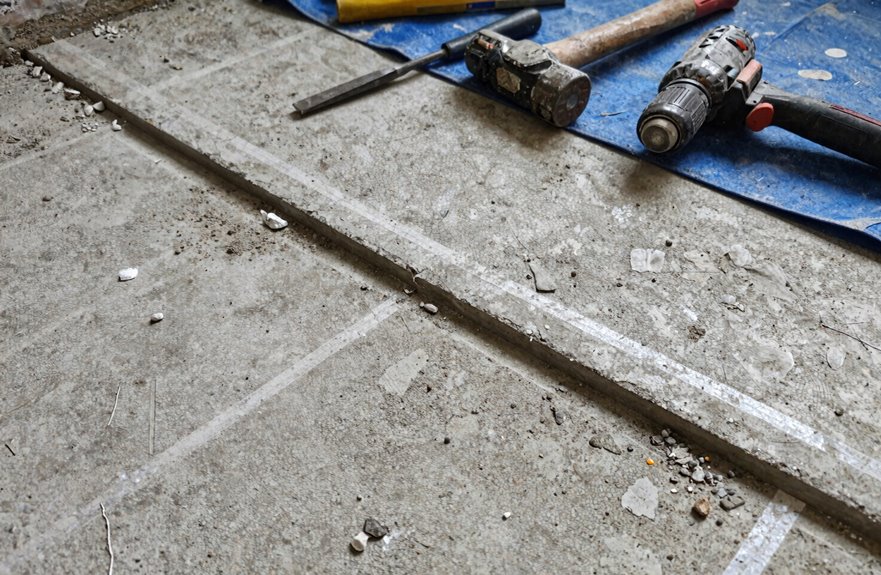
So I used to drive myself absolutely nuts: I’d grind for hours, think I’d nailed it, slap down my Ditra, and discover a hump that could double as a speed bump.
Your concrete floor needs to be within 1/8 inch over 10 feet. No exceptions. After you remove tile and finish grinding, grab a straightedge and check every direction. Those sneaky 3/16-inch ridges will telegraph through everything.
I run a diamond cup grinder across my 50-square-foot zones, then hit low spots with self-leveler. Pour it like pancake batter, not soup. Verify twice, install Ditra once. Your floor will stay crack-free for decades when the substrate is properly flat.






