
I’ve swapped more bedroom doors than I care to admit. My first attempt involved a very angry landlord and a door that swung straight into the closet. It’s significantly easier than it looks.
You’ll pop off the old door without wrecking the frame, measure twice so you’re not making midnight Home Depot runs, trim the bottom for clearance, cut crisp hinge mortises with a router jig, then install the hardware with a satisfying click-shut. Grab your circular saw and chisel set. In two hours without contractors, you’ll have successfully installed your new bedroom door.
Remove Your Old Door Without Damaging the Frame
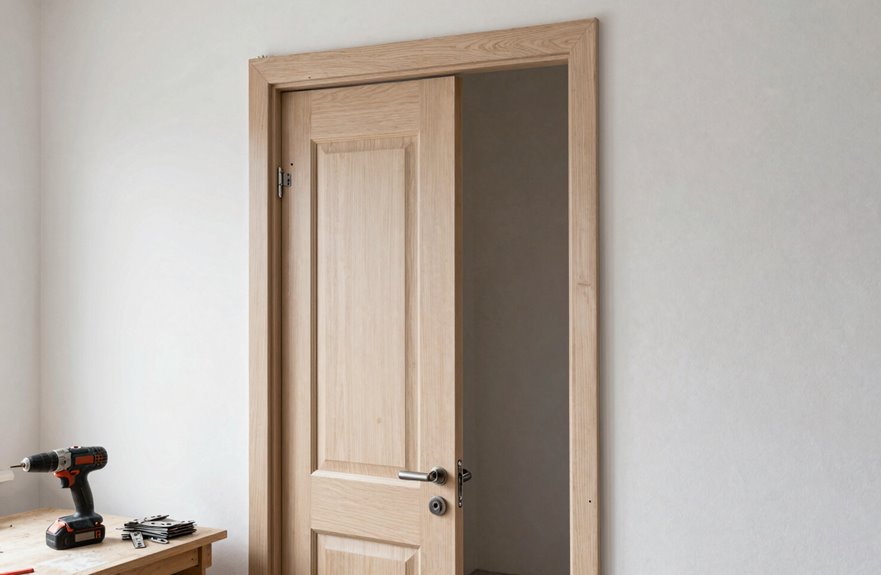
Why start with the messy part first? Because removing hardware before installation prevents damage to the frame and makes the job easier.
I grab my hammer and nail setter and pop those hinge pins free. The old door detaches from the frame smoothly. I remove the screws next, keeping the hinges for reuse, then carefully peel them off the door edge.
Don’t forget that doorknob. I unscrew it now, setting it aside for potential reuse. I sweep away every scrap of old hardware and clear debris thoroughly. This clean slate makes the actual installation later proceed smoothly. Your door frame stays pristine, your sanity intact, and you’re ready for installation.
Measure the Opening and Mark for Cuts
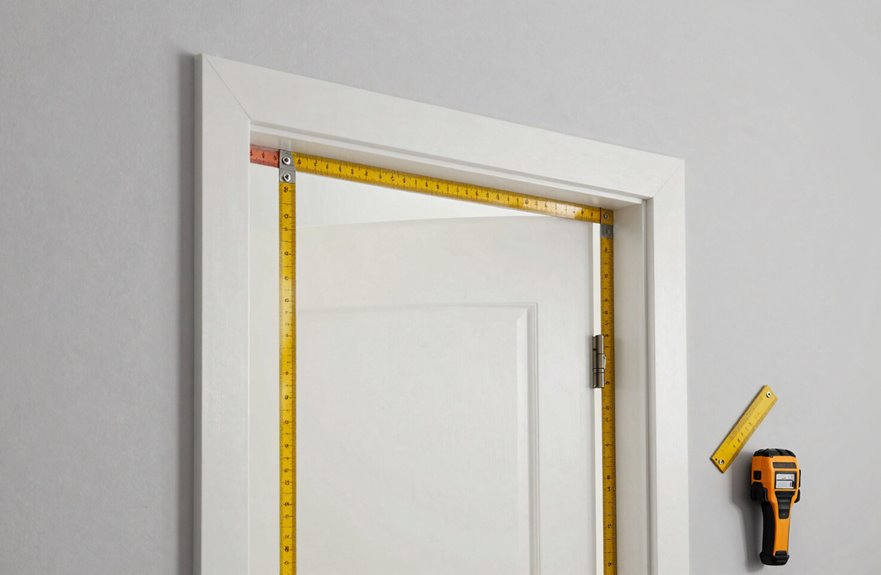
How do you avoid the nightmare of a door that won’t close? Getting your measurements absolutely right is the first step.
Check the rough opening clearance, making sure it’s at least 1 inch wider and ½ inch higher than your pre-hung unit. (A 1920s Craftsman frame taught me this lesson through hours of difficult installation.) Use your old door as a template, just like tracing your favorite jeans.
Mark these elements before cutting anything:
- Hinge locations — align top and bottom hinges with the frame, just like the original
- Doorknob/latch alignment — trace hardware positions so everything matches perfectly
- Door length cut — allow ¼–½ inch bottom clearance for carpet or hardwood
Use a hinge template to mark precise hinge mortises. Flush hinges ensure smooth swinging doors that operate correctly.
Trim the Door to Fit Your Frame
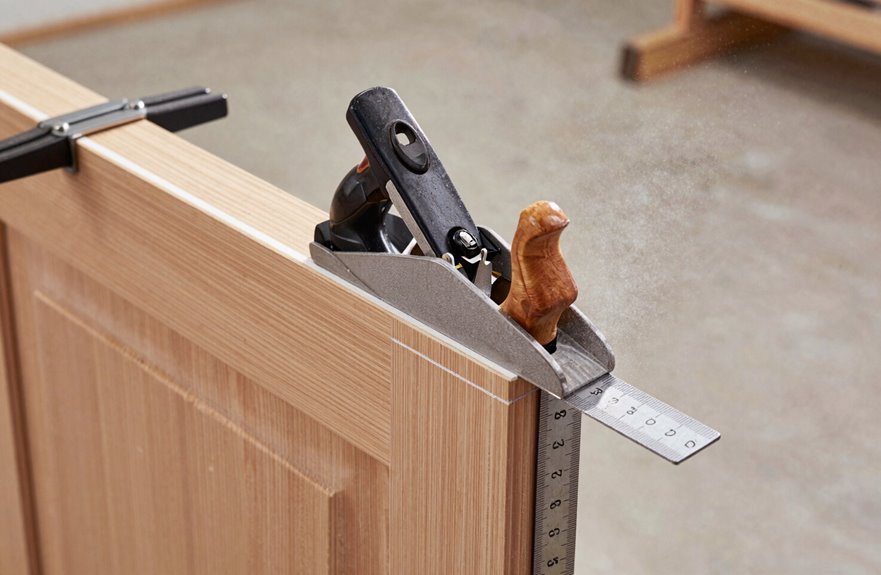
That moment when you realize your beautiful new door is a quarter-inch too proud of the jamb? I’ve been there, sweating and muttering about skipping the measuring step. Here’s how to fix this.
First, grab your tape and confirm that your rough opening sits at least one inch wider and half an inch higher than your pre-hung unit. This gives you adequate clearance for installation.
Now, trim the door bottom for floor clearance, using a quarter to half-inch reduction. Use a circular saw with a straight edge guiding your cut. Need width reduction? That’s where milling comes in. Work the hinge side with a hand plane, keeping that freshly trimmed edge against the hinges for proper fitting. Shift trimmed sections to the hinge side always.
Test your fitting before moving forward. The door should swing freely without binding.
Cut Hinge Notches and Hang It Level
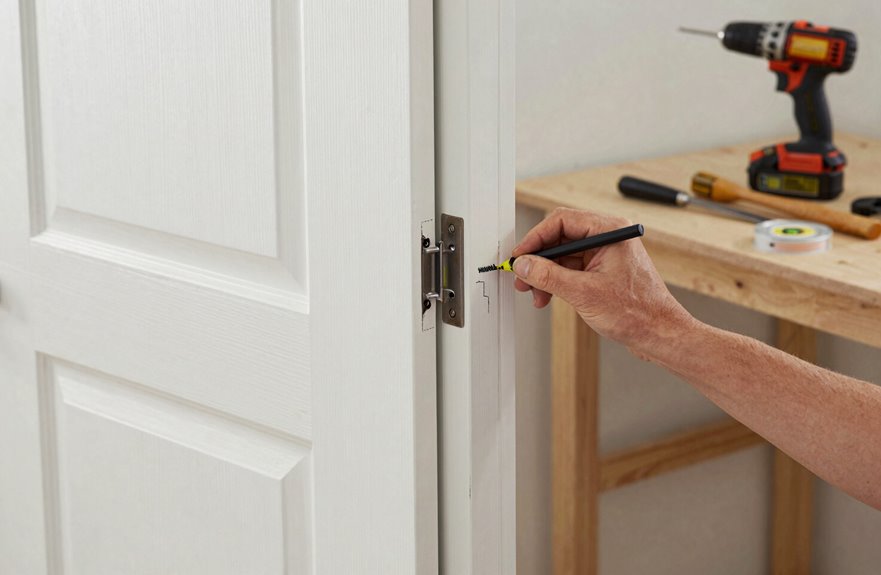
Where do you even start when your pristine door slab is staring back at you, hinge-less and full of possibility? Standing in my garage with a cold beer and warmer anxiety, I learned this door installation process through trial and error:
- Grab your old door, line it up like a tracing template, and mark those hinge locations. I learned this from my contractor buddy Mike after I eyeballed it once. Never rely on eyeballing alone.
- Clamp that hinge jig tight, router your hinge mortises flush to the surface so nothing sticks out like a sore thumb.
- Pop the hinges in, do your alignment check, and test the door swing before you even think about paint.
That clearance test prevents the rework spiral nobody wants. The door will operate smoothly and close properly when you verify alignment before finishing.
Install the Handle and Test the Swing
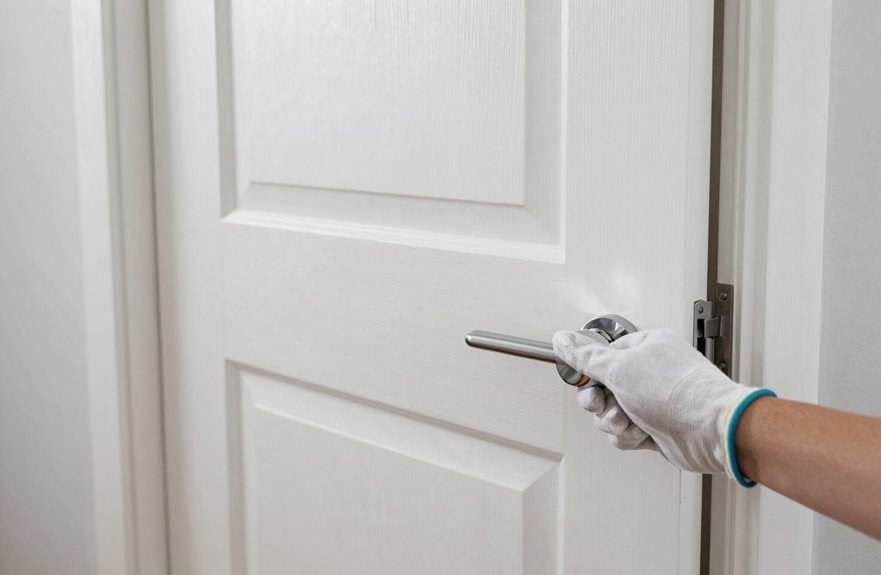
With the door finally hanging level and those hinges sitting flush, thanks to proper measurement, I’m ready to install the handle and test the swing.
First, I verify my swing direction, because nothing’s worse than a door that bonks your nightstand. Proper hinge placement depends on this. I drill holes for my latch and handle with the right bit size, making sure that strike plate kisses the jamb edge perfectly.
Now for the installation: I shim the latch side jamb, securing it with nails about six inches from top and bottom. The alignment has to be precise. I swing it open, close it, repeat, checking all six sides for rubbing. When it glides smoothly, the door is functioning correctly and ready for finishing.






