
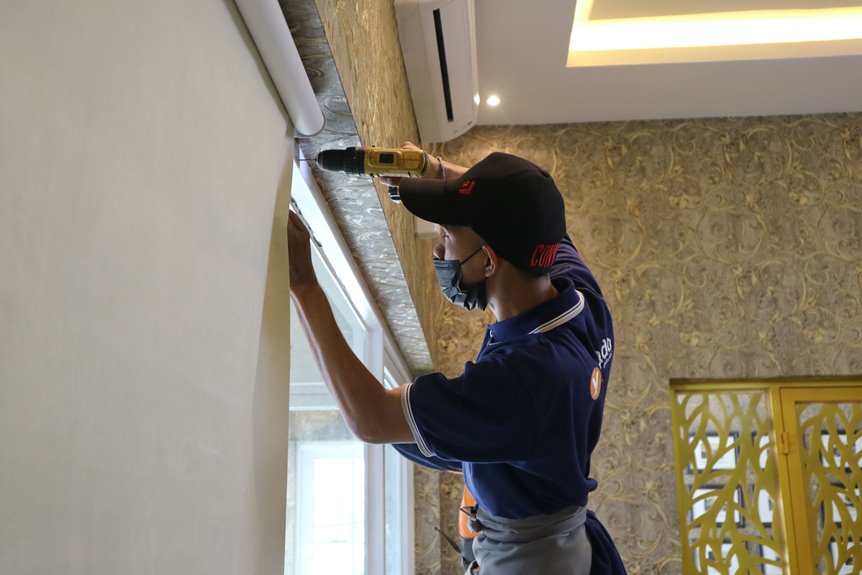
I install vertical blinds by first choosing inside or outside mount. Inside mount needs 1¼ inches depth, while outside mount adds 1–1½ inches per side for better light blocking. I measure width at three spots (top, middle, bottom) and use the smallest measurement, then length at three spots (left, center, right) and use the largest measurement. I mark a level line, drill brackets into wood or drywall with anchors, and snap the headrail in back-first until it clicks. Then I attach vanes to stems with a satisfying snap. I always install the cord safety bracket near the bottom to keep cords taut and eliminate dangling hazards, a lesson learned after my cat turned my first attempt into a swing set. I twist the wand to test tilt, raise and lower to check track movement, and verify everything locks properly. My first installation required three hardware store runs because I mistakenly thought I already had the necessary wall anchors. Getting that polished, designer-worthy finish requires attention to more details than this summary covers.
Get Your Tools Ready: What You’ll Need for Panel Track Blinds
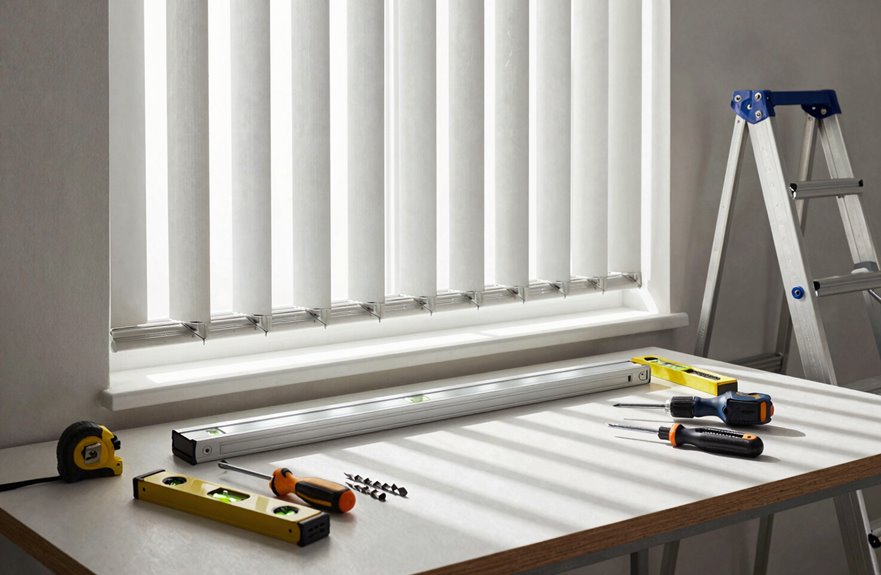
Why do I always end up knee-deep in a project before realizing I’m missing the one tool I actually need? (Every. Single. Time.) I’ve learned the hard way, so you don’t have to. Here’s what you’ll need for this panel track installation: pencil, tape measure, level, stepladder, Phillips screwdriver, and a drill. The drill is essential for securing brackets properly.
You’ll want that tape measure handy for checking depth, which we’ll cover in detail later. The level prevents misalignment during installation. The stepladder is necessary unless you have exceptional height. Gather these tools beforehand to avoid mid-project hardware store runs.
Inside vs Outside Mount: Choose and Measure Correctly
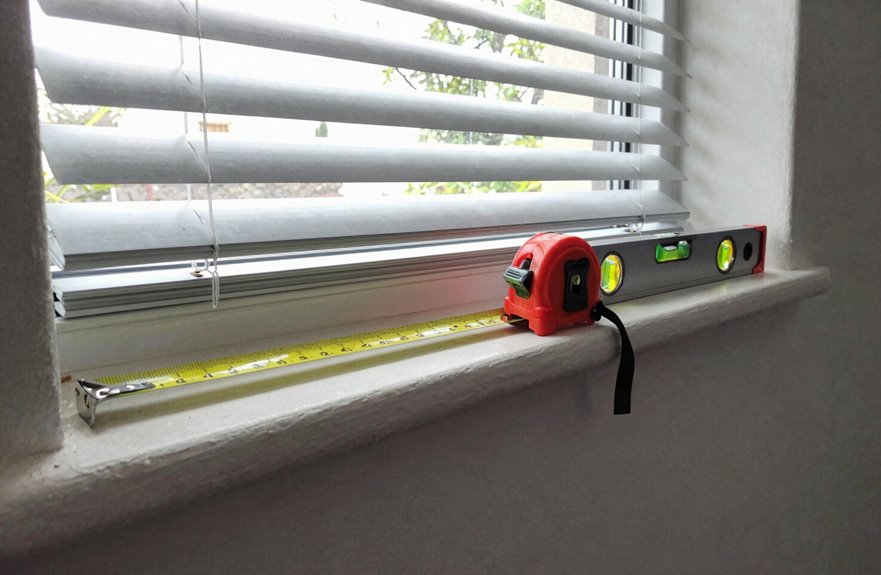
How do you decide between cramming those blinds inside your window frame or letting them strut their stuff on the wall? I’ve been there, staring at my windows with a tape measure in hand.
Inside mount gives you that sleek, built-in look, think Pinterest-worthy minimalism, but you need at least 1¼ inches of depth in that window box. No exceptions. For outside mount, you’re covering the whole shebang, often ceiling to floor for drama.
For measuring, inside mount requires three width readings: top, middle, bottom. Use the smallest. Take three length readings too: left, center, right, and go with the largest so you won’t have gaps. Outside mount gets 1–1½ inches extra per side for light blocking. Choose what feels like home.
Inside Mount: Depth Requirements and Precise Measuring
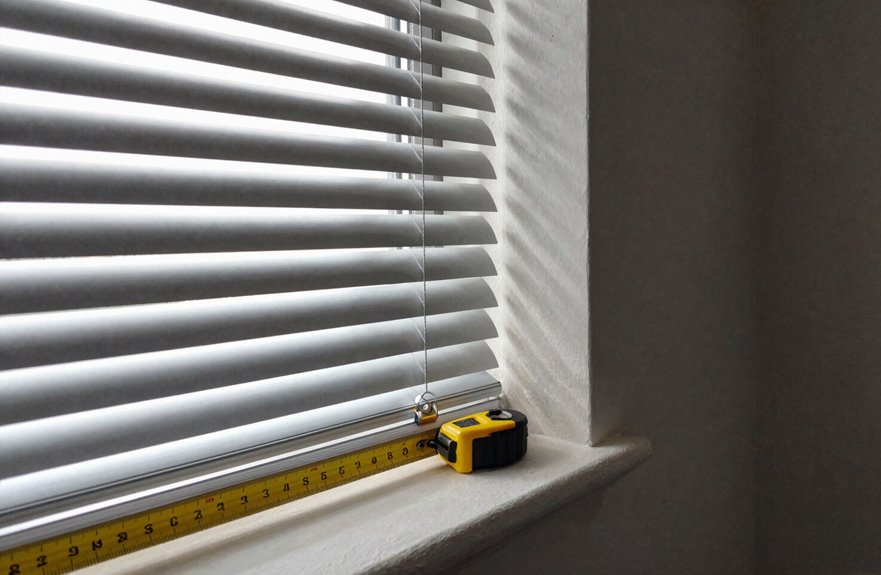
Inside mount details require careful attention to depth and measurement precision. You need at least 1¼ inches of depth in that window frame. Anything less creates fitting problems that cannot be overcome through improvisation. For measuring, use a steel tape and check width at top, middle, and bottom, then use the smallest number. Walls are uneven, so round down to the nearest ⅛ inch. For length, take left, center, and right measurements and round up, since a blind that is too short creates functional problems.
Depth Minimums
Where exactly do we start when we’re dreaming of that sleek, inside-mounted look? We start with depth, friend—because nothing kills the vibe like brackets that won’t fit.
For an inside mount, you’ll need at least 1¼ inches of window depth. That’s your non-negotiable minimum for the headrail and brackets to nestle in properly.
Your control type matters. Cordless or wand controls require different depths. A flush, magazine-worthy finish requires even more room.
Before measuring width and height, I check feasibility. No depth means no inside mount. I measure top, middle, and bottom of that recess, then compare to product specs. Shallow windows require an outside mount instead.
Measuring Technique
Now that we’ve confirmed your window has the capacity for an inside mount, it’s time to grab that tape measure and measure carefully. My first attempt failed because I didn’t follow proper technique.
Here’s the measuring ritual:
- Width trifecta: Measure top, middle, and bottom, then use the smallest number. Round down to 1/8 inch. A snug fit prevents operational issues.
- Length trio: Measure left, center, and right, then use the largest value. Round up to 1/8 inch. This prevents the panels from dragging.
- Depth check: Verify a 1 1/4 inch minimum, or the headrail will not function properly.
- Double-triple: Remeasure to confirm all measurements are accurate.
Precision measurements result in proper installation and operation.
Outside Mount: Coverage Rules and Measuring for Light Control
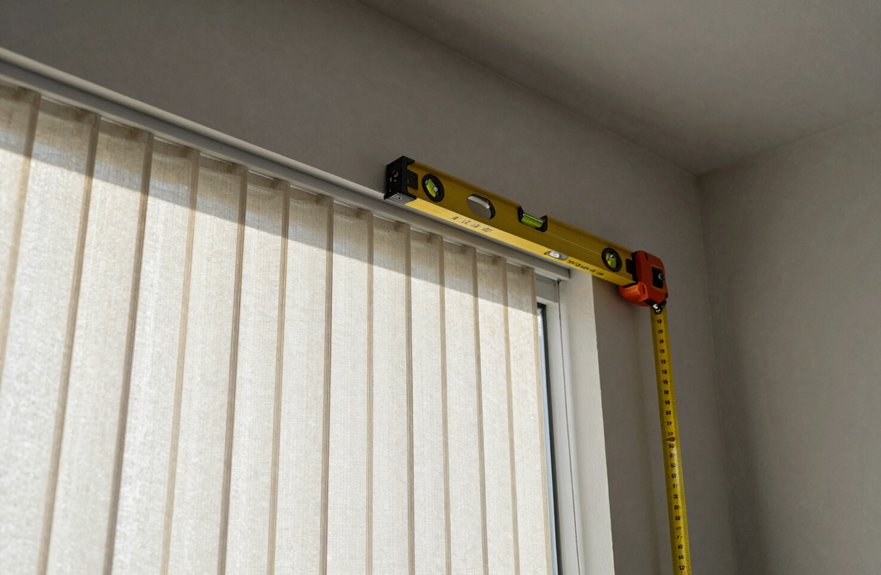
For proper outside mount coverage, measure the area you actually want covered, not just the window frame. Add 1 to 1.5 inches per side for light control to eliminate gaps. Measure width across your desired coverage zone, then length from ceiling to floor, or wall to floor for a budget-conscious approach.
This approach extends beyond fitting inside a frame. It involves covering the entire wall for complete light blocking and a polished appearance.
Mark and Install Level Brackets for Your Mount Type
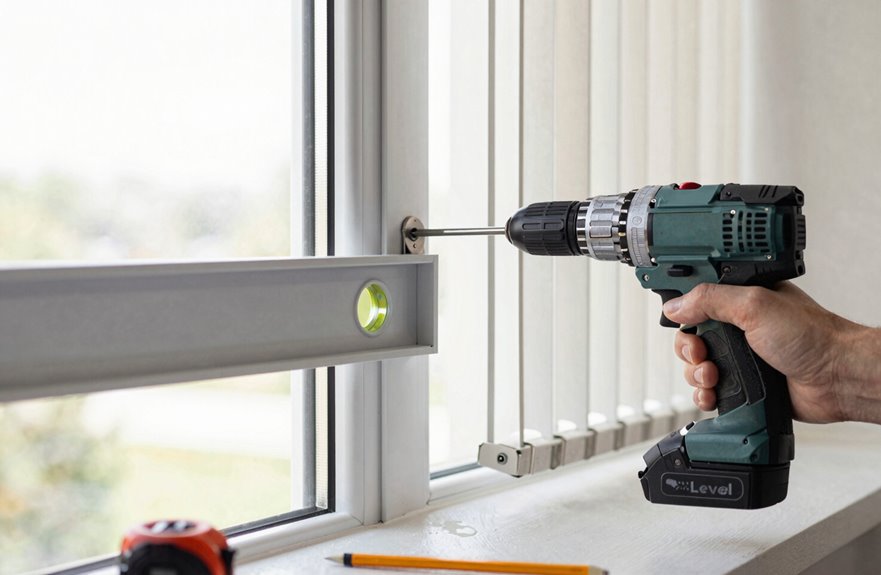
- Position the level bubble in the center, like a standard spirit level indicator.
- Mark your pencil line along the window frame for a clean reference mark.
- Install the silver brackets at attention, driving screws into solid wood or using anchors for drywall.
- Tighten the brackets securely so your track installation is stable.
Inside mounts need 1¼ inches depth minimum. Measure twice, drill once.
Fasten the Headrail: Snap-In Technique for Multi-Channel Tracks
Why does the headrail always feel like the moment of truth? Because it is. I’ve held my breath through dozens of these installs, okay, maybe I panicked once in a Denver loft, and the snap-in technique never fails when you respect the sequence.
Lift that headrail to your brackets. Remember, back edge first. Click it in, then snap the front. Hear that satisfying click? That’s headrail alignment perfection across every channel, whether you’ve got a single run or a multi-track installation. I always check each bracket twice, a lesson learned the hard way in a client’s Park Avenue walk-up.
Inside mount, outside mount, ceiling mount. It doesn’t matter. The method stays consistent. Just confirm that firm snap everywhere before you even think about those panels. When everything glides smoothly, you’ll know the installation was done correctly.
Attach Your Panels and Space Evenly Across Channels
Start at either end—doesn’t matter which, though I favor my dominant hand side—and lift each panel straight up to the headrail. I connect each panel’s top to the multi-channel track, double-checking orientation before moving on. I’ve hung them backwards twice, so verify every connection’s secure before proceeding.
Start at your dominant side, lift each panel straight up, and connect to the track—always double-check orientation before moving on.
Here’s what I’m picturing as I space my vertical blinds:
- Fingers sliding each vane into its channel, hearing that satisfying click
- Stepping back to admire the uniform gaps between overlapping panels
- Running my hand across the flat surfaces, feeling full coverage take shape
- The afternoon light filtering through evenly, with no awkward slivers peeking through
Space them carefully for consistent light control, then slide and tilt each vane to confirm smooth movement across all channels.
Install the Cord Safety Bracket and Test Full Operation
I’m going to walk you through the final stretch of this vertical blind installation. We’ll tackle cord safety placement first by securing that little bracket near the outside bottom of the window frame, just like the Hunter Douglas diagram shows in their installation manual. Then I’ll show you exactly when to attach it after positioning your first vane; timing matters significantly. Finally, we’ll run through the operation testing steps together, pulling that cord to open and close while tilting the slats. When everything’s working perfectly, you’ll notice the smooth, balanced tension and satisfying click that indicates proper installation.
Cord Safety Placement
Where exactly should that cord safety bracket go? Mount it near the outside bottom of the window frame, keeping that pull cord taut and safely away from curious kids and pets.
During installation, focus on these key points:
- The bracket hugging the frame’s edge like a tight handshake
- Screws biting into solid wood or anchors gripping drywall
- The cord forming a clean vertical line, never slack enough to loop
- Smooth gliding action as vanes tilt and draw without snagging
Test by giving a gentle pull to confirm the cord stays put and can’t slip through. Then raise, lower, and tilt those vanes while watching the cord’s path, making sure your safety hardware guides it perfectly. No tangles, no hazards, just reliable function.
Vane Attachment Sequence
With that safety bracket locked in tight, I’m ready to attach the vanes. I pull the cord and rotate those stems to face me with uniform spacing and no gaps. Now for the vane attachment sequence: I slide that first vane up into the plastic stem until it snaps, then repeat down the line. Each click indicates progress toward completion. I install the dedicated safety bracket near the bottom frame, keeping cords taut and children safe. Finally, I pull to open, pull to close, and twist the wand so those vanes angle perfectly. Every snap and bracket tension requires verification to prevent vane failure during use.
Operation Testing Steps
Now how do we deduce everything actually works?
I grab my coffee, we’re almost done. First, I install the cord safety bracket near the outside bottom of the window frame, keeping that pull cord taut to eliminate dangling hazards.
Then I run through my checklist:
- I rotate the controls fully, watching those beaded chains tilt vanes from wide open to whisper-closed
- I raise and lower the headrail as panels glide along their track smoothly
- I test the tilt mechanism, verifying every vane rotates in perfect unison
- I confirm the cord safety bracket stays locked tight with the weighted bar aligned for stable movement
Your blinds are now fully functional and ready to use.






