
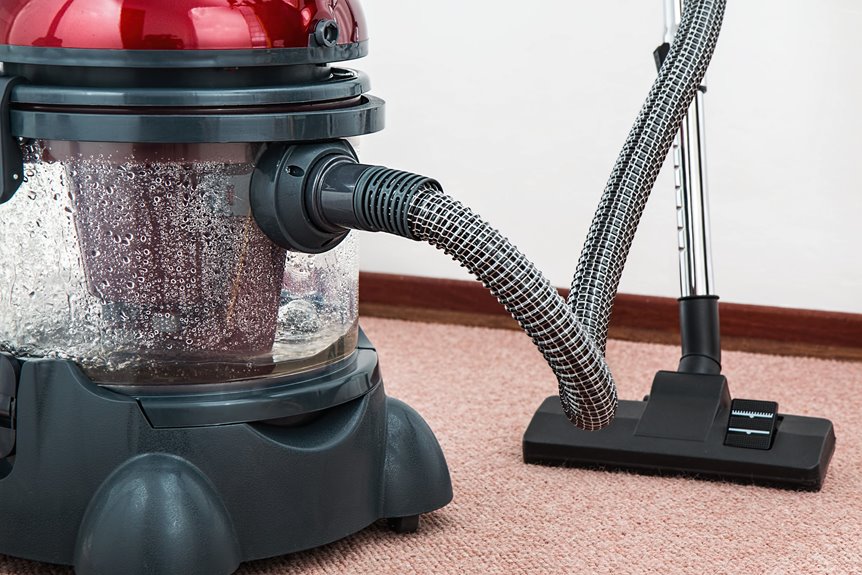
I’ve rescued waterlogged carpets more times than I care to admit, once after my ancient washing machine staged a dramatic rebellion at 2 a.m., flooding half my living room. Speed matters more than perfection when you’re staring down soggy fibers and that dreaded musty smell creeping in. First, figure out your water type. Clean supply line water (Category 1) is DIY-friendly, but sewage or floodwater means calling the pros immediately; you don’t want to mess around with pathogens in your favorite socks. Next, grab a wet/dry vacuum. I rented a Rug Doctor that looked like a neon orange beast and extracted like my life depended on it, pressing firmly into rows and emptying that tank constantly. Then lift that carpet edge and check the padding. If it’s squishing like a wet sponge, you’ve got trouble brewing beneath. Position fans at floor level, crack windows for cross-breeze, and run a dehumidifier like the Frigidaire I borrowed from my neighbor Dave. This trio works harder than my dog begging for bacon. Once everything’s bone-dry, steam clean thoroughly and sprinkle baking soda for that final freshness. You’ll have a carpet that smells like home again instead of a forgotten swamp. Each step in this process saved my sanity and my security deposit.
Determine Your Water Type: Is DIY Drying Safe?
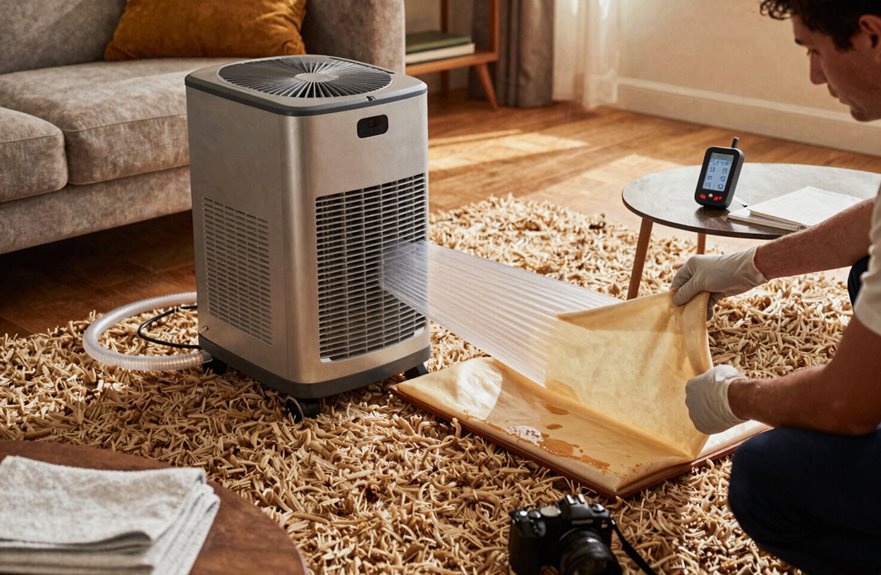
That burnt toast smell? That’s your nose telling you something’s gone wrong with your wet carpet. Before you grab that wet/dry vacuum, you need to figure out your water category because not all water’s created equal, and DIY drying done incorrectly poses serious health risks.
That burnt toast smell means your wet carpet needs attention—know your water category before DIYing, or you risk serious health problems.
Category 1 water (broken supply line, clean rainwater) is your green light for solo action. It’s sanitary, manageable, and you can absolutely tackle the drying process yourself. However, contaminated water escalates fast. That Category 1 can degrade sitting against dirty subflooring, turning into Category 2 or worse.
Category 2 (dishwasher overflow) brings real health risks, and Category 3 is sewage, floodwater, seawater; these grossly contaminated sources demand professional involvement with no exceptions. You’re facing serious mold risk, dangerous pathogens, and PPE requirements beyond your garage stash.
Spot strong odors, visible grime, or a carpet that’s been wet for days. Stop and call the pros. Professional restoration prevents mold growth and pathogen exposure that DIY methods cannot adequately address.
Extract Water From Your Wet Carpet Thoroughly
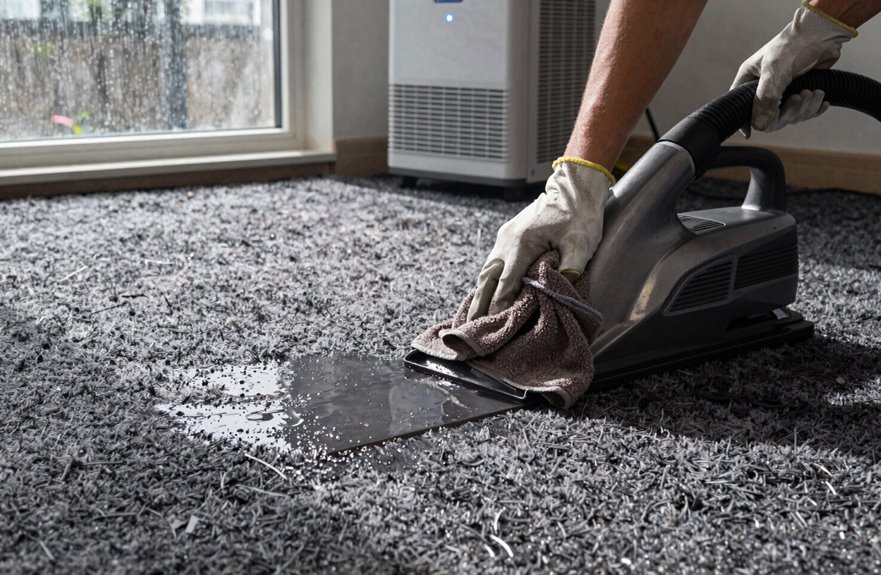
You’ve figured out your water situation and you’re cleared for takeoff. Now comes the actual extraction work. I’m grabbing my wet/dry vacuum (rented from Home Depot, because mine died last spring) and attacking this extraction with full attention.
I work in rows, mowing-the-lawn style, pressing firmly into carpet fibers to coax every drop upward. Empty that tank constantly; nothing kills suction faster than a full tank. No wet/dry vacuum available? Towels blotting works; stand on them and swap when saturated.
After water removal, I do a moisture check by lifting that edge and peeking underneath. Padding moisture and subfloor moisture can hide; catch them now. Then I position air movers for rapid drying.
Check Subfloor and Padding Moisture Early
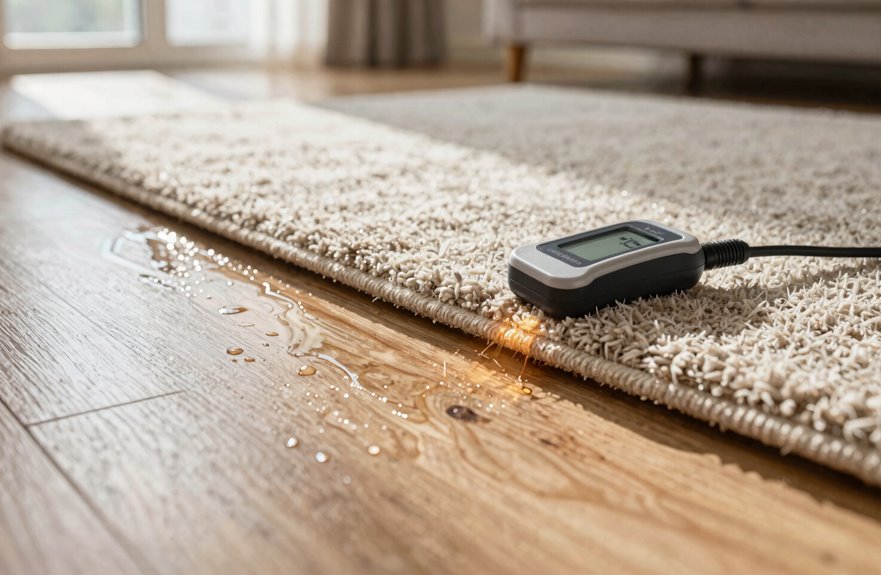
Once I’ve got that carpet edge peeled back like a stubborn orange rind, I’m staring straight at the real trouble zone: padding and subfloor, the silent killers of every DIY restoration project. I’m checking that padding moisture first, because wet padding crumbles like sad oatmeal and traps odor retention like a gym bag from 2003. Detecting moisture early prevents the subfloor from swelling and warping. Mold risk increases significantly when carpet flooding goes unaddressed, so a full subfloor assessment is essential. Sometimes padding replacement is unavoidable. I’ve attempted to save soaked padding twice and found it ineffective both times. Controlled drying protects both sanity and subfloor integrity.
Get Air Moving: Fans, Windows, and Dehumidifiers
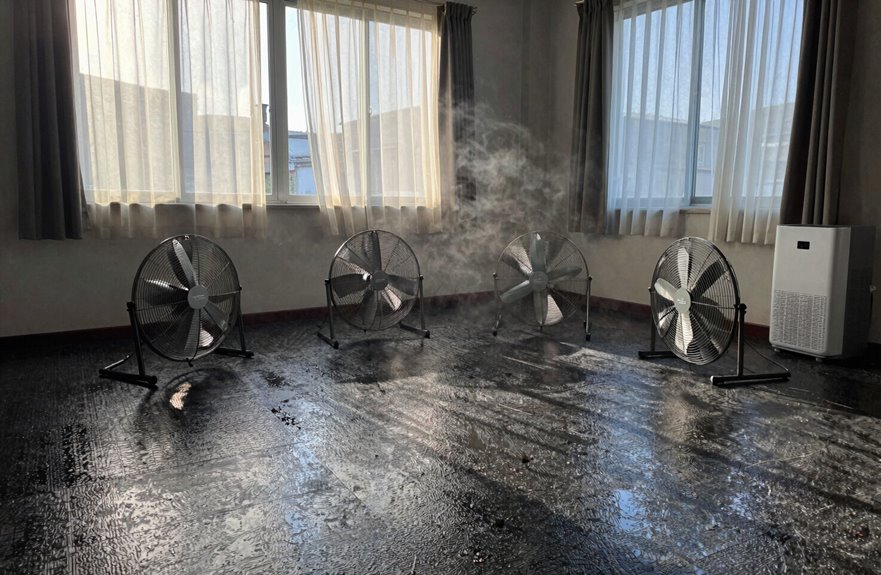
Crank every fan you’ve got and fling those windows open. Saving wet carpet depends on relentless air flow. Position fans on the floor, blasting airflow directly through those soggy fibers. Box fans work, but air movers are highly effective. Open windows when weather cooperates for cross-ventilation; your drying space becomes a moisture-evicting machine. A dehumidifier running nearby removes moisture from the air effectively. No windows? Prop interior doors wide. Stagnant air slows the drying process. Keep that wet/dry vacuum running and monitor progress regularly to ensure effective drying.
Steam Clean and Deodorize Your Restored Carpet
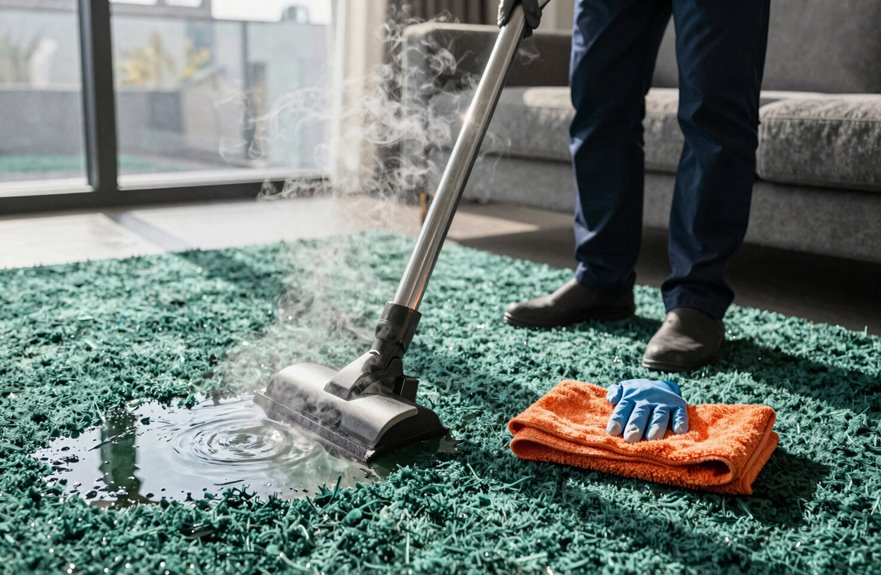
Because I’ve finally got this carpet dry(ish), I’m absolutely buzzing to finish the job right. Steam cleaning is where the magic happens.
I grab my home steam cleaner, or call my guy with the industrial rig, and blast that wet carpet with high-temp steam. It kills leftover nasties, loosens gunk, and helps me deodorize in one shot. Post-cleaning extraction is non-negotiable for proper moisture removal. I learned that one the hard way.
For drying, I crank the dehumidifier and aim fans strategically. Carpet restoration demands patience. Once fully dry, I sprinkle baking soda for odor control. This cleaning process eliminates odors and restores your carpet to fresh condition.






