
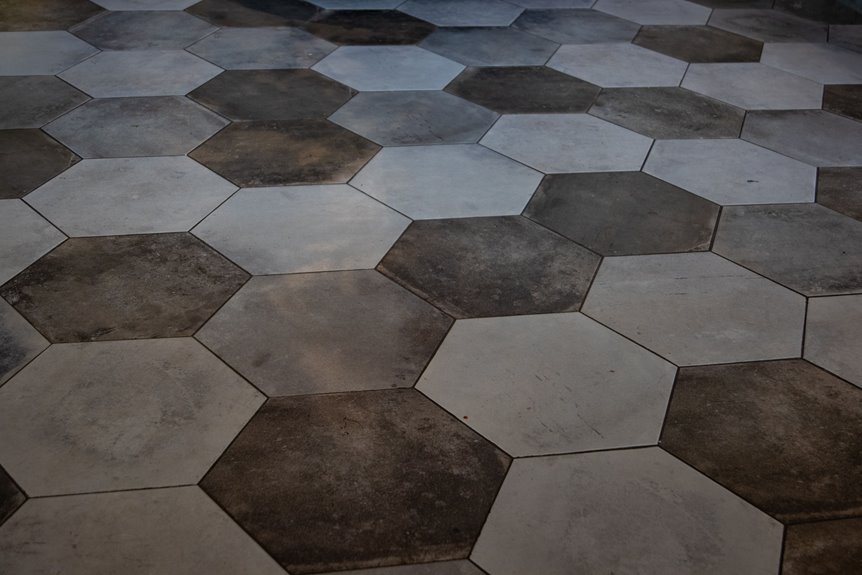
I start dry every single time: sweeping with a soft broom, then vacuuming with a brush attachment to protect my sealant from grit. I grab a true pH-neutral cleaner (never vinegar, which can damage stone like travertine by creating a frosted appearance), dilute it in warm water, and damp-mop four tiles at a time with barely-wrung microfiber. I dry immediately with a cloth, buff for shine, and test my sealant yearly with a water drop. If water soaks in, the sealant needs reapplication. The full breakdown of strategies for addressing stubborn spots follows below.
Start Dry: Sweep and Vacuum Your Stone Floor Daily
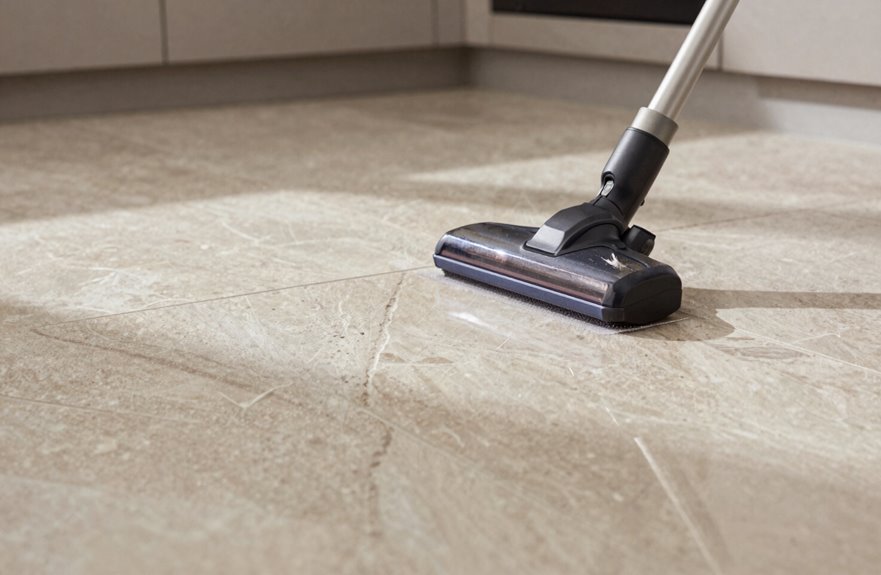
Why do I always start my stone floor routine with dry tools instead of reaching straight for the mop? Because dust is basically sandpaper in disguise, and I’m not about to let it scratch my gorgeous Calacatta marble. The risk of permanent damage is real.
Every morning, I grab my soft broom and sweep with quick, purposeful strokes that gather every crumb and speck. Then I vacuum with my brush attachment, lifting what the broom missed. I once vacuumed wet mud, and the grout damage serves as a permanent reminder of that mistake.
Dry vacuuming first reduces friction, so when I finally damp-mop later, I’m not grinding debris into the polish. It’s like prepping a canvas before painting. This two-minute ritual prevents scratches in your sealant and extends the life of your stone floor.
Pick a Stone-Safe Cleaner That Protects Your Sealant
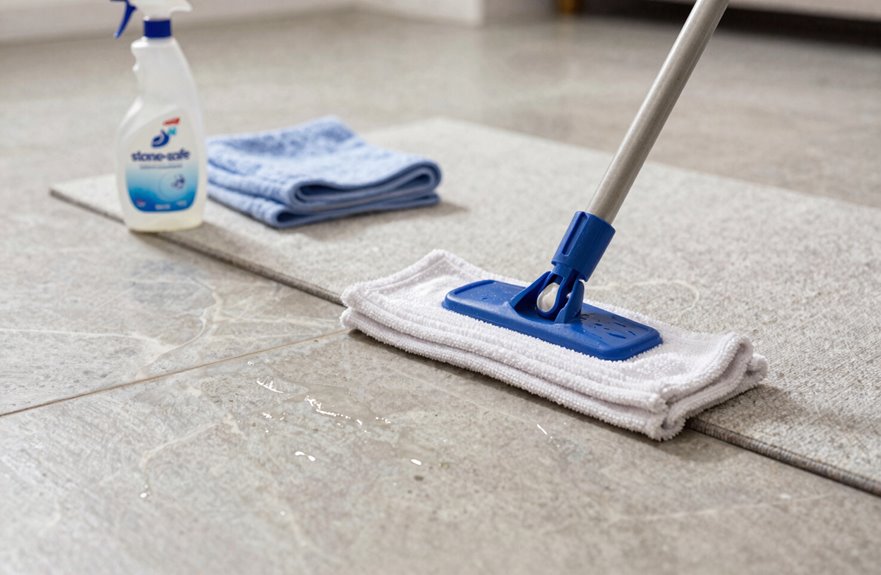
Once I’ve cleared every last speck of debris, I reach for my stone cleaner. This is where I’ve learned some expensive lessons. My first apartment’s honed limestone still haunts me. I only use pH-neutral formulas now, nothing else, because acidic cleaners like vinegar or citrus will chew through your sealant quickly. I learned this the hard way after a well-meaning friend suggested lemon water for my bathroom marble. The cloudy patches in my “after” photos serve as a permanent reminder.
My first apartment’s honed limestone still haunts me—now I only use pH-neutral formulas, nothing else.
Here’s my battle-tested checklist for fellow stone lovers:
- Grab a true pH-neutral cleaner. I use Lithofin Wash & Clean (pH 7, residue-free).
- Dilute in warm water, then apply with a soft microfiber mop to avoid dulling your finish.
- Patch test first. That corner by the radiator hides all sins.
- Rinse thoroughly. Your natural stone and sealants deserve a fresh start.
Protecting your floors requires consistent attention to these cleaning fundamentals.
Mop Your Stone Floor in Sections With Minimal Water
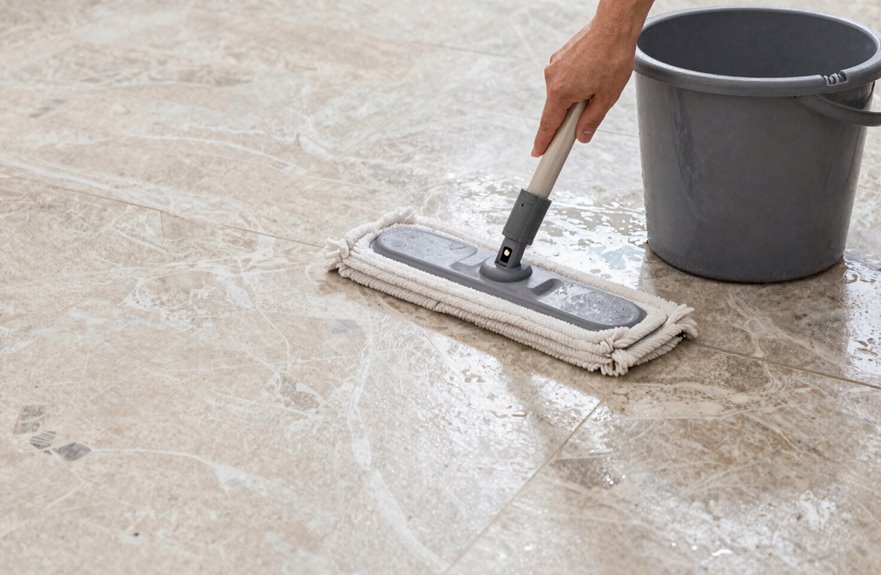
With my cleaner locked and loaded, I’m ready to get down to the actual mopping. This is where I used to mess everything up. I’d flood my travertine like it was the Titanic, destroying my first apartment’s grout.
Now I dampen my microfiber mop with pH-neutral solution, wringing until it’s barely wet. The goal is a damp handshake, not a soaked swimsuit. I work in tiny sections, maybe four tiles at a time, because stone’s pores absorb excess water quickly.
I keep a dry microfiber cloth handy, wiping as I go. Speed is critical here. Windows wide open and fan humming, I’m racing to prevent mineral deposits. Each section gets its moment, then I move on. No drowning my floors anymore; our stone deserves better care.
Dry Immediately and Inspect for Missed Spots
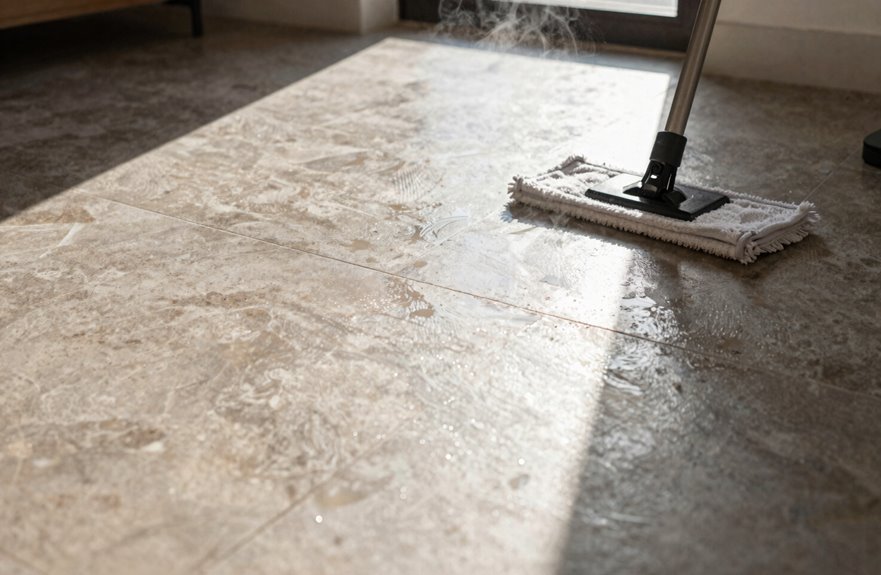
How fast can stone betray you? Faster than you can say “water spot,” friend. I’ve learned this the hard way, as documented in that disastrous 2019 Instagram post about my first limestone entryway.
Protect your floors with these steps:
- Dry as you mop, section by section, no exceptions
- Wring that microfiber until it’s barely damp, like a well-wrung washcloth
- Throw open windows to channel cross-ventilation
- Inspect on hands and knees for missed spots, because stone keeps secrets
Standing water isn’t just rude. It’s a mineral deposit factory. Catch those sneaky spots before they etch permanent marks into your Calacatta. The difference between protected stone and etched stone comes down to one habit: immediate, thorough drying followed by careful inspection.
Buff to Restore Shine and Schedule Resealing
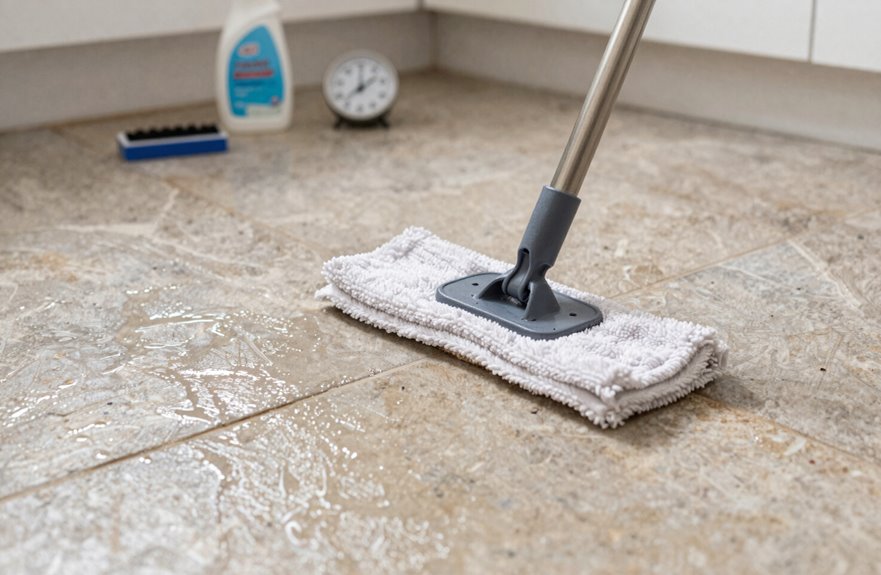
Buffing is where the magic happens, friend. I grab my microfiber cloth and give the stone a quick dry pass, watching that dull surface transform before my eyes. It’s genuinely satisfying, like polishing a vintage Eames chair until it gleams. For stubborn spots, I’ll use 0000 steel wool on deeper scratches (learned that trick after a disastrous red wine incident at my dinner party).
I mark my calendar for resealing every 4–6 years, more often in bathrooms because moisture is sneaky. I test by dripping water; if it soaks in instead of beading, I’m behind schedule. Staying on top of this shine restoration prevents the need for professional re-polishing later.






