
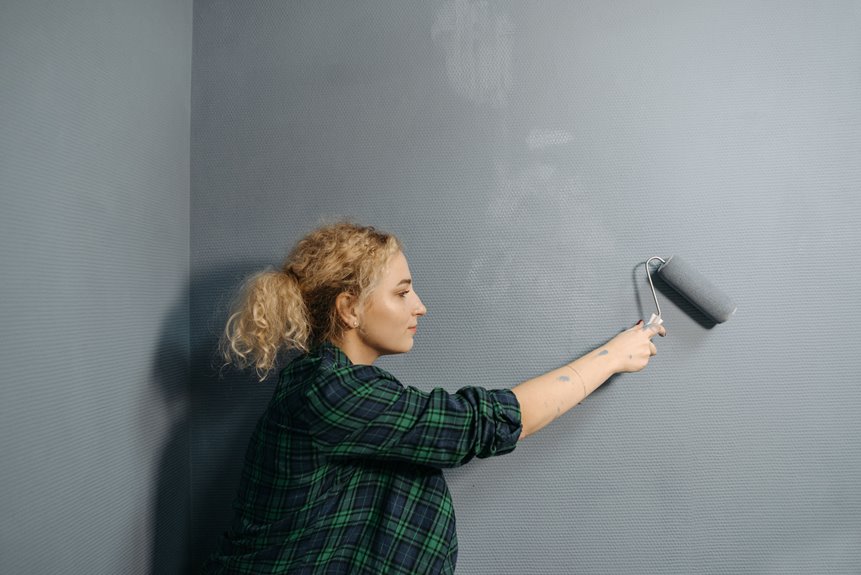
I start by inspecting my wall to determine whether it’s smooth drywall, textured, or porous, as this determines everything. Then I pick my method: plastic scraper and fine sandpaper for drywall, heat gun for stubborn coats, or chemical strippers for masonry. Always test chemical strippers behind a radiator first. I prep thoroughly with drop cloths, taped trim, sealed doorways, and a fan blasting. I soften that paint with remover, hold my scraper at 30–45 degrees, and glide in small sections without gouging. I feather the bare-wall boundary with 240-grit sandpaper until my fingertip feels no ridge. I clean with warm soapy water, wait 24 hours until completely dry, then prime with a compatible product before repainting. Skipping the priming step results in peeling paint. The full breakdown below provides complete guidance for protecting both your walls and your project timeline.
Start With Paint That’s Peeling, Bubbling, or Blocking New Coats
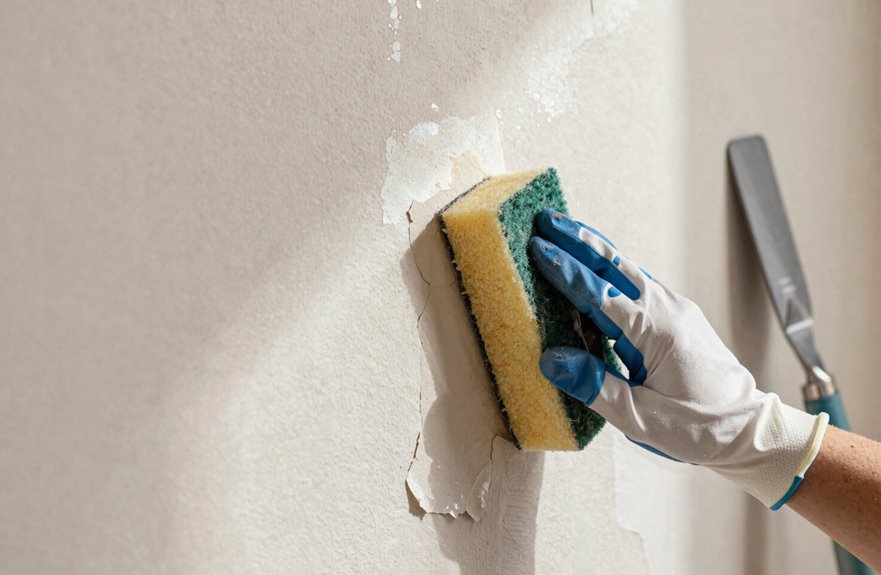
I angle my plastic scraper shallow, almost flat against the wall, and lift gently. This prevents gouging and allows for controlled work. Small patches require patience and deliberate movements rather than aggressive scraping. Sometimes I’ll swipe on a chemical remover first, let it soften the stubborn flakes, then wipe clean before they spread. Finally, I feather those edges with light sanding so everything blends smoothly. This approach ensures a proper surface for new paint.
Pick the Right Removal Method for Your Wall Type
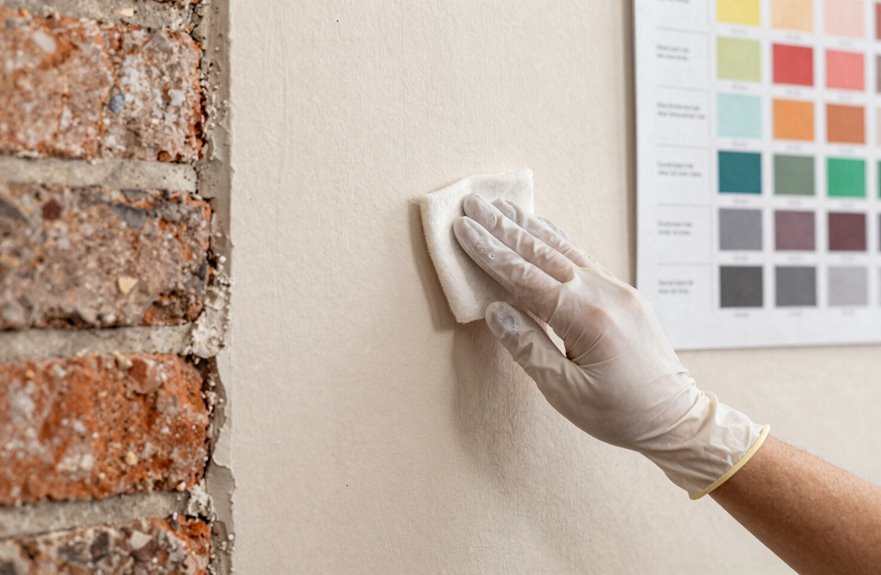
I always start by really looking at what I’m dealing with: how many stubborn coats are hiding there, whether the surface is crumbling or just cosmetically challenged. That assessment saves me from taking half the plaster with the paint. I’ve learned this the hard way in my 1920s bungalow, where what looked like two layers turned out to be six, each more determined than the last. Once I’ve got a clear picture of the wall’s condition and its personality, smooth drywall versus thirsty old plaster or that weird metal trim nobody asked for, I match my method like I’m pairing wine with dinner, not just grabbing whatever’s closest in the garage. Those paint layers tell me a story I need to hear, because one coat might surrender to a gentle scraper while five layers of landlord beige demand more aggressive removal. That’s when I reach for Citri-Strip and my trusty Wagner heat gun, which I’ve nicknamed “The Negotiator” after one too many late nights.
Assess Wall Condition
Why plunge into stripping paint without knowing what you’re working with first? Removing paint blindly leads to disaster, like gouging drywall during a project.
Before you grab any tools, figure out your wall type.
- Run your hand across the surface. Feel plaster’s cool hardness or drywall’s slight give.
- Tap lightly; brick rings hollow, wood thuds solid.
- Peek behind outlet covers for hidden clues about layers beneath.
- Check for moisture stains or previous repairs that will dictate your approach.
Once you’ve identified what you’re dealing with, test a tiny patch in the closet. This prevents damage to visible areas.
Match Method to Surface
How do you know which weapon to pick in this paint-stripping battle? One size never fits all. Your wall type dictates everything about removal success.
| Surface Type | Best Paint Removal Method | Why It Works |
|---|---|---|
| Smooth drywall | Plastic scraper + fine sanding | Gentle lifting, no gouging |
| Textured/stubborn | Heat gun or quick sanding | Penetrates built-up layers |
| Concrete/masonry | Chemical strippers (test first.) | Tough enough for the job |
Porous surfaces demand patience. Unprimed drywall and wood need milder removers, while nonporous materials handle aggression. Always identify your paint type first. Oil-based layers require solvents, while latex responds to non-toxic options. Rushing this step damages drywall. Match your method to your surface, protect the material underneath, and you’ll achieve successful paint removal.
Consider Paint Layers
Once you’ve sized up your wall type, you need to identify what’s actually stuck to it. Not all paint behaves the same, and improper removal techniques will damage your substrate.
For smart paint removal with real substrate protection, follow these steps:
- Check your layers first. Multiple coats need gentler starts, like plastic scrapers, before any heavy-duty action.
- Match solvent to paint type. Oil-based paints won’t respond to water; use oil-based removers instead.
- Test hidden patches always. This method has prevented substrate damage on multiple projects.
- Reserve aggressive methods. Save heavy sanding for thick, stubborn coatings that won’t budge otherwise.
Understanding your wall’s history prevents costly mistakes.
Gather Your Tools and Test on a Hidden Spot First
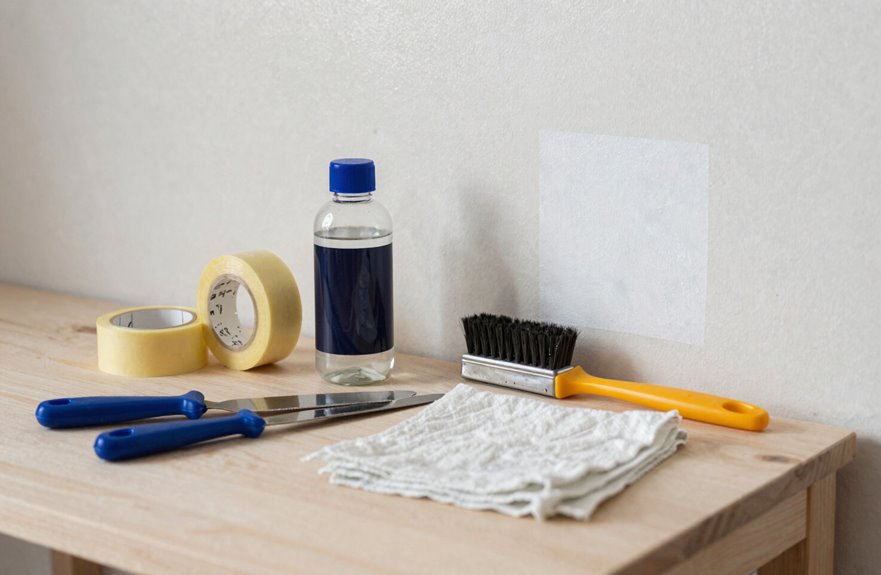
Where do I even begin with a project like this? I’ve learned the hard way that jumping in without prep is a recipe for disaster (ask me about the living room incident of 2019).
First, I gather my arsenal: plastic putty knife, 120–220 grit sandpaper, microfiber cloths, drop cloth, gloves, goggles, mask, and a chemical paint remover suited to my surface. I’m talking about quality product, not whatever’s been sitting in my garage since the Bush administration.
I test that remover on a hidden patch first. Behind the radiator, inside a closet, somewhere no Instagram photographer will ever document. I wait, I watch, I observe the results. No discoloration. No bubbling plaster. Then the remover works as intended.
Prep Your Room and Protect What’s Not Being Stripped
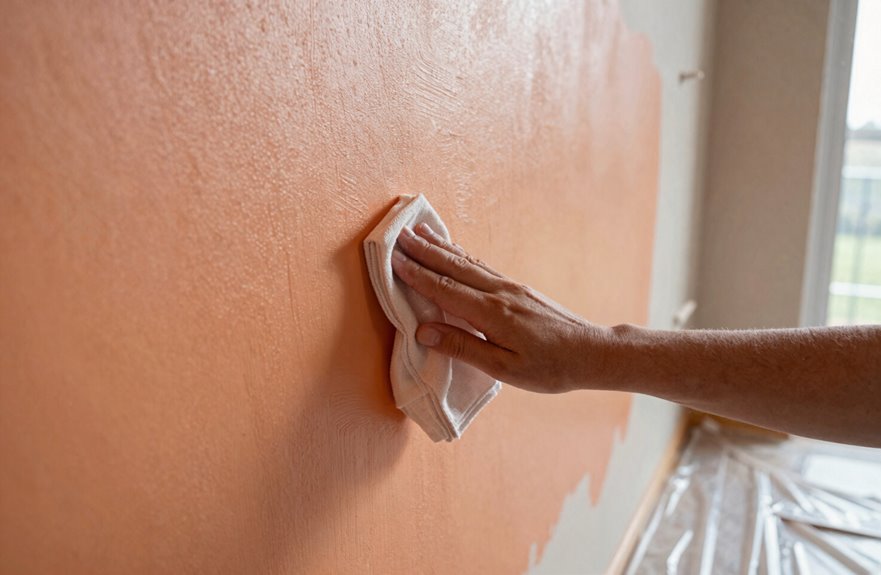
Why does every DIY project somehow feel like preparing for a minor apocalypse? This prep work prevents damage and protects your security deposit. Paint removal gets messy fast; those tiny chips travel everywhere.
Here’s my battle-tested checklist:
- Lay down drop cloths like you’re protecting the Shroud of Turin. Plastic sheeting catches every rogue chip.
- Tape off trim and outlets with painter’s tape; crisp lines make you look like a pro, not a disaster.
- Seal doorways with plastic because dust doesn’t respect borders.
- Suit up with gloves, goggles, and a mask. Keep wet wipes nearby for quick cleanups.
Open those windows and run a fan to get this space ready.
Soften and Scrape Off the Paint Without Gouging the Wall
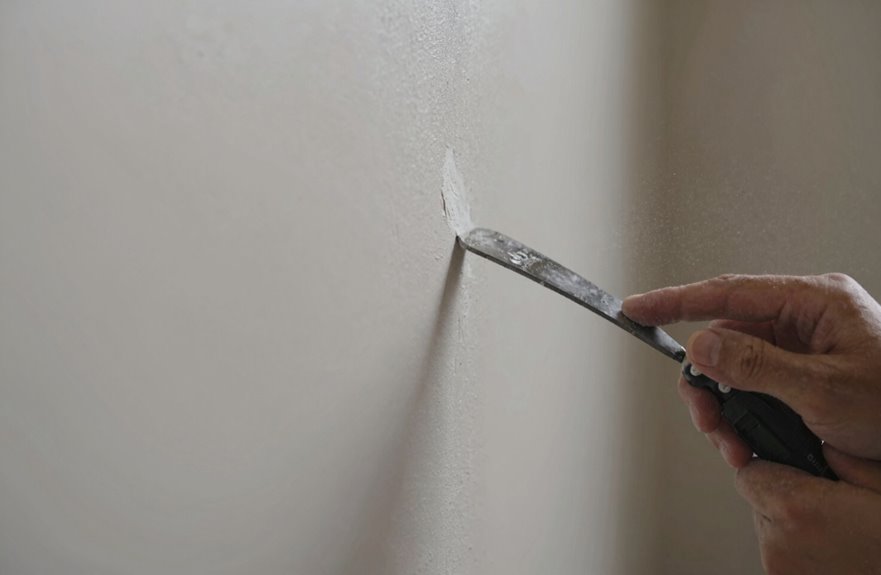
I slather on that remover like I’m frosting a cake (my sweet tooth talking), then I grab my trusty plastic scraper. Don’t use metal, unless you enjoy explaining wall dents to your landlord. Hold it at that sweet 30-to-45-degree angle that feels weird at first but saves your sanity. Apply gentle pressure here, because forcing it turns you into a wall gouger, and nobody wants that reputation. I work small sections with smooth, long strokes, reapplying remover when the paint gets stubborn instead of channeling my inner lumberjack. Your drywall will have fewer repairs to make later.
Choose Proper Scraper Type
How exactly do you scrape paint off a wall without turning the surface into a lunar terrain? Your scraper choice makes or breaks the whole project.
Here’s what I always keep in my toolkit:
- Plastic putty knife for fragile finishes. Test on hidden patches first to avoid damage.
- Flexible metal scraper with beveled edge and replaceable blades. Fresh edges glide smoothly.
- Wider blade plastic scraper for softened paint after chemical or heat treatment. Thicker coatings need patience.
- Anything but rigid high-stiffness scrapers on drywall corners. Those dings are difficult to repair.
Work in short strokes, letting the tool do the work. No excessive force needed. Your walls will benefit from this approach.
Apply Correct Angle
Where exactly does technique triumph over brute force? Right here, friend. In the scraper angle that saves your walls from looking like a woodpecker’s revenge.
I hold my scraper at a 45-degree angle to the wall, and suddenly I’m not fighting the surface. I’m coaxing it. That shallow angle is everything. Too steep, and you’ll carve trenches (I’ve been there, weeping over plaster). Too flat, and you’re just pushing paint around like a sad broom.
I angle the blade slightly away from me, always, so those sneaky edge ridges don’t catch and chip. Small sections, firm pressure, and I’m checking with my fingertips for high spots like I’m reading Braille. Adjust as needed. We’re in this together, and your walls will thank us.
Control Pressure Application
While I’m angling that scraper just right, pressure is the real make-or-break moment.
Too much, and we’re patching drywall. Too little, and that paint won’t come off.
Here’s how to apply scraper pressure effectively:
- Keep that blade at 30–45 degrees, working with the surface, not against it
- Test a hidden corner first. I learned this the hard way in my bathroom.
- Feel the resistance. If it catches, stop and re-soften that spot.
- Glide in small sections with steady control pressure, like spreading butter on warm toast.
Use light, even strokes across softened paint layers. No gouging, no high spots, just smooth progress.
Sand Where Bare Wall Meets Remaining Paint
Why does that ridge between bare wall and old paint create such frustration? Because it’s a visible reminder of imperfect work, and the solution is straightforward.
Feathering eliminates this problem. Grab 240-grit sandpaper, the same material used by professional crews, and work slowly back and forth along that boundary. The key is to keep your sanding line slightly into the bare wall. You’re not removing material aggressively; you’re creating a gradual transition.
Run your fingertip along the edge after sanding. If you feel any ridge, continue sanding. Dust it off, use raking light to inspect the surface, and check for any remaining imperfections. A seamless transition means the job is complete.
Clean, Prime, and Wait 24 Hours Before You Repaint
I’ve finally got that wall feathered to perfection, and now I’m staring at a surface that looks deceptively ready. Paint removal’s only half the battle. I’m grabbing warm, soapy water (Dawn works well), scrubbing every last speck of residue, then rinsing clean.
- I sand those sneaky rough patches, then wipe dust away without shortcuts.
- I wait 24 full hours for bone-dry walls.
- I choose primer that’s compatible with my surface.
- I double-check it’s dry to touch with zero moisture lurking before priming begins.
Skipping priming invites peeling disasters. Proper surface preparation prevents costly failures.






