
I grab my hammer, level, and measuring tape first. No eyeballing allowed after my “Pisa phase.” I check the frame’s hardware, swapping sawtooth hangers for D-rings and Tuflon™ wire on anything substantial. I mark 57 inches from the floor for that gallery-center magic, pull the wire taut to measure its drop, and subtract that from my mark so the nail hits exactly right. Anchors match the wall type: expanding metal for heavy drywall pieces, mortar anchors for stubborn plaster hallways. I always double-check weight limits because drywall surprises nobody pleasantly.
Above the sofa, I raise the bottom edge 6–8 inches so the art breathes instead of getting visually swallowed. For gallery walls, I tape paper templates on the floor first, clustering around that same 57-inch focal point with 3–6 inch gaps, then step back with my level to confirm nothing leans. That lesson came from my first apartment. There’s a trick with wire tension adjustments that keeps heavy frames perfect for years, and I can show you exactly how that works.
Gather Your Tools to Hang Art
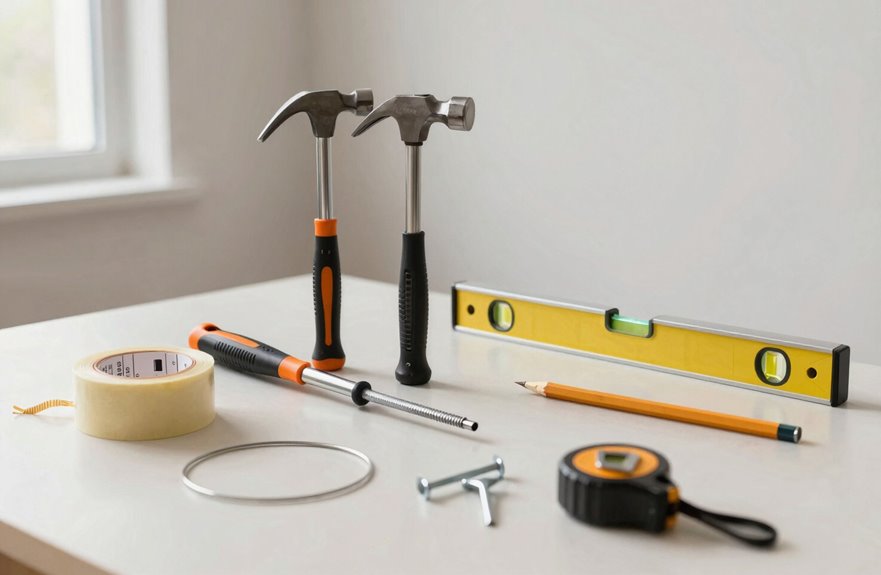
Where do I even begin with hanging art? It’s all about the right tools.
I grab my hammer, measuring tape, level, and pencil first. I can’t eyeball a straight line; my last “straight” frame sat crooked for weeks. For heavier pieces, I use Floreat™ hangers or sturdy strap hangers, plus wall anchors that match my drywall situation. A crash at 2 AM is preventable with proper hardware.
I measure twice, obsessively, because the “I’ll remember” trick never works. If my frame has hanging wire, I note how it sits under weight, since this makes a significant difference. For awkward pieces, I recruit a buddy with coffee as incentive. Clear that wall space too; I’ve tripped over a rogue ottoman mid-hang, and that chaos isn’t worth it.
Check Your Frame’s Hanging Hardware
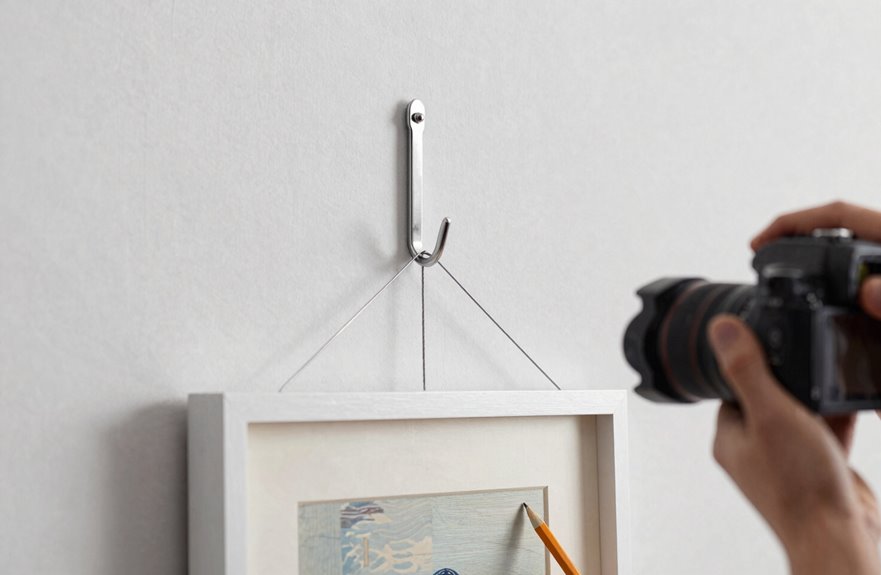
How do we make sure our gorgeous painting doesn’t end up as floor art? I check my frame’s hanging hardware with the same care I’d give any irreplaceable item.
First, I examine what’s already back there. Sawtooth hangers work for lighter pieces (I’ve learned that the hard way, losing a ceramic cat to gravity). For anything substantial, I use D-rings, always two of them with proper wire between them. Never hook into existing D-rings without wire.
I learned the hard way—gravity doesn’t forgive flimsy hangers. D-rings, doubled up with proper wire, are the only way I trust my treasures to the wall.
For the wire itself, I use Tuflon™ coated picture wire (#6 for keepsakes). It costs roughly $20, and the lack of fraying makes it worth the investment.
For heavier treasures, I double up Floreat™ Hangers, those brass-plated pieces that handle serious weight. I mark wall positions carefully and level everything with precision. This approach ensures your art stays securely mounted.
Mark the 57-Inch Eye-Level Spot on Your Wall
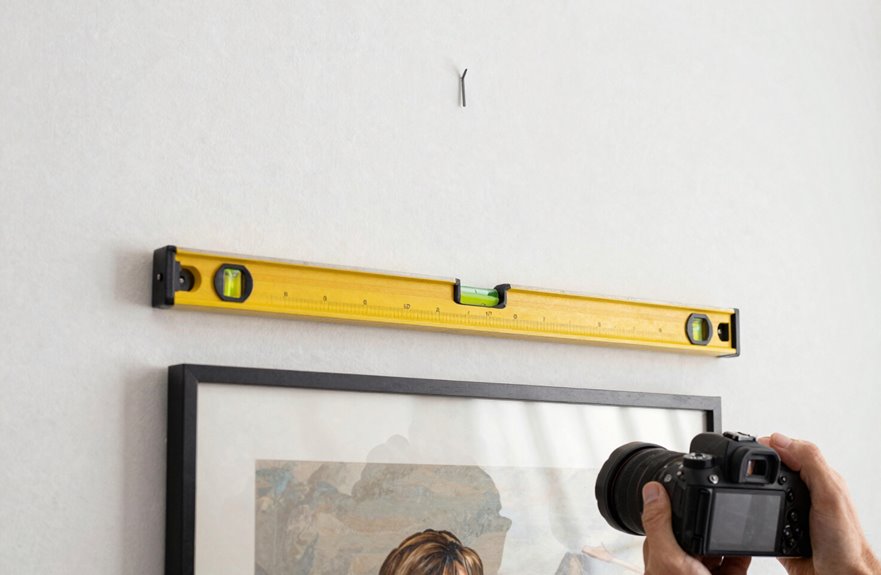
I always start at 57 inches from the floor, the standard height galleries like the Whitney use. Grab your tape measure, find that spot, and make a light pencil mark or a tiny piece of painter’s tape if you prefer to protect your walls. From there, I’ll show you how to measure up to your wire hook so your painting’s center hits right where people’s eyes naturally land without requiring them to crane their necks.
Why 57 Inches Works
Why does 57 inches feel so right when you’re standing in front of a freshly painted wall, hammer in hand, terrified you’ll mess it up? (I’ve been there; three holes in drywall I’ll never admit to my landlord about.) This magic number isn’t arbitrary. It’s the sweet spot where the average human eye naturally rests, a trick gallery curators like those at MoMA have used for decades to create that effortless, “this belongs here” feeling.
Your center line hits at 57 inches, then you factor in your wire distance to nail the top edge perfectly. Check this out:
| Artwork Height | Wire Distance | Center Point | Hook Height | Top Edge |
|---|---|---|---|---|
| 20″ | 6″ | 10″ | 61″ | 57″ |
| 30″ | 8″ | 15″ | 64″ | 57″ |
| 34″ | 10″ | 17″ | 64″ | 57″ |
| 40″ | 12″ | 20″ | 65″ | 57″ |
| 48″ | 14″ | 24″ | 67″ | 57″ |
That 57-inch mark anchors everything. Your pieces will align with the standard eye-level positioning used in professional galleries, creating visual harmony in your space.
Measuring Your Center Point
Armed with that 57-inch secret (sorry, MoMA, spilling the beans here), I’m grabbing my tape measure and a pencil. Not the slanted stub from my junk drawer, but an actual sharp one, because precision matters now. This measurement transforms your wall into a gallery-worthy canvas. Once you nail this center point, you’re officially part of the club.
Here’s how I lock in that perfect eye level:
- Measure 57 inches from your floor, mark it lightly. That’s your sacred center point for hanging anything solo.
- For your artwork, divide its height by two to find its visual middle, then calculate where the wire sits relative to that center point.
- Adjust your hanger placement above or below your 57-inch line accordingly, keeping that eye level magic intact.
Gallery walls? Treat the whole cluster as one unit, anchored around this same focal point.
Marking The Wall
For a 34-inch Rothko print with a 10-inch wire drop, add half the height (17 inches) to 57, getting 74 inches for the top edge, then subtract that wire distance. The hanger mark lands at 64 inches on the wall. For gallery groupings, treat the whole cluster as one unit by finding its collective center first.
Measure Wire Drop and Mark the Nail Point
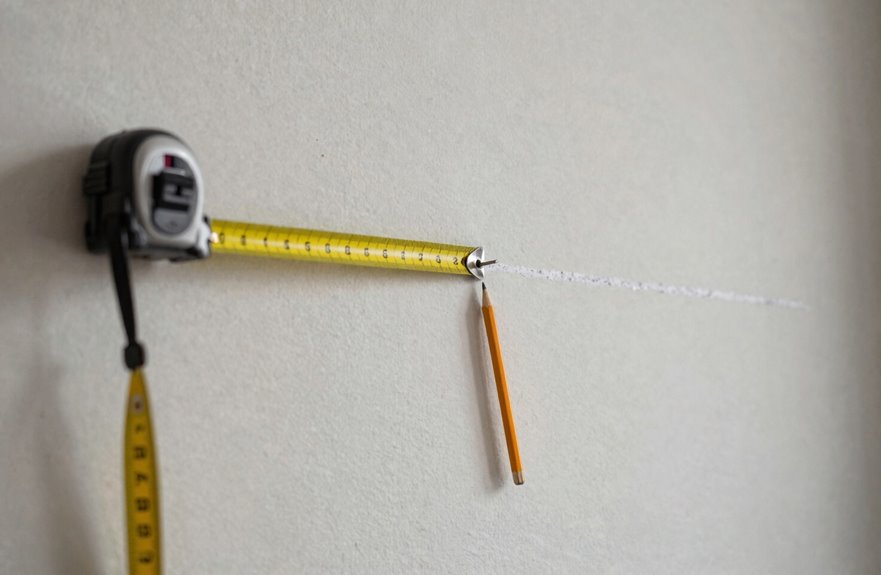
Once you’ve got your center line marked at 57 inches (or whatever height works for your space; I use 60 inches for my tall ceilings), it’s time to measure your wire drop.
Mark your center line at 57 inches—adjust for your space, like my 60 inches for tall ceilings—then measure that wire drop.
I grab the painting, pull up on the wire until it’s taut with no slack, and measure from that wire to the top edge of the frame. That’s your wire drop, a crucial measurement that prevents crooked hanging. For my Klimt print, it’s exactly 3 inches.
Here’s the process:
- Mark your wall center line at eye level. This is your anchor point.
- Subtract your wire drop from that center line to find exactly where the nail mark belongs (center minus drop equals nail point; write it down).
- Double-check everything to avoid unnecessary holes in your plaster.
Install Hooks and Anchors That Hold the Weight
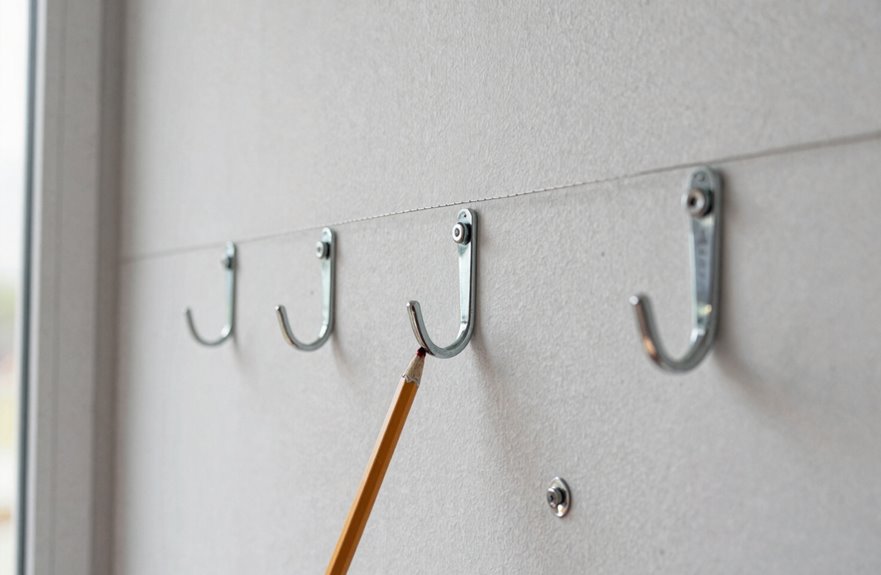
I always start by checking the weight capacity of every hook and anchor I’m using. Nothing ruins a project like hearing that crash at 2 AM because the anchor failed. For drywall, I’ll grab expanding metal anchors if I’m pushing past 120 lbs, because I learned the hard way with a shattered mirror incident. For stone or block mantles, I call in the pros with their mortar anchors, because improper installation can chip limestone heirlooms. I use Floreat™ Hangers, which come in ratings from 10 to 75 lbs, and I’ll double them up when I’m hanging anything valuable.
Weight Capacity Check
How do we make sure our gorgeous new painting doesn’t come crashing down at 2 AM? (I’ve had that nightmare, woke up in a cold sweat, checked the walls, the works.) Matching your hardware to your wall type and your art’s actual weight isn’t just good practice; it’s the difference between a proudly displayed piece and a very expensive lesson in gravity.
Before finalizing installation, verify the weight-bearing capacity:
- Grab drywall anchors rated for your piece. Heavy frames need heavy-duty anchors or expanding metal screws that’ll handle 120+ lbs without issue.
- Match your hanging hardware precisely; I always double Floreat™ hooks or bump up to strap hangers when pushing past 50 lbs.
- Secure that picture wire (Tuflon™ #6) to D-rings, then simulate movement with a helper before the final hang.
Anchor Type Selection
Where exactly should we sink these anchors so our masterpiece stays put. Getting this right prevents damage and failure.
First, grab weight-rated hangers because nobody wants a 3 a.m. thud from the living room. For heavier pieces, Floreat™ Hangers handle 10 to 75 pounds effectively, and strap hangers distribute weight beautifully. Light stuff works with screw-eye hooks, but check the rating regardless.
Drywall requires heavy-duty drywall anchors or expanding screws, never relying on the small nails that come free with frames. Plaster, block, or stone call for professional installation with mortar anchors to ensure proper support.
Always level and measure twice. Have someone assist you with larger installations.
Hang Your Art and Check for Level
Why does the final five percent of any project feel like it carries fifty percent of the stress? I understand the frustration. The solution is straightforward.
Here’s how to get it right:
- I mark the wall at center top, then subtract my wire measurement to find the exact hook height, eliminating guesswork and crooked results.
- I hang the piece, step back, and place my level across the top. If it’s off, I adjust the wire tension until it’s perfectly straight. I’ve learned this prevents frames from leaning like the Tower of Pisa.
- For groupings, I treat them as one unit, aligning centers so everything feels cohesive and intentional.
When your level confirms true horizontal alignment, the work is complete. Your wall is ready.
Raise the Height for Art Above Furniture
You’ve got your painting perfectly level, and it looks fantastic until you slide the sofa underneath and suddenly realize it’s hovering somewhere around your kneecaps. When hanging art above furniture, raise the height so the bottom edge sits six to eight inches above the piece. Never go lower, or your gorgeous frame gets visually swallowed.
The standard 57-inch eye-level rule applies, but raise it upward when there’s furniture below. A low console requires lifting that single piece higher. Balance is essential. For gallery-style groupings, anchor around 57 inches, then adjust individual heights for cohesion.
Always verify level after mounting. Crooked art above your credenza looks unfinished.
Arrange Gallery Walls as Single Units
I love a good gallery wall. There’s nothing quite like that moment when a cluster of frames clicks into a single, breathing composition. I always start by treating the whole arrangement as one giant artwork. After learning this lesson from a few “polka dot” disasters, I tape paper cutouts on the floor first. Think of it like playing interior designer without the commitment. I’m aiming for that sweet 3-to-6-inch gap between pieces, with the center hitting right at 57 inches, my eye-level anchor borrowed from the Museum of Modern Art’s playbook. I’ll make sure the bottom row sits 6 to 8 inches above my sofa so the whole thing actually talks to the furniture instead of floating in space.
Unified Composition Planning
How do you turn a chaotic cluster of frames into something that looks intentional, not like a yard sale exploded on your wall? I’ve been there, friend, and I’ve got solutions.
When I’m planning a gallery wall, I treat every piece as one big happy family, not lonely orphans. Here’s how I make it work:
- I start with wall measurement for the whole shebang, not piece by piece. Measuring as one unit keeps the layout organized and properly proportioned.
- I anchor everything around 57 inches at eye level, following museum standards, so my grouping feels balanced and welcoming.
- I cut paper templates and lay them on the floor first. Spacing looks so different when you’re not craning your neck.
Your wall will appear cohesive and intentional when these elements work together as a unified composition.
Optimal Spacing Standards
Where exactly should that nail go so your gallery wall doesn’t look like a game of frame-pin-the-tail-on-the-donkey? When hanging artwork as a gallery wall, treat the whole thing as one single unit, like a family that actually gets along at Thanksgiving. Anchor everything around a 57–60 inch focal point (eye level, basically), and keep spacing between pieces at 3–6 inches. Too tight looks cluttered, too loose looks lonely. For framing alignment, measure the total height including those gaps, then align top edges for a continuous visual line, giving your frames a neat haircut. Floor-plan with paper cutouts first; walls accumulate enough holes without unnecessary mistakes. On large walls, avoid cramming tiny pieces. Go bigger, or mix sizes that actually relate to your furniture.
Cohesive Visual Balance
- Treat every gallery as one single unit, not random frames, and mark your 57-inch center point first. This anchor prevents visual chaos.
- Keep spacing tight, just 3 to 6 inches between pieces, so everything breathes together as a cohesive group.
- Lay paper templates on the floor to test balance before committing a single nail.
For large walls, align the grouping’s middle to eye level. Your center point may shift with furniture, and that adjustment is necessary.
Avoid Crooked Frames, Bad Spacing, and Wrong Hardware
Why does one crooked frame make the whole room feel like it’s tilting off its axis? I’ve been there, walking past my own lopsided gallery wall for days before fixing it.
To avoid that chaos, start by grabbing your level and verifying every frame’s straightness, adjusting by tensioning that hanging wire on the back. Make six pencil markings: center, top and bottom edges, far left and right, plus your nail spot. Do this before touching any hardware.
Spacing matters. Keep gallery groupings at 3–6 inches apart, treating the collection as one unit anchored at 57 inches. Match your hardware to the weight. Use Floreat™ hangers for anything substantial, never a lonely wire with dinky anchors. This prevents wall damage and frame failure.
Secure Heavy Frames So They Stay Level
Getting the spacing and hardware right is only half the battle. A heavy frame can go from “perfectly hung” to “leaning precariously like the Tower of Pisa” in about a week. Nothing kills that gallery-wall vibe faster than a crooked picture staring back at you.
A heavy frame can go from perfectly hung to leaning precariously like the Tower of Pisa in about a week.
Here’s how to keep heavy frames locked in place:
- Check your hardware first. Always inspect D-rings and wire before hanging; loose hardware causes failure. A frame crash can damage both the piece and your wall.
- Use strap hangers or Floreat™ brass-plated steel hooks. They distribute weight effectively and leave minimal holes.
- Measure wire height, mount multiple hooks, and use your level. Adjust tension until everything sits perfectly straight. Properly secured frames remain level and stable over time.






