
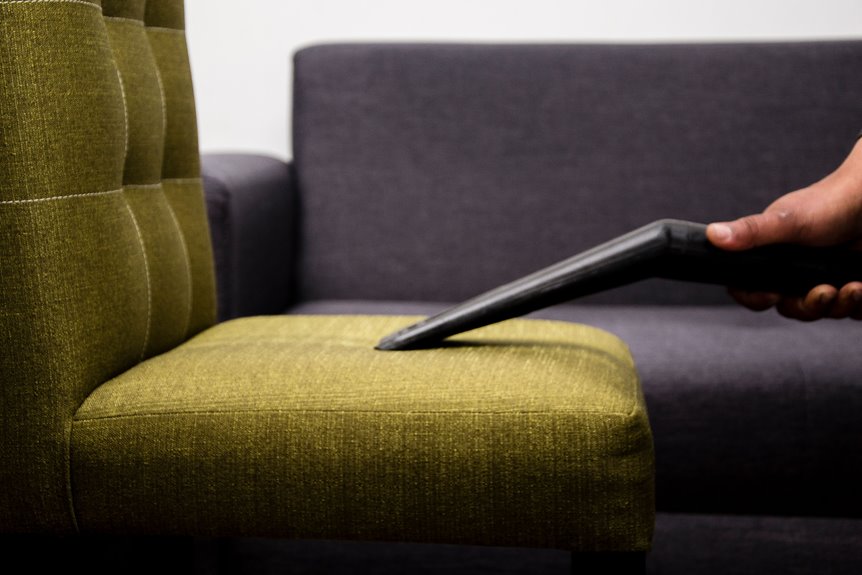
I always start by checking those cryptic fabric care labels. W means I’m grabbing mild soap, S sends me straight to solvent cleaners, and X means vacuum-only territory with no exceptions. I learned that lesson the hard way on a vintage linen chair that never quite recovered. I assemble my kit: upholstery vacuum attachment, microfiber cloths, baking soda for odors, and enzyme cleaner for protein stains. Then I hunt through every seam and crevice, because crumbs absolutely love hiding in tufted channels. For fresh spills, I blot from the outside in with a barely-damp cloth; for dried stains, I test hidden spots first and apply cleaner to my cloth, never directly onto the fabric. I rinse until zero soap bubbles remain, then position fans for gentle circulation while cushions dry flat, never stacked, in indirect light. The cranberry sauce incident on my William Morris velvet resulted in professional cleaning, which revealed techniques I wish I’d known beforehand.
Decode Fabric Care Labels: W, S, X, and S/W Symbols
Where do you even begin when staring at that cryptic little tag hidden under your dining chair? I’ve been there, squinting at what looks like alphabet soup. That tiny care label is actually your best friend, and I’m here to crack the code with you.
See that “W”? You’re golden with water-based solutions: mild soap, gentle dabs, no stress. “S” means solvent-based cleaners only (water’s the enemy here). “X” is the strict one: vacuum only, zero liquids. “WS” or “W/S” gives you options: water-based or solvent-based, your pick depending on the stain.
This universal lettering system isn’t designer nonsense; it’s protection. I’ve ignored tags and ruined gorgeous upholstery (RIP, my vintage Thonet chairs). Always check under that seat cushion first. Checking fabric care labels prevents damage to your furnishings.
Assemble Your Cleaning Kit for Fabric Dining Chairs
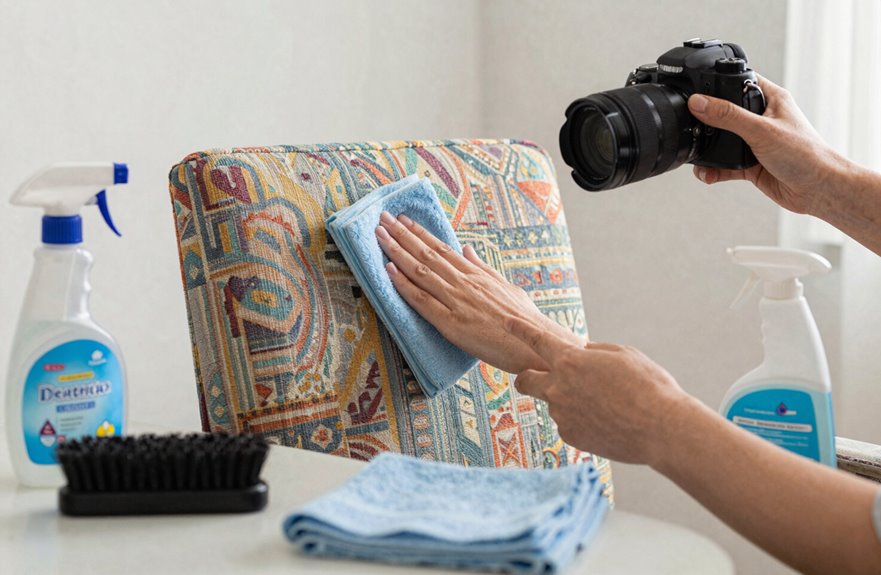
Now that I’ve decoded my chair’s secret language, I’m gathering my supplies. You’ll need a vacuum with an upholstery attachment, the brush head being particularly effective, microfiber cloths, mild detergent, and a bucket. I’ve also grabbed baking soda for odors and white vinegar; check that label first, as I learned on my vintage Thayer Coggins chairs. If your fabric allows, get an enzyme cleaner for protein spills. Remove those detachable cushions now, because we’re getting into every seam and fold together. With our kit assembled, we’re ready to begin the cleaning process.
Vacuum Fabric Dining Chairs Thoroughly
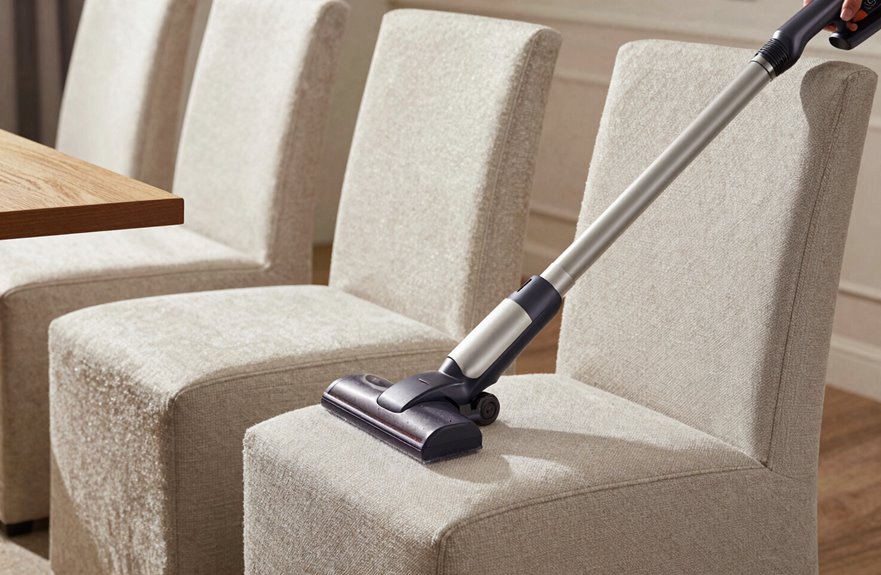
Before I do anything else, I grab my vacuum. This is the step that separates “kinda clean” from “actually clean.” I swap on that upholstery attachment, the one with the brush head that looks like a tiny mustache, and I get right into those tufted channels where last year’s dinner party crumbs are still having a reunion.
I pop off the cushions, if they come loose, and hit both sides like I’m searching for lost treasure. Vacuuming first saves your fabric chairs from grinding dirt deeper during wet cleaning. I’ve ruined enough upholstery to know the consequences.
Here’s my battle-tested routine:
- Attach that upholstery attachment and attack seams head-on
- Flip cushions and vacuum underneath where dust bunnies throw raves
- Target corners daily before any damp methods
- Hit high-traffic zones twice; pet hair hides like it’s paying rent
Spot Clean Fresh Spills on Fabric Dining Chairs Immediately
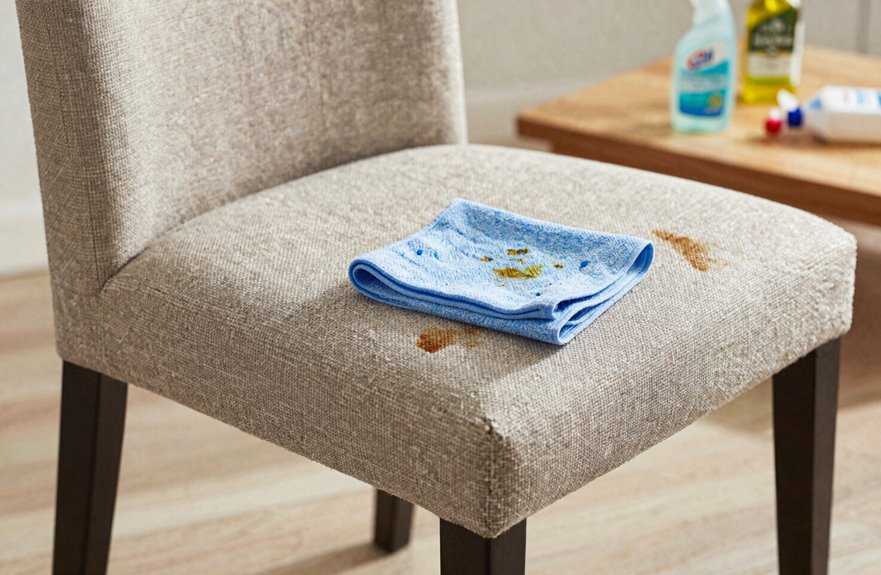
Why let a gorgeous Cabernet turn into a permanent souvenir? When spills happen, I grab a clean cloth and blot, blot, blot. No rubbing, no panic-spreading that merlot like I’m painting a Rothko.
I work from the outside in (learned that the hard way at my sister’s rehearsal dinner, sorry Claire). Then I switch to a damp cloth, just barely wet, to lift what’s left without drowning the fabric. Oversaturation is the enemy here.
If I need backup, I check that care label first, then apply cleaner to a microfiber cloth, never straight onto the chair. Spraying directly onto the fabric is ineffective, and a microfiber cloth application prevents damage.
Treat Dried Stains on Fabric Dining Chairs
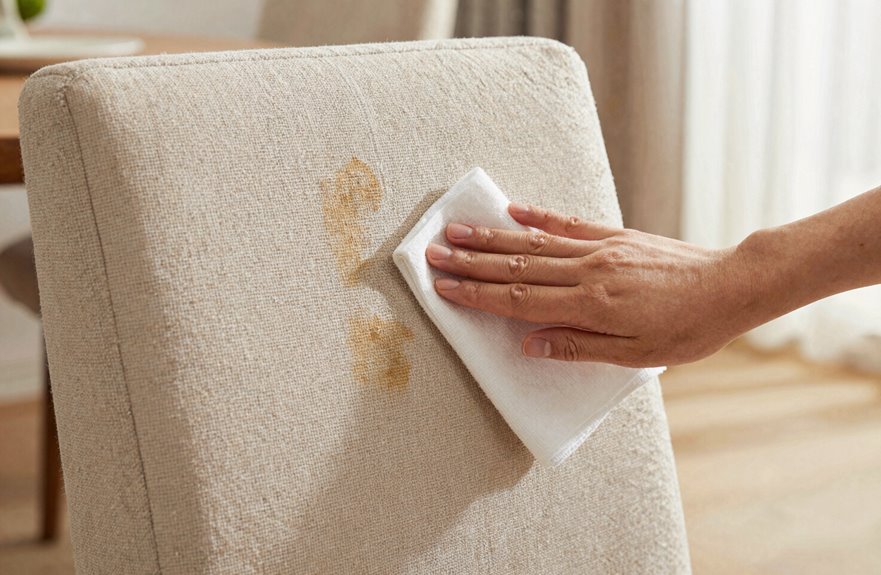
What happens when that Tuesday night Bolognese becomes a fossilized weekend project? We’ve all been there (guilty as charged), and dried stains need a gentler touch than fresh spills. Always check your fabric care label first, as it indicates whether you can dampen with water or need solvent-based help.
- Test your stain removal solution on a hidden spot. This prevents damage to visible areas.
- Dampen a clean cloth, never the fabric directly. Oversaturation causes permanent damage.
- Blot repeatedly with fresh cloth sections to lift the dried stain without damaging fibers.
- Rinse with plain water, then let air dry completely.
The repetitive blotting motion is an efficient cleaning technique that removes stains effectively. Your chairs will maintain their appearance and durability with this method.
Mix and Apply Water-Based Cleaners Safely
First, grab that fabric care label and hunt for W, WS, or W/S. These letters confirm your fabric can be safely cleaned with water-based products.
Spot test first by dabbing the water-based cleaner on a hidden seam. Dye bleeding and color distortion can occur without this precaution. Apply lightly with a clean cloth, avoiding the temptation to soak. Keep the fabric damp, not wet.
Next, rinse and blot with plain water to remove every soap trace. Soap residue attracts dirt and grime over time. Finally, air dry in a well-ventilated space. This prevents mold growth on your upholstered furniture.
| Step | Action | Why It Matters |
|---|---|---|
| Check Label | Find W, WS, W/S | Confirms water-based cleaner safety |
| Spot Test | Apply to hidden area | Prevents color bleeding or warping |
| Apply | Lightly with cloth | Avoids over-wetting damage |
| Finish | Rinse/blot, air dry | Stops residue buildup, mold growth |
Blot Stains Gently to Avoid Spreading
Grabbing that wine spill before it becomes a permanent souvenir, I press a clean, dry cloth against the fabric. No rubbing, no panic-scrubbing like I’m trying to erase a bad tattoo. I’ve learned this the hard way on my beloved West Elm dining chairs. That Cabernet incident of 2019 still haunts my Instagram archive. You’re lifting liquid here, not painting a Jackson Pollock, so gentle pressure is everything. Think spa treatment, not gym towel.
Blot, don’t rub. Gentle pressure lifts the stain; panic-scrubbing tattoos it forever.
For proper blotting on your fabric chairs, remember these stain removal essentials:
- Blot from the outside edges toward the center. Don’t widen the crime scene.
- Switch cloth sections constantly; use fresh real estate every few dabs.
- Introduce a damp cloth only after you’ve lifted the excess with light touches.
- Repeat until your fabric chairs surrender zero residue.
Remove Stubborn Stains With Targeted Solutions
For real stain removal power, grab targeted solutions. Blood, wine, coffee, or tea? Dilute hydrogen peroxide (3%) in water, dab gently, and blot. Never rub. Greasy food spills respond well to a vinegar solution of white vinegar and water. For organic messes, enzyme cleaners work effectively; just test hidden spots first. Baking soda paste tackles grease and odors.
| That sinking feeling when… | But then you remember… |
|---|---|
| Red wine hits your cream linen | Hydrogen peroxide removes it effectively. |
| Spaghetti sauce splatters everywhere | Vinegar solution prevents permanent damage. |
| Mystery organic stain appears | Enzyme cleaners break down the residue. |
| You think the chair’s ruined | These solutions can restore most fabrics. |
Rinse Fabric Dining Chairs to Remove Soap Residue
Why does soap residue feel like it’s haunting your chair long after the stain is gone? I’ve been there, thinking I’d conquered that coffee spill, only to sit down and find my linen suddenly sticky as a movie theater floor. Any cleaning solution left behind becomes a dirt magnet, practically inviting the next spill to set up camp.
To rinse fabric chairs properly, cloth dampening is critical. Here’s my battle-tested routine:
- Dampen a clean microfiber cloth with plain water, slightly wet, never soaking.
- Gently dab in circular motions, like you’re coaxing the soap residue out.
- Rotate to fresh cloth sections and repeat until zero bubbles or slickness remains.
- Blot excess moisture (that’s it, no rubbing) before the fabric air dries.
Keep rinsing with new cloths until your fabric feels genuinely clean. Residual soap attracts dust and dirt, so thorough rinsing prevents premature re-soiling.
Air Dry Fabric Dining Chairs Completely
I always rush this part and regret it later. Your chairs deserve better attention to detail. First, I set up the optimal drying environment by opening every window and pointing a Vornado fan at the seats. My apartment turns into a wind tunnel, but it works. Then I grab a stack of clean microfiber cloths, which I learned from a Ballard Designs catalog, and gently blot every crevice until my wrists ache. Removing moisture now cuts hours off your drying time. Finally, I resist the urge to haul cushions outside into direct sun, such as what happened to my grandmother’s faded chintz ottoman. Instead, I prop removable covers upright like little fabric soldiers so air circulates on all sides. Check them frequently because damp patches hide in the shadows and compromise your results.
Optimal Drying Environment
- Find a well-ventilated room with gentle airflow. Open windows work better than creating a wind tunnel effect.
- Position fans strategically to circulate air around (not directly at) your chairs.
- Keep cushions upright or flat, never stacked like sad pancakes.
- Run a dehumidifier if you’re battling humidity, particularly in humid climates.
Avoid direct sunlight and heat sources. Proper drying conditions extend fabric durability significantly.
Moisture Removal Techniques
I position chairs where airflow circulates freely, often using a fan or dehumidifier to accelerate drying. Removable cushions get flipped, propped, and positioned to expose all surfaces. They must remain unoccupied during the drying period because dampness hiding in springs or frames creates conditions for mold growth.
Designer Sheila Bridges’s upholstery care guidance demonstrates that bright indirect light works effectively. However, harsh sun fades fabric significantly. Use bright indirect light sources rather than direct sunlight when drying upholstered furniture.
Drying Time Factors
Because patience is essential—the difference between a fresh-smelling chair and microbial growth in your dining room, air drying demands proper attention.
I always blot excess moisture first using paper towels, then allow about 24 hours of proper drying time. Here’s what works:
- Position a fan nearby; circulation protects upholstery fibers.
- Run a dehumidifier if you’re battling humidity, especially in basements.
- Lay removable covers flat, never in direct sunlight, to prevent fading.
- Check cushions and seams twice; trapped moisture causes odor and mildew.
Rushing air drying leads to musty odors and fiber damage. Your upholstery fibers require complete air drying before use.
Remove Odors With Baking Soda
I start by making sure my chairs are bone-dry and crumb-free (learned that the hard way after a soggy baking soda disaster), then I lightly dust the entire fabric surface with baking soda, working it into every crease and corner like I’m seasoning a steak. I’ll let it sit for at least 30 minutes, or overnight if I’ve hosted a garlic-heavy dinner party, because that powder needs time to work its magic on trapped smells. Finally, I vacuum thoroughly with my upholstery attachment, really digging into those seams and edges where the baking soda and the odors it’s absorbed love to hide. The baking soda visibly disappears as you vacuum, taking trapped odors with it.
Pre-Cleaning Preparation Steps
Before starting your cleaning solution, begin with baking soda as a pre-cleaning step. This preparation removes odors and freshens upholstery effectively.
Here’s my tried-and-true process for tackling stubborn odors:
- Check that the fabric is completely dry, with no moisture present.
- Sprinkle baking soda over all surfaces, including creases where debris accumulates.
- Let it absorb odors for a minimum of 30 minutes. Set a timer to track the time.
- Use your vacuum’s upholstery attachment on seams and cushions to remove the baking soda.
Do not mix cleaners during this phase, as chemical reactions can damage fabric.
Application and Waiting Time
I always make sure my chair fabric is completely dry first, with no moisture. Then I grab my trusty Arm & Hammer and lightly sprinkle it everywhere, including those sneaky creases where crumbs love to hide.
The waiting time is crucial here: thirty minutes minimum for everyday smells, but I’ll let it sit overnight when my terrier, Mabel, has claimed the chair as her throne.
The baking soda pulls odors from deep in the fibers. (Yes, I’ve set a timer and forgotten, who hasn’t?) After this, we’ll tackle upholstery vacuuming to finish the job completely.
Thorough Vacuum Removal
Once that timer finally dings (and yes, I’ve definitely found Mabel nosing at the chair mid-wait), it’s time to bring out the vacuum and really put this baking soda to work. Vacuuming fabric chairs isn’t glamorous, but it’s where the magic happens. I grab my upholstery attachment and get serious about those seams.
Here’s what we’re hunting down:
- Crumbs wedged between seat and back — the midnight-snack graveyard
- Tufts and creases — where baking soda loves to hide
- Underneath removable cushions — flip ’em, vacuum both sides.
- Hidden debris beneath the chair — spiderwebs, dust bunnies, mysteries
I focus on hidden debris in shadowy corners, check undersides, and use that upholstery attachment like a detective tool. Daily vacuuming prevents stains from setting, so don’t skip it before wet cleaning. Your chairs and dinner guests will benefit from this step.
Steam Clean Fabric Dining Chairs Safely
Why settle for surface-level clean when you can blast those germs into oblivion with nothing but hot water vapor. I grab my HomeRight Steam Machine Plus (the orange one, obviously; I’m basic like that) and get ready to steam clean fabric dining chairs like we’re in a cleaning montage.
First, always spot-test on a hidden corner. I learned that the hard way on my mother’s vintage Pierre Frey chairs. For delicate fabrics, wrap a microfiber cloth around the nozzle instead of that aggressive brush attachment. Work in a grid pattern, like you’re mowing a tiny lawn, so nothing gets missed.
Stain removal still stubborn. Reapply mild solution and re-steam just that spot without harsh chemicals. Then park a Vornado fan nearby because musty odor will develop in damp upholstery. Your dinner guests will notice the difference in how fresh the chairs smell.
Apply Fabric Protector and Use Chair Covers
Steam cleaning leaves chairs refreshed but in need of protection, so I apply defensive layers to prevent stains and damage. I use the same approach I developed for managing toddler birthday parties, which involves smart stain prevention through proactive measures rather than reactive cleanup.
Here’s my routine:
- I identify my fabric first. No guessing games with fabric protector compatibility.
- I apply the protective film following instructions exactly, as shortcuts lead to uneven coverage.
- I use removable covers for high-risk meals like pizza night, then remove them for easy washing.
- I keep gentle baby wipes nearby for quick blots without stripping the fabric.
My original upholstery stays pristine while maintaining the comfort of my home. The chairs remain functional and attractive rather than feeling like they’re wrapped in plastic.
Quick Touch-Ups for Busy Mealtimes
How do I keep my chairs looking decent when life moves this fast? I’ve found a simple routine that works.
Every morning, I grab my vacuum’s upholstery attachment and zip across seats, seams, and tufts where crumbs accumulate. This takes ninety seconds.
When spaghetti sauce launches at dinner, I blot with a dry cloth first, never rubbing or panicking. Then I switch to a damp microfiber cloth, diluting what’s left without drowning the fabric. I avoid pouring cleaner directly on upholstery; I learned that lesson in 2019.
For stubborn spots, I check labels, dampen a microfiber cloth with solution, and dab gently. I rinse with plain water until soap bubbles are completely gone, then let it air dry near an open window.
These steps keep chairs in good condition during busy seasons.
When to Call a Professional Cleaner
Severe staining issues, like set-in wine stains or cranberry sauce damage, can destroy delicate fibers if treated with supermarket sprays and improper techniques. Delicate antique upholstery requires professional care. If you own a chair with original William Morris velvet or tufted linen, attempting to clean it yourself with a Bissell risks permanent damage to the piece.
Severe Staining Issues
With all the scrubbing and sighing behind us, there comes a point where I have to admit defeat and pick up the phone.
Sometimes that miracle stain remover just won’t work. I’ve learned through experience that certain situations demand professional cleaning expertise. Here’s when I surrender my upholstery pride:
- Stains that laugh at my DIY efforts, wine, ink, or mystery spills that refuse to budge from my beloved fabric chairs
- Musty cushions needing sanitizing beyond my spray bottle’s capabilities
- Heavily matted or deteriorating fillings where I’ve lost all hope of resurrection
- Chemical-intensive treatments I’d absolutely botch spectacularly
Professional services rescue my dining room sanity by extending chair lifespan, banishing odors, and saving me from another embarrassing attempt. I always verify they handle my specific fabric types first.
Delicate Antique Upholstery
Why do I always hold my breath when I spot that faded velvet on Grandma’s dining chair? That antique upholstery deserves better than my DIY enthusiasm.
| Problem | Risk Level | Solution |
|---|---|---|
| Stubborn stains needing chemicals/steam | High | Professional upholstery service |
| Musty, contaminated cushions | High | Sanitizing by experts |
| Heavily soiled heirloom pieces | Very high | Avoid DIY cleaning methods |
| Matted/deteriorated fillings | Severe | Possible replacement needed |
I’ve learned the hard way that delicate fabric punishes overconfidence. Those Victorian horsehair cushions crumble under amateur hands like my soufflé last Thanksgiving. (Yes, I’m still bitter.)
Regular professional maintenance actually preserves patina and value. Imagine keeping that warm, lived-in glow Aunt Edna’s chair earned through decades of Sunday dinners. Calling a pro means protecting your heirloom pieces and the memories they hold.






