
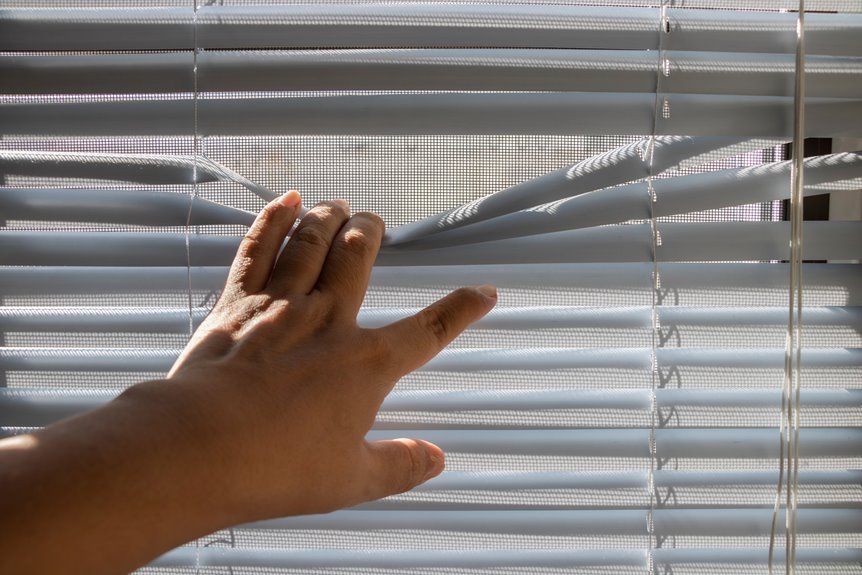
I grab my step stool and flashlight first. I raise the blinds completely, then inspect the headrail for spring-loaded brackets (look for the tiny tab), clear plastic clips, or box brackets with flip doors. I push upward, tilt the top away from the window, and depress that tab with my screwdriver until I hear the click. I work end-to-middle, supporting the weight as the headrail slides free. Finally, I yank those screws, slap on spackle, sand smooth, and repaint. (I’ve definitely skipped the primer once and regretted it.) Those patched holes will disappear completely, and the full breakdown ahead will provide guidance on trickier brackets.
Gather Your Tools: Flashlight, Flathead Screwdriver, and Step Stool
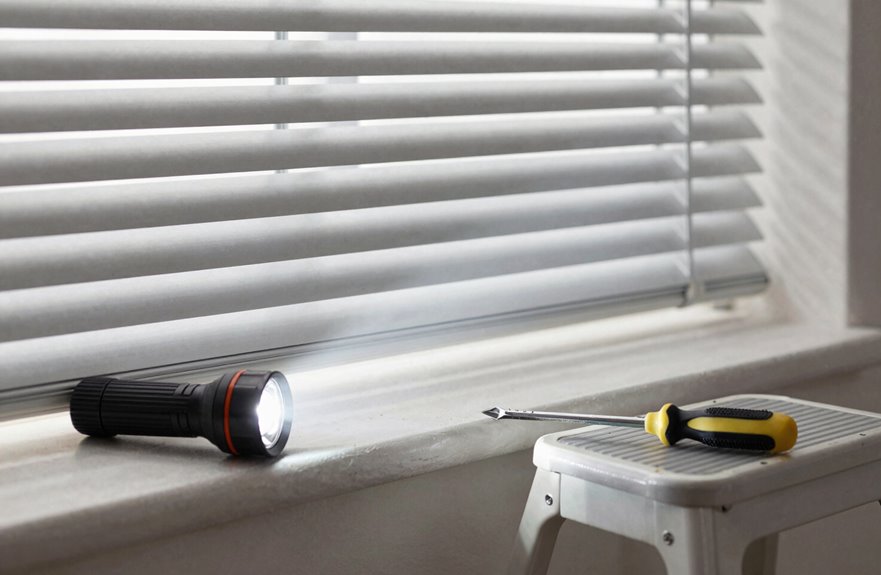
Why do I always start home projects by tearing apart the junk drawer? (Spoiler: because I never learn!) But this is the reality about removing Levolor blinds: you actually need the right trio upfront, or you’ll end up like me last spring, teetering on a wobbly kitchen chair with my phone flashlight clamped between my teeth.
Grab a sturdy step stool first. You’ll need that height to gently reach the headrail without warping anything. Next, snag a high-lumen flashlight. Those hidden brackets and spring-loaded clips love playing hide-and-seek behind the fabric. Finally, a medium flathead screwdriver becomes your best friend for pressing release tabs (never pry!). Keep everything within arm’s reach, work end to middle, and you’ll be actually ready for bracket removal instead of improvising disaster.
Raise the Blinds and Identify Your Bracket Type
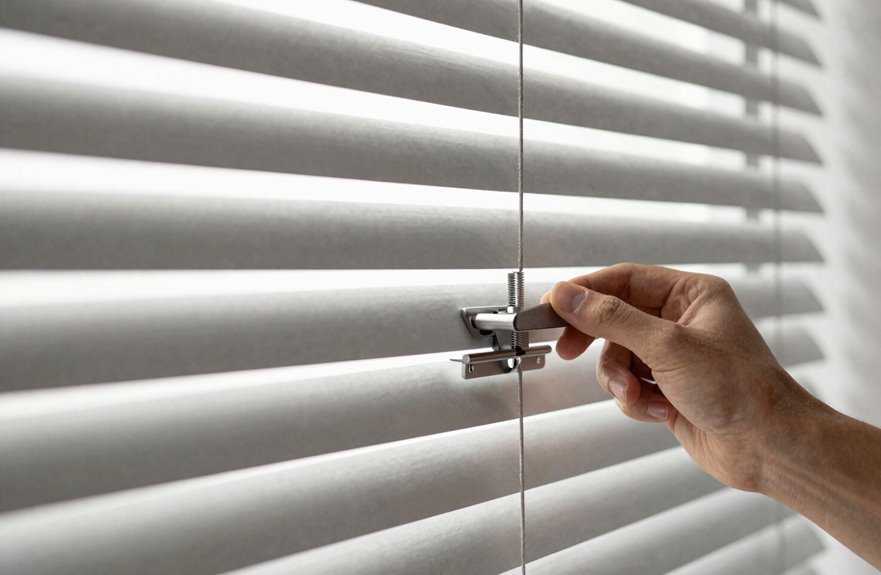
So how do you actually get these things down without a meltdown?
Raise blinds completely first. That bent bottom rail from my last attempt still haunts my Instagram DMs. Then scout along the headrail to identify what you’re dealing with. Figure out your bracket situation by looking for these characteristics:
| Bracket Type | What I’m Looking For |
|---|---|
| Spring-loaded | Tiny release tab, usually pinches inward |
| Clear plastic tabs | Visible clip-on wings near headrail ends |
| Hidden brackets | Seamless wall connection, no visible hardware |
| Box brackets | Small brackets doors that flip open |
| Mystery mix | Combo situation (my personal nemesis!) |
Your removal technique depends entirely on this detective work. Box brackets need those doors popped, hidden brackets want a slide-and-lift motion, and spring-loaded ones require gentle pressure on that tab. Never yank.
Release a Stuck Levolor Bracket: Push, Twist, and Depress the Tab
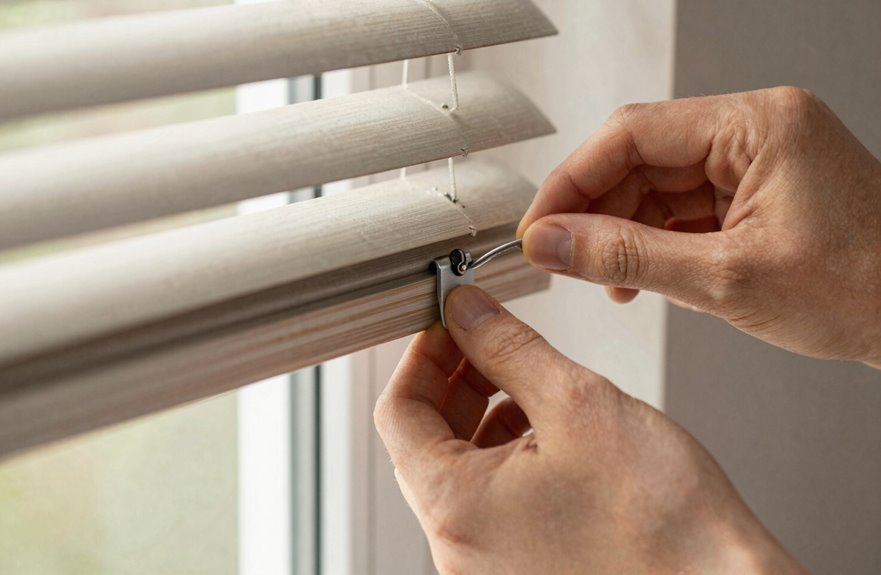
- Push the headrail upward toward the ceiling
- Tilt the top away from your window glass
- Depress the release tab with your finger (or flathead screwdriver for stubborn ones)
- Lower the front until you feel that satisfying click as you disengage
The spring-loaded bracket hides its release tab along the rear edge, invisible until you know where to feel. Work end-to-middle, one bracket at a time. Twist slightly if tension holds, and you’ll remove blinds without bending your headrail. The brackets will come free once the release tab engages properly.
Slide the Headrail Free and Support the Weight
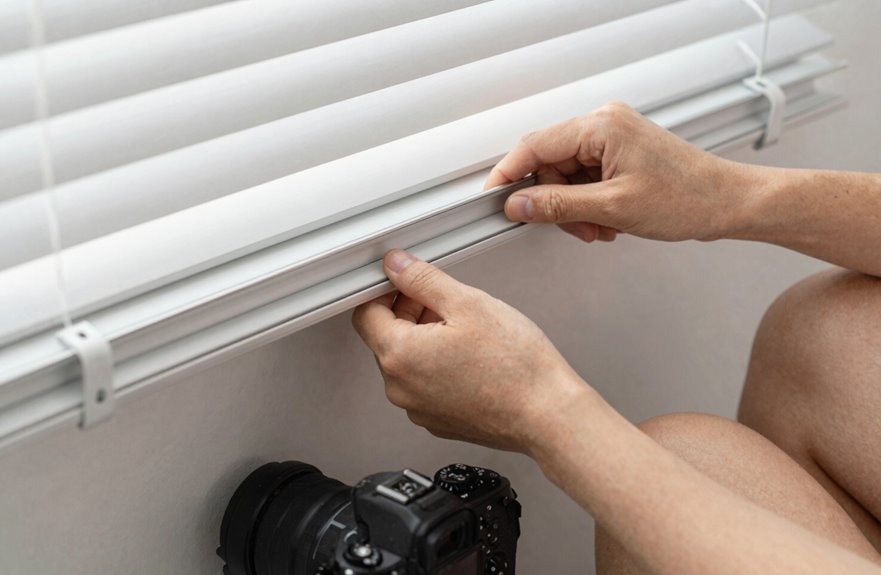
Once that last bracket clicks free, you’re in the home stretch. A crashing headrail will damage the installation and require reinstallation.
First, raise those blinds fully to gather the slats and prevent fabric damage. Then identify your bracket types: spring-loaded, hidden brackets, or box brackets, as each requires a different removal technique. For stubborn releases, use a flathead screwdriver and gently depress the release tab without prying.
Tilt the headrail slightly away from the window while maintaining pressure, then lower the front to disengage. Remove brackets end-to-middle, one bracket at a time. Support the headrail weight with your free hand throughout the process to prevent twisting and damage.
Remove the Screws and Patch the Bracket Holes
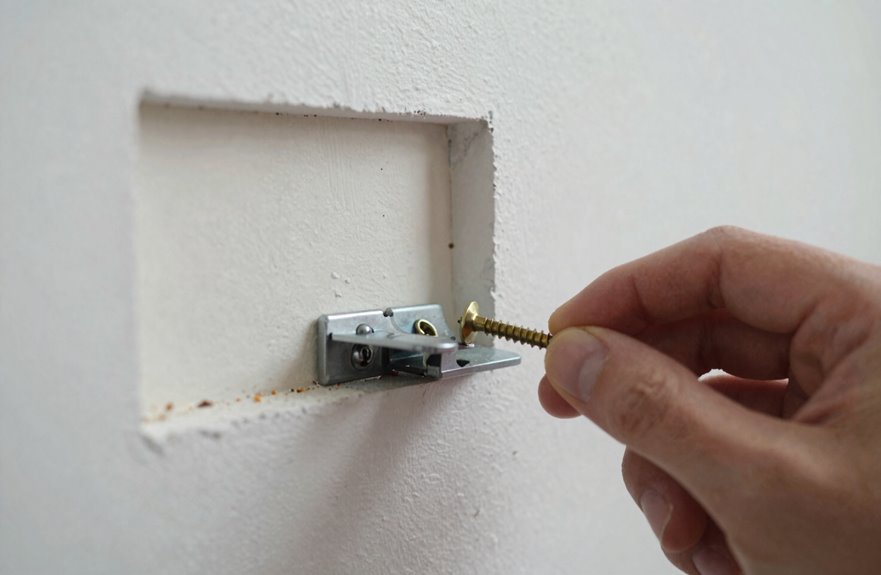
- Yank screws from wall anchors or drywall. Take care not to damage the surrounding drywall.
- Slather lightweight spackle or joint compound into those cratered holes.
- Sand smooth once dry, then seal with primer to prevent dust from settling on the finished surface.
- Repaint to match. This removes any visual evidence of the bracket installation.
The removal process ends here. Your drywall will have a fresh appearance.






