
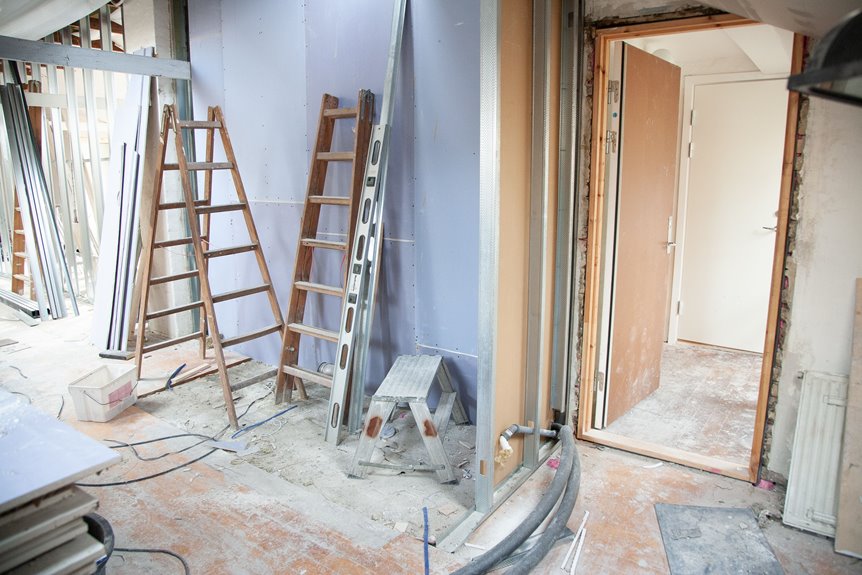
I always start by checking my crawl space access. If I can’t stand or at least crouch at 45 cm, I’m working from above. Then I clear every scrap of debris and dry the space thoroughly, because mold causes structural damage and health problems. I match insulation to my situation: PIR boards when I’m crawling in tight spaces, mineral wool when there’s breathing room. Vapor barrier goes down first, always, taped securely. I friction-fit batts between joists, cut carefully around pipes and ducts (measure twice, cut once), and finish by checking vents aren’t blocked and ensuring the space maintains warmth. Each step has specific techniques that will reduce physical strain and lower your heating costs.
Check Your Floor Type and Crawl Space Access
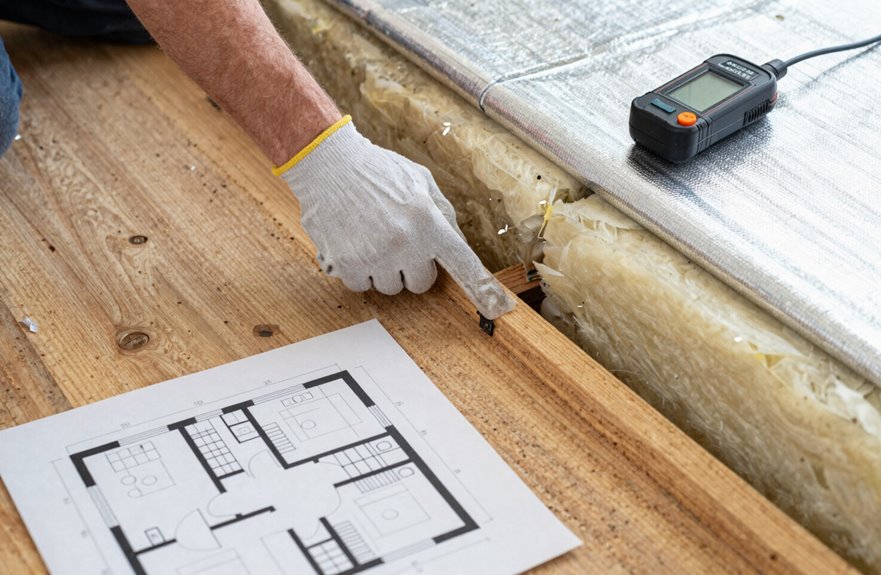
Where do we even begin with floor insulation? I always start by figuring out what I’m working with, and you should too.
Start floor insulation by assessing what you’re working with—know your space before you commit to any materials or methods.
First, I check if I’ve got crawl space access. You’ll need at least 45 cm of headroom to actually move down there. I’ve tried squeezing into tighter spaces, and it’s not worth the effort. Without proper access, you’re stuck insulating from above, which changes everything.
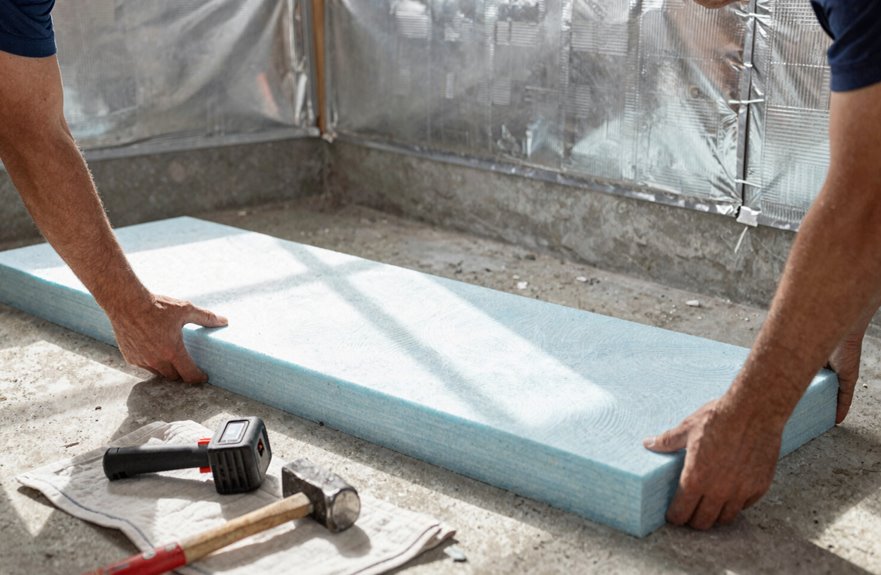
Next, I identify my floor type. Concrete slab? I’m grabbing PIR boards. Wooden joists? Mineral wool’s my best friend here. Each floor type demands different materials, and getting this wrong means wasted money and inadequate winter insulation.
I also measure that crawl space height carefully, as insulation thickness matters. I’ve seen friends install gorgeous thick boards only to discover their doors won’t close afterward. Learn from these experiences.
Finally, I verify ventilation requirements. You’ll want at least 1 cm² per m² of floor area, minimum four vents. Skip this step and you’re building a mold farm underneath your home.
Clear and Dry Your Work Area (Crawl Space or Above)
How exactly do I turn a grimy crawl space into something I can actually work in? It’s all about elbow grease and patience.
First, I clear every last bit of debris, standing water, and those mysterious objects I don’t even want to identify. (Pro tip: wear a headlamp, not your phone flashlight, like I tried once, dropping it into muck. That’s a rookie mistake.) I relocate vents, pipes, and electrical components blocking my path to those precious joists.
Then comes moisture, my arch-nemesis. I inspect for leaks, condensation, and any sneaky water source. I dry everything thoroughly because mold and wood rot will compromise your structure. I store materials in a dry, organized spot. Soggy insulation will deteriorate and lose its insulating properties.
Pick Floor Insulation for Your Height and Moisture Conditions
Now that I’ve got a clean, bone-dry workspace, I’m staring at my joists and asking the big question: what insulation actually belongs here?
Let’s talk insulation materials and moisture tolerance because picking wrong means shivering later or worse, mold.
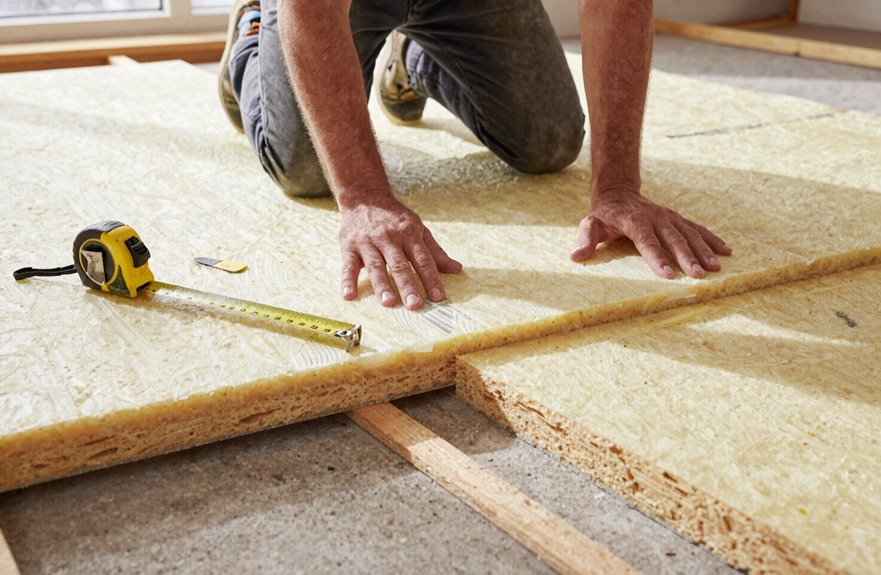
If headroom’s tight (story of my life), I’m grabbing PIR boards. Thin, mean, and packed with R-value per centimeter, perfect for concrete floors where every millimeter counts. For wooden floors in damp zones, mineral wool is the flexible, vapor-open choice. It breathes, it adapts, and it handles humidity fluctuations without failure.
Got decent crawl space, say 45 cm? Insulate from below for easy installation. No access? Install from the topside instead, and plan accordingly for the additional labor involved.
Match your conditions to the material performance required, not to aesthetic preferences.
Lay the Vapor Barrier and Seal Air Leaks First
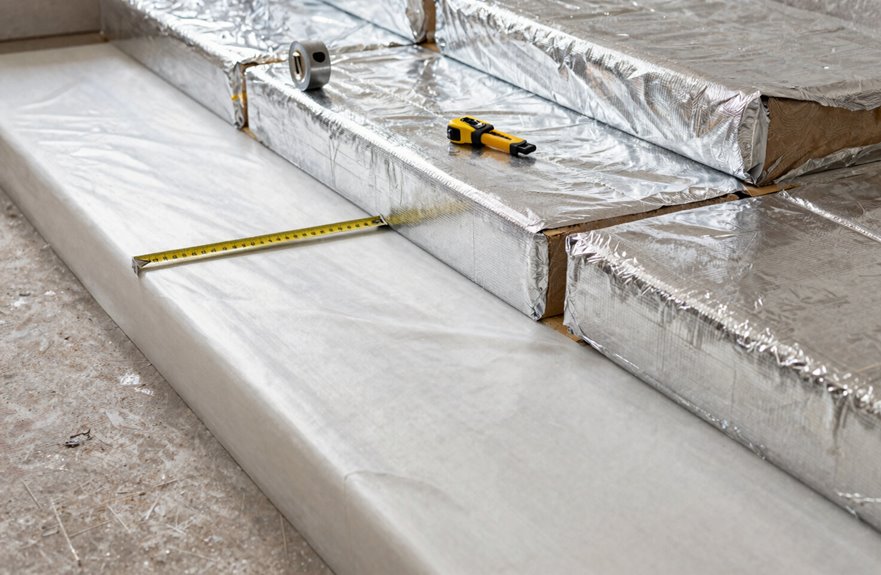
Why would I even think about fluffy pink batts before I’ve locked out the damp? (Spoiler: I wouldn’t, learned that the expensive way.) I start every floor job belly-down in the crawl space, wrestling a sheet of polyethylene vapor barrier across the dirt like I’m gift-wrapping a giant, muddy birthday present.
I overlap those seams a solid foot, then tape every joint meticulously. The floor’s integrity depends on it. No gaps, no shortcuts. Then I hunt down air leaks like a bloodhound: that sneaky gap around the HVAC boot, the crack where the duct disappears into the wall, every pipe penetration. Foam sealant is essential. Skip this step, and you’re inviting mold into your home.
Fit Floor Insulation Tight Without Compression or Gaps
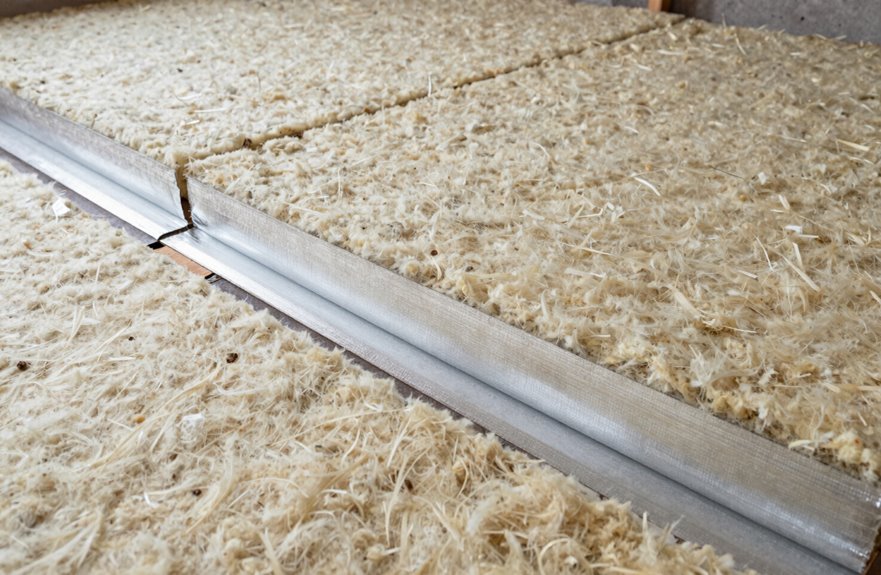
I push each batt snug between the joists with a friction fit, parallel to the framing, without squashing it. Gaps are the enemy here, like that drafty corner in my own basement that I discovered last February. I butt the ends tight, wire-fasten everything flush against the subfloor, and cut clean around every HVAC boot and pipe I encounter. Even a pencil-width gap reduces your R-value significantly.
Proper Friction-Fit Technique
How exactly do you get insulation to stay put without squashing it into uselessness? The friction-fit method is your best friend here. Measure the exact height between joists with no guessing, or you’ll end up with sagging batts. Cut the insulation to fit, then slide it in parallel to the floor boards so it doesn’t bow or shift around.
Use wire fasteners or spring rods to hold everything in place without compressing the material. Compression reduces your R-value significantly. Butt those ends tight against blocking or rim joists, keeping full contact with the subfloor above. No gaps, no compression, just effective insulation performance.
Critical Gap Avoidance
The tiniest gap in your floor insulation allows heating dollars to escape. I’ve learned through experience that gap avoidance separates the cozy homes from the ones with $400 electric bills.
During insulation installation, I friction-fit batts tight between joists, with ends meeting closely. No gaps, no compression. Just snug contact against the subfloor. I cut around HVAC boots and wiring with precision, splitting insulation to fit every obstruction. Kraft-facing goes warm-side-down with edges sealed tight. I inspect every cavity twice because voids reduce efficiency. When ends butt together perfectly with no misalignment, the heating system operates at full effectiveness.
Cut Insulation Around Pipes, Wires, and Ductwork
I tackle insulation around pipes first because they’re trickier than they look. I’m measuring twice, cutting once; trimming insulation into precise splits that wrap snugly without squeezing. That fiberglass needs to breathe, not choke.
Around HVAC boots, I’ll shape pieces like a jigsaw puzzle, maintaining contact with subfloor and joists. No voids behind obstructions allowed. I’ve learned that lesson the hard way; cold spots develop when gaps exist behind obstructions.
For hot ducts, I’m checking NFPA codes and manufacturer specs. Safety comes first. Then I refit edges, seal tight, and achieve continuous thermal resistance. No air leaks will pass through my work.
Confirm Ventilation and Test Your Warmer Floor
Then comes the warmth test. I grab my infrared thermometer or simply use my bare feet and compare insulated versus uninsulated sections. That 3–4°C difference demonstrates the effectiveness of proper insulation. I also crawl around checking for cold spots near joists and gaps, making sure nothing blocks the vents. No dust, no debris, no thresholds sealing them shut. Your floor stays dry and your toes stay warm.






