

I’ve obsessed over this exact question while staring at my ceiling at 2 AM, convinced my 75-gallon tank was plotting my floor’s demise. Most residential floors handle about 40 pounds per square foot, but your aquarium isn’t polite enough to spread its weight evenly. My 32.5-gallon setup hits 350+ pounds concentrated on specific joists, while that dream 75-gallon tank starts at 625 pounds before you’ve added substrate or that gorgeous driftwood centerpiece. The critical factor isn’t just total weight; it’s placement. Position perpendicular to joists, hug those load-bearing walls, and span multiple supports rather than concentrating weight at mid-span. Joist size, spacing, and span length matter enormously, plus whether your home was built in 1912 with old-growth timber or 2022 with current lumber standards. Watch for bounce, cracks, or doors that suddenly stick. These physical signs indicate structural stress requiring immediate assessment.
Can Your Floor Hold a Heavy Aquarium?
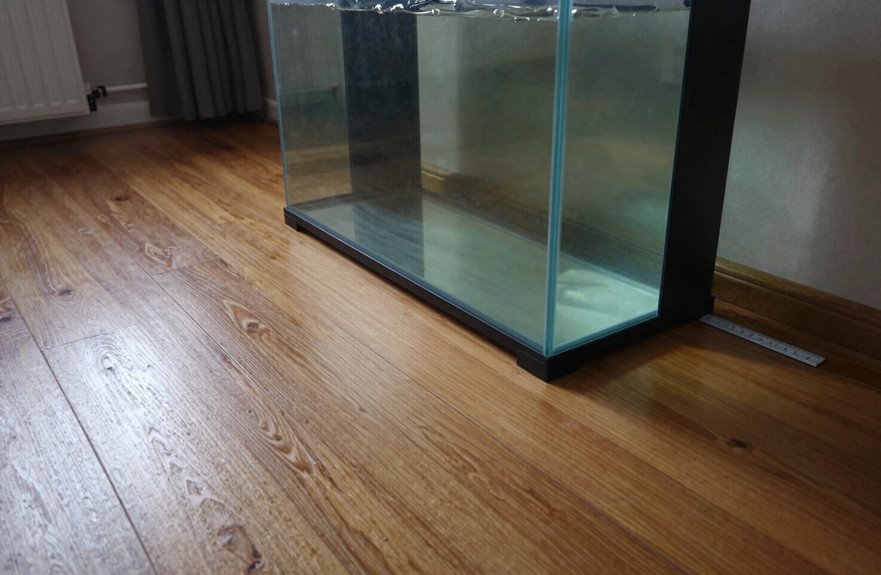
How exactly do you know if your floor can handle that dream aquarium you’re eyeing? I’ve been there, friends, standing in the fish store, heart racing, picturing that aquascape paradise. Your typical residential floor handles about 40 pounds per square foot live load, which is a critical specification for tank placement.
My 32.5-gallon tank (roughly 350–380 pounds filled) positioned against that left interior wall provides superior support compared to placement mid-room. For serious setups like 75 gallons pushing 800–900 pounds, external walls become your best option, spreading weight across multiple joists (usually 16 inches apart). That footprint catches several joists at once, distributing the load more effectively.
Running two tanks requires that each has independent joist support. If your floor shows signs of sagging or deflection, consult a structural engineer before proceeding.
How to Calculate Your Aquarium’s Total Weight
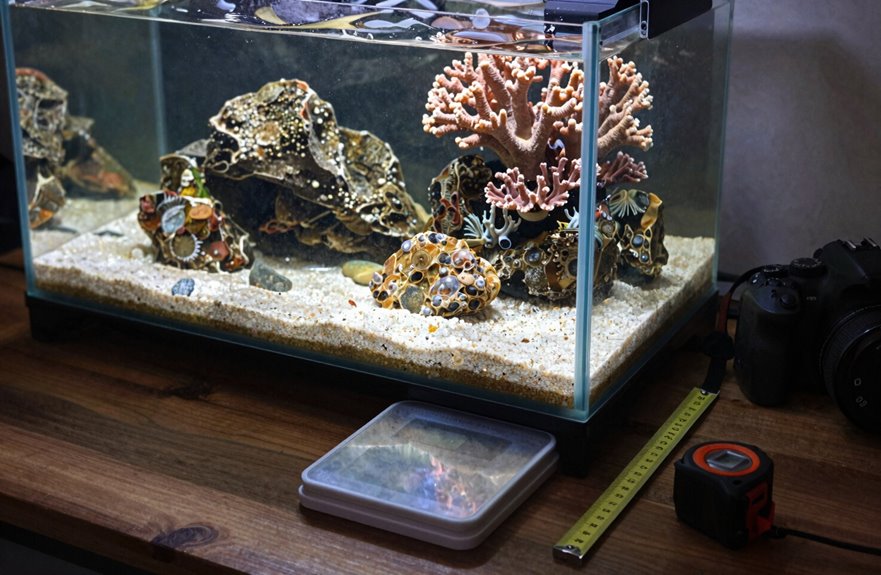
Before you lug that tank home, you’ve got to do the math because guessing wrong means a very expensive puddle in your living room. I learned this the hard way (don’t ask about my first carpet).
Here’s the magic formula: water weighs 8.34 pounds per gallon. So your 32.5-gallon beauty? That’s roughly 271 pounds of water alone. Add substrate, rocks, equipment; suddenly you’re dealing with significant floor load. My 75-gallon monster? Nearly 625 pounds before I even decorated it.
Calculate your tank’s total weight, then check its footprint against your floor’s load capacity. Position it perpendicular to joists, near load-bearing walls, spreading that weight across multiple supports. Your floor is a structural system that requires proper weight distribution.
Why the 40-Pound Rule Falls Short for Aquariums
So here’s where I got tripped up. I used to think 40 pounds per square foot covered me. It doesn’t. That 75-gallon beauty weighs 625 pounds of concentrated weight, not the gentle, spread-out load that residential traffic creates. The 40 psf rule assumes loads distribute across your floor. Aquariums don’t. They concentrate weight on specific joists, especially if positioned far from the bearing wall, your floor’s structural support point. I learned this the hard way. My tank sat mid-span, and the deflection was significant. You need that weight positioned directly over structure, aligned across multiple joists, not concentrated on a single one. Find your bearing wall and distribute that load across multiple support points.
How Joist Size and Span Change Floor Capacity
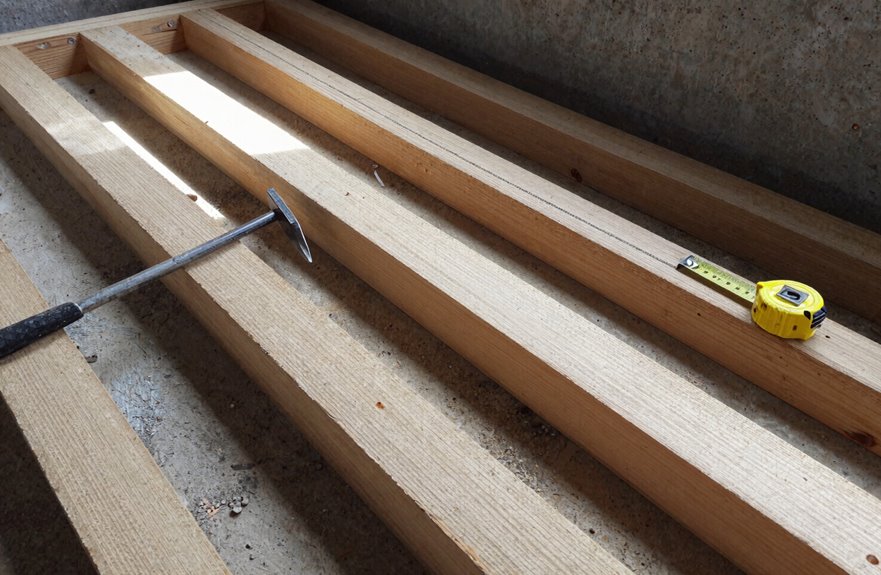
I get excited talking about joists because understanding how their size, span, and spacing work together reveals your floor’s structural capacity. A 2×12 can stretch dramatically farther than a 2×8 (think cathedral ceilings versus cozy nooks). The key factor: tightening your spacing from 24 inches to 16 inches on center can buy you significant span distance without upsizing a single board. These three factors, size, span, and spacing, work interconnectedly. Once you understand how they interact, you’ll recognize the structural principles that govern basement ceilings and all floor systems.
Joist Size Matters
How exactly do you think your living room would react if I parked my vintage Honda Civic right in the middle of it? (Spoiler: badly.) That’s why joists matter, friend. We’re talking about the bones beneath your feet, and size absolutely changes everything.
What I’ve learned crawling through enough crawl spaces to last a lifetime:
- Bigger joists win – a 2×10 crushes a 2×8 for load capacity, no contest
- Tighter spacing saves the day – dropping from 24″ to 16″ on center dramatically boosts what your floor can handle, eliminating bounce
- Engineered lumber like LVLs outperforms standard dimensional stuff for consistent strength
Deflection usually governs before pure collapse, so beefier joists mean less trampoline action under your feet. Check span tables and calculate your loads to build floors capable of supporting significant weight without flex.
Span Length Effects
Why does a 2×8 suddenly feel like a soggy noodle when you stretch it too far? Span length is everything. The farther your joists stretch between walls, the weaker they get. It’s physics.
I learned this renovating my own kitchen in a 1970s tract home. Those 2x8s spanning 14 feet hit deflection limits fast. L/360 isn’t some abstract code; it’s the difference between solid granite counters and cracked tile nightmares.
Upsizing to 2x10s cut deflection dramatically. Span tables show exactly what your joists can handle. Check them carefully before framing. Your floor’s capacity depends on these specifications.
Spacing Adjustments Impact
Span length isn’t the only lever you’ve got. I learned this the hard way in my own kitchen reno with the sagging 2x6s I ignored.
Spacing adjustments completely transform how your floor performs:
- Tighter spacing (16″ vs. 24″ on center) dramatically improves deflection control. Less bounce occurs when walking or moving weight across the surface.
- Bigger joists paired with closer spacing spread that heavy fridge load across multiple members, so no single joist bears excessive stress.
- Always match your table segment exactly by species, grade, spacing, and load type, or you’ll overestimate support capacity.
Deflection governs everything. That wobbly sensation underfoot indicates your floor needs closer joists or beefier lumber. Your future self will appreciate the upgrade.
Best Tank Placement for Maximum Floor Support
I position tanks perpendicular to joists, snuggled right up against load-bearing walls. This spreads your 270–850 pounds across multiple joists instead of concentrating the weight on a single one. My 32.5-gallon tank lives on the interior wall side, while my 75-gallon tank hugs the exterior wall, each commanding its own joist group.
Never park tanks in mid-span. That’s where floors flex and groan. Near walls, joists transfer load directly to foundations. I always verify placement with a professional, and I’ve added blocking beneath my heavier tank. This prevents structural failure and water damage.
Across or Along: Does Joist Direction Matter?
Placement matters, sure, but direction is critical. I’ve learned this the hard way (don’t ask about my first aquarium disaster).
Here’s the deal with joists:
- Perpendicular placement wins — running your tank across joists spreads weight like a crowd-surfing fan at a concert, hitting multiple supports instead of one lonely beam.
- Wall proximity matters — nestling near load-bearing walls taps into those sturdy attachment points where joists meet studs. Mid-span locations experience more deflection under pressure.
- Spacing is everything — 16″ on-center joists versus 24″ makes a massive difference in how much your floor can handle.
I always picture joists as wooden fingers. Spread the load across them, and they’ll hold hands together. Line up along one, and you’re concentrating stress on a single beam rather than distributing it across multiple supports.
How Tank Weight Spreads Across Multiple Joists
Joist load distribution is where the structural mechanics become clear. Your 1500-pound tank isn’t a concentrated load; it’s weight that spreads across multiple joists like a load distributed over a wide surface. Picture your floor joists as a team of structural supports holding up a couch; the more beams sharing that load, the less stress any single joist experiences. The spreading mechanics work as follows: where the tank sits, how many joists catch its weight, and why perpendicular placement near a wall optimizes load distribution across your floor system.
Joist Load Distribution
How exactly does a 1,500-pound aquarium not crash straight through your living room floor? The secret is in load distribution. Your floor isn’t some flimsy movie set; it’s a team sport.
Here’s how your joists work together:
- Spanning multiple members — With joists 16 inches apart, that tank spreads across 3-4 joists instantly (think of it like snowshoes for your floor.)
- Location matters hugely — Nestle it near a load-bearing wall, perpendicular to joists, and you’ve got serious backup (the ends grip like a climber’s belay.)
- Reinforcement bridges gaps — Blocking or steel plates between joists share the load, preventing any single member from failing.
Sagging floors from concentrated loads are common. Deflection happens when concentrated loads overwhelm your joist system, even when total weight meets code requirements. This structural failure occurs because joists cannot adequately distribute the weight across their spans.
Weight Spreading Mechanics
Why does your 1,500-pound aquarium behave itself instead of punching through to the basement like a cartoon anvil? Because your floor isn’t a tightrope; it’s a team sport.
Your tank’s weight spreads across multiple joists, not just one unlucky board. Think of it like snowshoes (remember those ridiculous tennis-racket feet from the REI catalog). More surface area, less sinking.
Joist spacing determines everything. At 16 inches on center, a standard 55-gallon tank perpendicular to the joists might bridge three or four members simultaneously. Position it near a load-bearing wall and you’re directing force toward your home’s structural spine, not its weak middle.
That 40 psf live load rating isn’t per square foot in isolation. Your 6-square-foot footprint nominally handles 240 pounds, but spanning joists means neighboring boards pitch in. I’ve seen hobbyists panic about “point loads” when their tank actually distributes beautifully across the system.
The real danger isn’t total weight; it’s mounting everything on a single joist. That’s when you get the bouncy, queasy deflection that keeps you awake at night. Span multiple joists, and your floor will handle the load safely.
How to Check Your Floor for Hidden Damage
Where exactly should you start looking when your floor seems fine but might be hiding secrets? Our floors can conceal significant structural issues. Start with your joists, the backbone of everything. When they’re compromised, the floor becomes unsafe for normal use.
Here’s a field-tested checklist:
- The bounce test. Walk heavily and feel for springiness, which indicates hidden rot or failing connections.
- Visual detective work. Hunt for sagging, cracked drywall, or doors that suddenly stick.
- The sound check. New squeaks near bearing walls are warning signs, not charming quirks.
When you spot these red flags, call a professional immediately. Do not place heavy loads on the floor until someone qualified inspects what lies beneath.
Floor Reinforcements That Work for Aquariums
What happens when your dream tank weighs as much as a small car? Your floor notices. Water creates significant weight loads, and proper support is essential. My first 75-gallon setup taught me this lesson at 2 AM when I heard ominous creaking.
I now spread that load across multiple joists by adding 2×10 blocking (or metal straps) between joists under the tank. This creates distributed support for your floor. A steel plate or thick plywood underneath distributes weight over a bigger joist footprint, stopping that scary local sag. Position tanks near load-bearing walls where joists meet; that’s where the real muscle lives. Check that joist ends have proper bearing and fasteners, and get a professional to verify you’re hitting that L/360 deflection limit before disaster strikes.
What to Do If You’re Renting and Can’t Modify the Floor
Before hauling a 200-gallon tank into a rental, check your lease for weight restrictions (many leases include clauses limiting aquarium size, such as “no aquariums over 50 gallons”). Use non-permanent supports like rubber mats and load-distribution platforms instead of drilling into joists, and photograph every squeaky board and existing crack so your landlord cannot attribute pre-existing damage to you. Documenting conditions at move-in protects your security deposit and prevents disputes with neighbors about structural issues caused by the installation.
Verify Lease Restrictions First
Since I’m renting a quirky 1920s bungalow with original oak floors that creak like a haunted house, my landlord’s lease contains rules that only become apparent after violation. Before installing my 75-gallon aquarium, I need to address lease considerations because my security deposit depends on it.
Here’s my checklist:
- Scour every clause for restrictions on heavy loads, drilling, or anchoring. Landlords often bury these requirements in paragraphs that go unread.
- Get written approval spelling out weight allowances and clarifying financial responsibility if joists snap.
- Request professional verification from my property manager. Documentation prevents disputes and protects both parties.
If the landlord denies approval, I will pivot to freestanding solutions that require no drilling or anchoring.
Use Non-Permanent Supports
| Support Type | Where to Place | What It Does |
|---|---|---|
| Heavy-duty casters + mats | Near walls, across multiple joists | Spreads tank load, protects flooring |
| Freestanding platform | Over existing load-bearing walls | Creates even weight distribution |
| Modular shelf system | Away from single-point contact | Elevates without fasteners |
| Rubber mats with solid base | Under rigid platforms | Reduces point loads, minimizes deflection |
Position everything close to walls where load-bearing elements live to avoid carpet compression. Obtain written approval before installation. Sustained heavy loads can cause structural damage and lease violations.
Document Pre-Existing Conditions
Why risk losing your security deposit over a floor that was already warping like a thrift-store vinyl record? Landlords have selective memory about pre-existing damage, so I protect myself by documenting everything before adding weight.
My system for tracking floor conditions:
- Photograph everything — I snap shots of sagging spots, squeaky boards, and that mysterious crack near the radiator.
- Write detailed notes — I record levelness issues and weird bounces, dating each observation for reference.
- Get professional backup — when I suspect joist trouble, I hire an assessor; it’s cheaper than eviction court.
I also use non-destructive monitoring afterward, checking for new creaks weekly. If I’m distributing load temporarily, I always get written approval first.
When to Call a Structural Engineer Before Installing
How often have you stood in your living room, eyeing that dream aquarium, maybe a 180-gallon showstopper from Custom Aquariums, and thought your floor can handle it? I’ve been there, and that confidence can cost you significantly.
Before any heavy install, I call a structural engineer. They’ll check my joist size (2×8, 2×10, 2×12), spacing at 16″ OC, spans, bearing length, and more. I once assumed my squeaky floor was normal; it turned out the structure needed reinforcement. They’ll identify primary load-bearing walls versus non-structural partitions and determine if I need girders or blocking to spread that concentrated load across multiple joists. If renting, I get written landlord approval post-assessment without exception.
How to Monitor Your Floor After Installing a Heavy Tank
Once that tank’s in place, monitor every floor behavior signal: sagging, new creaks, and that subtle bounce when you walk by. Your joists will reveal if you’ve exceeded safe limits. Use this structural inspection checklist: spirit level checks for subtle tilts, flashlight sweeps for cracks spreading from walls, and weekly photo documentation to track changes over time. For deflection monitoring, stretch a taut string across suspected weak spots. This low-tech method is inexpensive and provides visual confirmation of any movement.
Floor Behavior Signals
Where exactly should I be looking once I’ve got a heavy tank sitting pretty on my floor? Watch for the subtle and not-so-subtle signs your floor is under stress.
Here’s my personal checklist:
- Visual sag and bounce – Eyeball the floor for any dip, feel for springiness when you walk, and notice if doors start sticking. Sticking doors indicate that your joists may be failing.
- Sound signals – Listen for creaking or squeaking near the tank, especially after water settles. These noises indicate stress points in your floor structure.
- Crack patrol – Scan plaster and drywall for fresh cracks, and use a straightedge to catch any gaps opening between joists.
Re-check levelness after filling, and pay attention when the floor feels firmer near load-bearing walls. A heavy tank requires constant monitoring for safety.
Structural Inspection Checklist
Why settle for crossing your fingers when you can outsmart gravity with a clipboard and a cheap laser level? This structural inspection process is essentially becoming a floor detective.
After my 105-gallon tank went in (1,500 pounds of aquatic real estate), I started checking for new cracks, squeaks, and that unsettling bounce that signals potential problems. I keep a detailed evidence log, including initial floor condition, tank weight, and related observations.
My inspection routine includes:
| What I’m Checking | What I’m Looking For |
|---|---|
| Floor joists alignment | Weight spread across multiple joists, not just one lonely beam |
| Surrounding surfaces | Fresh cracks in walls or flooring (bad), new squeaks (worse) |
| Level readings | Gradual deflection beyond normal seasonal shifting |
I verify my tank stays near load-bearing walls, avoiding improper positioning. If persistent sagging or visible joist movement appears, especially in older homes with sketchy framing, professional inspection is necessary. A structural engineer’s assessment prevents serious damage.
Deflection Monitoring Techniques
How do you catch a floor before it gives up on you? Deflection monitoring isn’t just for engineers with fancy degrees; it’s for all of us who’ve ever held our breath walking past a loaded tank.
Here’s my battle-tested routine:
- Feel the bounce — Press your palm against the floor near the tank, watching for that unsettling springiness, like a trampoline you didn’t ask for.
- Laser level vigilance — Run a Bosch GLL straight across the joists monthly, hunting for new dips where none existed before.
- Gap patrol — Measure subfloor seams with a feeler gauge at installation, then re-check regularly.
Baseline everything with multiple points, weekly that first month, then monthly. If deflection pushes past L/360, contact your structural engineer before the living room becomes an aquarium.
Why Older Homes Sometimes Handle Heavy Aquariums Better
Ever wonder why your buddy’s 1920s bungalow can support a 200-gallon reef tank while your brand-new townhome needs structural reinforcement just to host a betta. I’ve been there, sweating bullets over my own setup.
Old construction methods built superior structural capacity. Those craftsmen used beefier lumber, tighter joints, and positioned bearing walls with precision. My 1912 foursquare has joists that are practically bridge timbers compared to today’s minimum-code toothpicks.
| What You Feel | What It Means |
|---|---|
| That solid *thunk* when you walk | Real wood, real strength |
| No bounce when the dog runs | Shorter spans, happier fish |
| Baseboards that don’t crack | Walls doing their job |
| Sleeping soundly | Overengineering provides structural reliability |
Check those joists near the wall anyway; rot can compromise even well-built structures. Older homes typically feature superior load-bearing capacity due to material quality and construction methods that exceed current building codes.
What Floor Bounce Means and When It Matters
I’ve stood in kitchens where the refrigerator made the floor visibly pump, watched baseboards separate from walls in real time, and heard the telltale creak-crack of joists crying uncle. This is floor bounce in action: vertical deflection that happens even when your floor technically “passes” load calculations.
What matters in floor performance:
- Deflection limits (like L/360) often matter more than raw weight capacity. Your floor won’t collapse, but it will feel like a trampoline.
- Midspan flex gets worse with longer spans, even under code-approved loads. A 55-gallon tank can make a room shimmy.
- Finish damage. Creaking means your drywall and tile are already failing.
Building codes address raw capacity, but comfort and structural integrity require different solutions. Acceptable load-bearing performance does not guarantee acceptable floor performance in actual use.






