
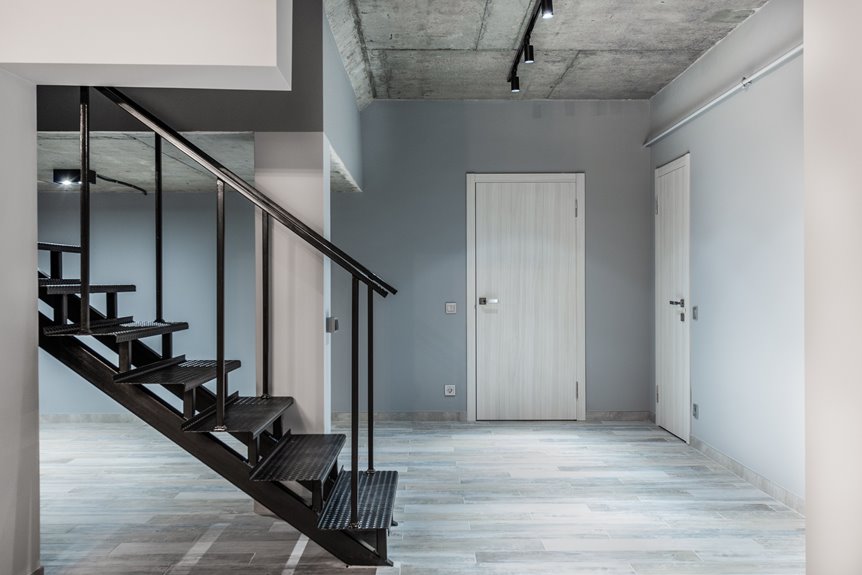
I’ve installed laminate over concrete more times than I’ve burned cookies, and these seven steps prevent winter gaps. First, I grab my rubber mallet, spacers, and pull bar, then I check that concrete with a long level, marking waves and low spots like a treasure map. Self-leveling compound (Henry 555 is my go-to) fills the gaps; skip this and your floor sounds like Rice Krispies forever. Next, I perform the plastic dome moisture test per ASTM E 1869, and roll out six-mil vapor barrier with taped seams. Forty-eight hours of acclimation at 60–85°F is necessary. I divide room width by plank width to avoid sliver-thin final rows (nothing looks worse than a 2-inch strip against your baseboard), scribe that first row with my jigsaw to fit every wall wobble, then click-lock rows together with that satisfying snap. Pipes get notched with holes 1/2 inch wider. I’ve drilled too small before and learned the hard way. Finish by hiding gaps with baseboards while removing those spacers.
Get Your Tools Ready and Level the Concrete Subfloor
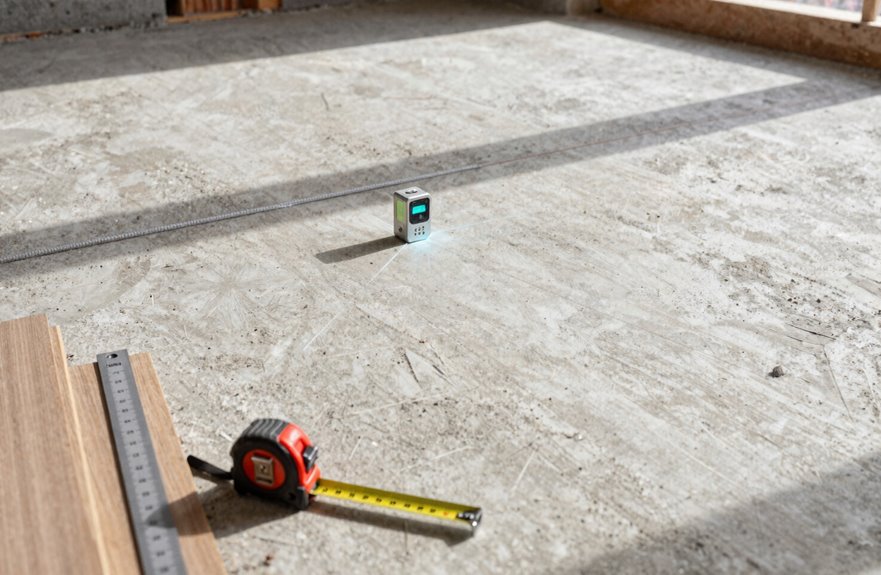
Why do I always start every flooring project by dumping my entire toolbox onto the driveway and pretending I’m some kind of HGTV host? (Spoiler: I’m not.) For laminate flooring on concrete, grab your installation kit, rubber mallet, spacer blocks, pull bar, and tapping block. These aren’t fancy; they’re essential tools.
The concrete subfloor requires proper preparation. I learned this when my sister’s floor developed that awful hollow click-clack sound. Levelness within 1/8 inch is non-negotiable. Grab a long level, walk it across every inch, and mark those sneaky waves. Self-leveling compound, such as Henry 555, fills the gaps. When that laminate sits perfectly flat without movement, you’ve eliminated the primary cause of floor failure and noise complaints.
Test Moisture, Add Vapor Barrier, and Acclimate Laminate Planks
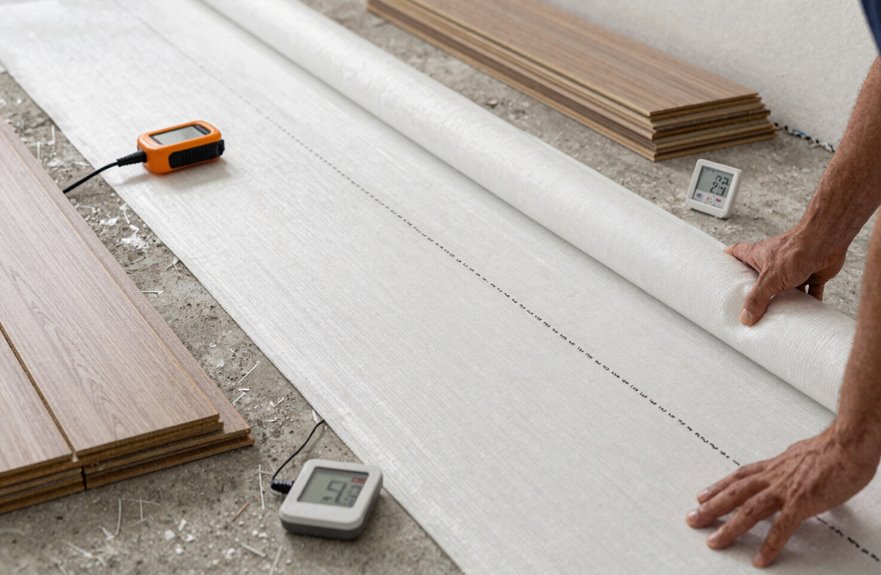
The moisture test is where I’ve watched more DIYers skip ahead and regret it six months later. My neighbor Dave still won’t talk about his warped floor incident. I grab my calcium chloride kit, the same ASTM E 1869 method your manufacturer demands, and tape those little plastic domes to the concrete.
Once I’ve got my moisture numbers locked down, I roll out that vapor barrier like I’m gift-wrapping my future. Six mil plastic sheeting, seams taped tight with underlayment tape, joints overlapping eight inches. Concrete will wreck your planks through capillary action while you’re sipping coffee.
Patience is essential: I acclimate those laminate planks for a full 48 hours. Temperature between 60–85°F, humidity 35–65% RH. Skipping this step creates gaps that will appear during winter months.
Calculate Plank Layout to Avoid Narrow Cuts and Short Pieces
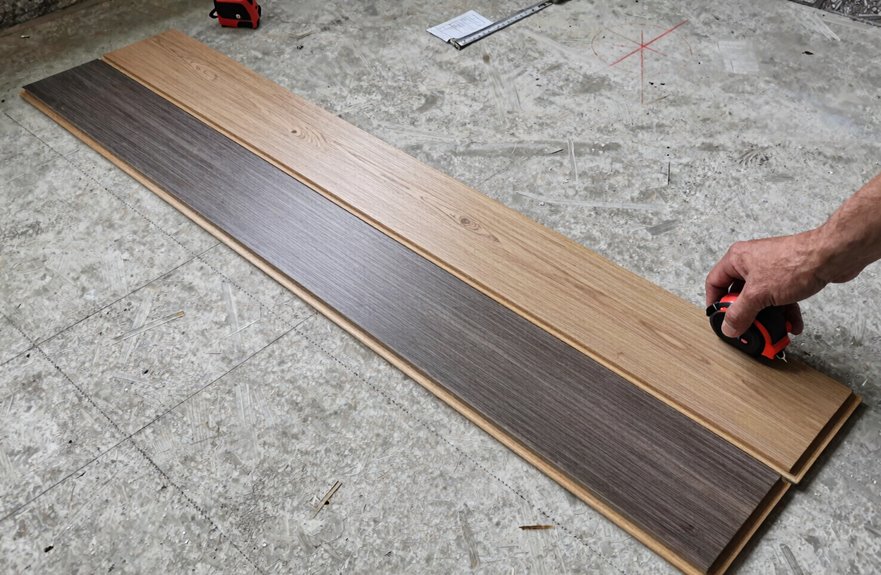
Before I rip open a single box, I stand there like a general surveying the battlefield, measuring tape in hand, coffee cooling on the windowsill, muttering numbers like I’ve lost my mind. Laminate rewards the planner and punishes the impulsive.
I divide my room width by plank width, then adjust my starting row so I’m not stuck with a pathetic sliver at the far wall. Nobody wants a 2-inch strip screaming “amateur hour.” I mark my layout carefully, ensuring that final row hits at least 12 inches. I’ll use yesterday’s cutoff if it’s long enough. I stagger seams like bricks, keeping 8 inches between them minimum, and I never forget that 1/2-inch expansion gap around every wall. Laminate expands and contracts with humidity changes, so this gap is essential.
Scribe and Cut the First Row to Match Wall Contours
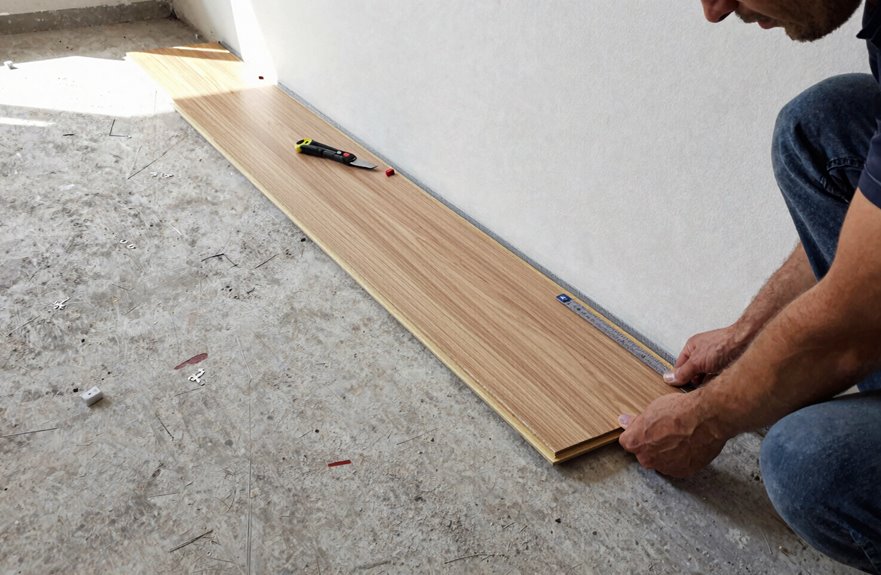
How do you conquer a crooked concrete wall that sneers at your perfect planks? You outsmart it with a scribe, friend. I’m starting my laminate installation in that left corner, pressing the first plank tight against the concrete and tracing the wall contour right onto the face with my pencil, like connecting dots from a childhood puzzle. Then I snap off that little tongue (goodbye, obstruction) and guide my jigsaw along that line for a first row cut that hugs every curve. I’m keeping that trimmed edge parallel to my crooked wall, dropping ¼-inch spacers behind for breathing room. I measure wall-to-wall too, making sure my final piece stretches past 12 inches. Otherwise I’ll borrow my second-row cutoff. Corners align tight, rows run straight, and the installation proceeds systematically toward completion.
Click-Lock Laminate Flooring Rows Together
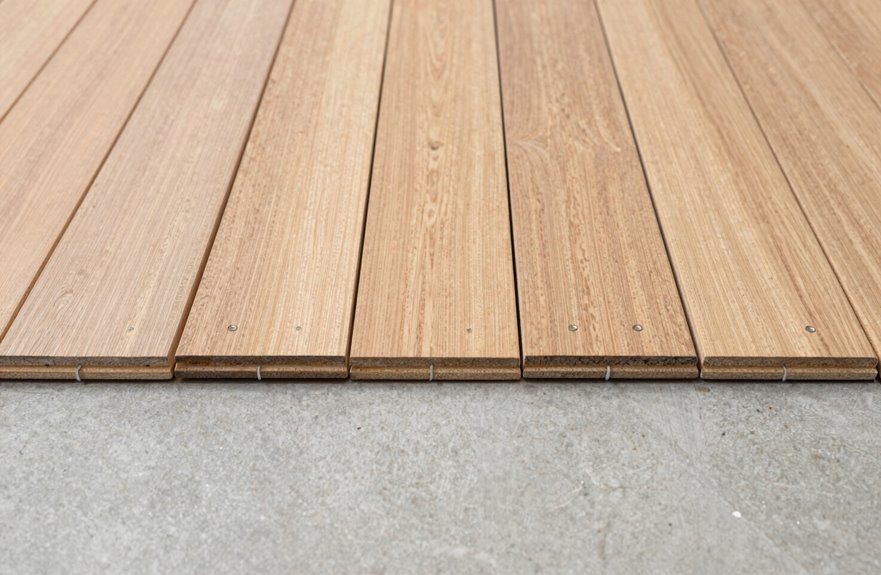
I tilt each plank into the previous row along the long edge and press down firmly. The click-lock mechanism engages. (I may have done a little victory dance the first time.) If a plank stubbornly refuses, I lift those long sides, breathe, and retry. Patience is essential.
Don’t forget those expansion gaps. Maintain a minimum 1/4 inch around every wall and fixed object. Your floor needs room to expand and contract with temperature changes. I use a tapping block for open areas and save my pull bar for those tricky far edges. Cut your last plank, leave that gap, stagger your joints, and keep building. This process creates a properly installed floor.
Notch Around Pipes and Tighten Final Rows With Pull Bar
Once the main field is locked together, the real fun starts at the edges and obstacles. I always tackle pipes first: drill that hole 1/2 inch wider than the pipe diameter, cut the plank, position it, then glue those pieces back together like a puzzle you definitely won’t mess up (I’ve definitely messed up). Seal expansion gaps with mildew-resistant silicone around pipes; moisture will compromise the installation.
For final rows, you’ll want that pull bar working overtime. I skip tapping blocks near opposite walls and let the pull bar snug everything tight without damaging tongues. Install full planks first, then handle the tricky pipe areas. That pull bar becomes your best friend when you’re wedged against fixtures with minimal breathing room and need to ensure your joints stay secure.
Hide Expansion Gaps With Baseboard and Transition Strips
After all that crawling around on your knees wrestling planks into submission, the baseboard and transition strips complete the installation. Leave a 1/2 inch expansion gap around walls using spacers, then cover it with baseboard to conceal the gap. At doorways, use transition strips: T-molding for laminate meeting laminate, and reducers when butting against tile. Remove the spacers last, reattach trim, and the edges will be seamless. Use silicone sealant around pipes for a finished appearance.






