
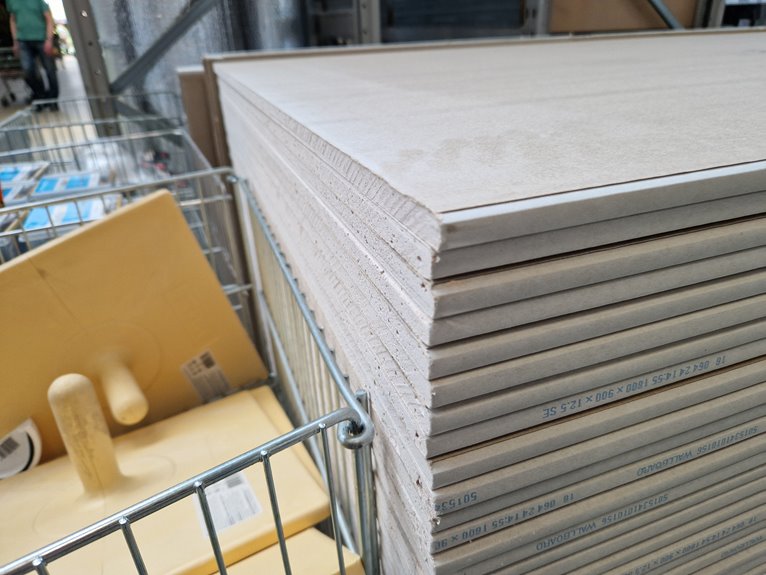
I’ve ripped out my share of soggy drywall. Your bathroom needs three different boards, not one. In steamy showers, use only cement board, that gray cement-heavy material that resists water.
For damp walls near sinks and tubs, green board with its waxy green backing fights mold effectively.
Purple board offers fire resistance, though it works best in tight spaces during remodels. Regular drywall will deteriorate and require replacement.
Here’s where each board belongs: cement board in shower areas, green board on walls near water sources, and purple board where fire resistance is needed. This approach ensures your bathroom walls stay dry and mold-free for years.
Where Standard Drywall Fails in Bathrooms
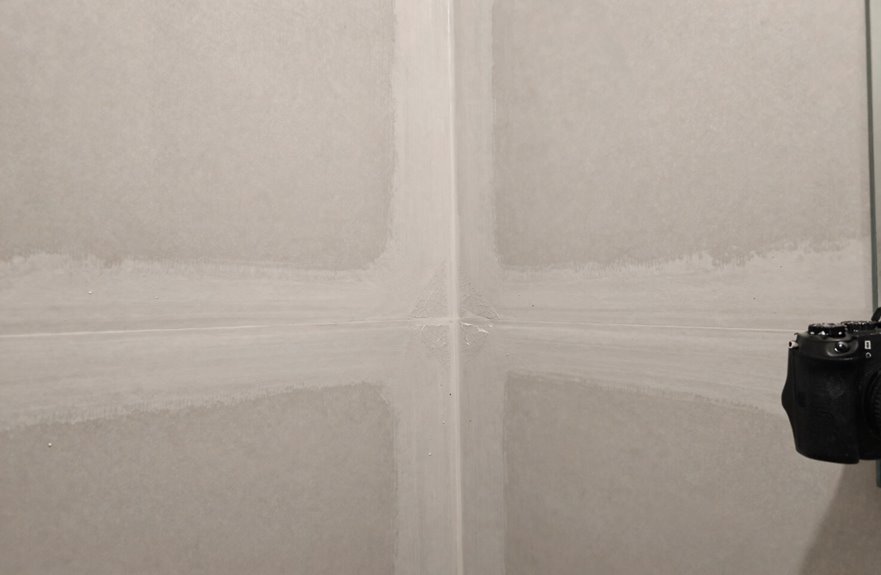
You need moisture resistance, plain and simple. That’s where green board steps up—it’s the gateway upgrade, offering mold and damp resistance that regular Sheetrock just can’t touch. Cement board is the superior choice for wet areas. Under tile, it’s non-negotiable. It resists water while gypsum-based options fail. Skip it, and you’re risking real damage or failing inspection when moisture resistance codes come knocking.
Map Your Bathroom’s Three Moisture Zones
I like to picture my bathroom as having three distinct moisture neighborhoods after learning this lesson the hard way from a DIY disaster in my first apartment. The shower enclosure walls are your wettest zone, with streaming water, daily soaking, and humidity that warps regular drywall quickly. Tile can pop off, and mold can develop behind fiberglass surrounds if not properly protected. Then you’ve got your sink vanity areas, which seem innocent enough until you realize how much splash happens during rushed morning routines. Water sneaks behind that backsplash, drips down pipe openings, and creates damage you won’t notice until your cabinet base swells like a sponge. Mapping these zones out first prevents costly mistakes, since getting this wrong means you’ll be tearing out beautiful work later and redoing the weekend project.
Shower Enclosure Walls
Where exactly does your bathroom fight its biggest battle against moisture? Right here, in your shower enclosure walls. Mold and water damage are common problems in this area.
For these wet zones, you’ll want moisture-resistant drywall that actually holds up. Cement board is the primary choice here because it’s water- and mold-resistant, giving tile that rock-solid foundation it needs. Blue Board works too, but only with proper waterproofing layers applied underneath. Purple Board brings fire resistance alongside moisture protection, while Green Board handles mold but needs backup waterproofing behind tile.
| Material | Best For |
|---|---|
| Cement Board | Direct tile backing in showers |
| Blue/Purple Board | Coated systems, added protection |
| Green Board | Secondary moisture barriers |
The right material choice prevents water infiltration, extends the life of your shower structure, and reduces the risk of mold growth over time.
Sink Vanity Areas
Because I’ve watched too many vanity cabinets swell up like a sponge after a single splash fight with my faucet, the sink zone is where bathrooms quietly wage their second moisture war. We’re talking daily splashes, steamy mirror sessions, and that sneaky drip from your “fixed” tap. For real moisture resistance here, green board (that mold-resistant workhorse) outperforms standard drywall. If you’re tiling behind your vanity for a stone backsplash, cement board becomes your best friend since it resists water damage effectively. Skip the fancy fire-rated stuff here; moisture resistance wins every time in this splash zone.
Green Board Drywall: Mold Resistance for Damp Areas
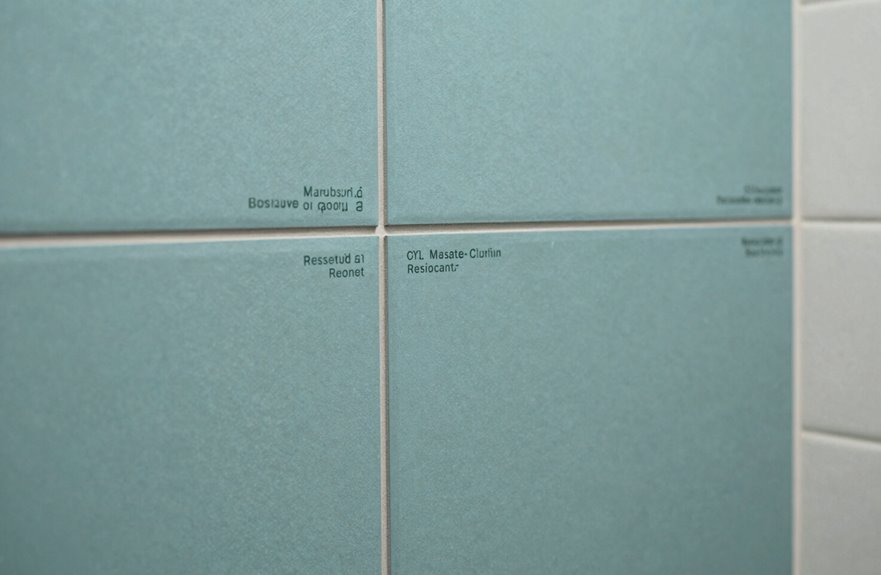
Green Board Drywall has a thick green paper backing with a waxy coating that resists moisture, making it suitable for bathrooms. Your contractor may note that while it’s not waterproof, it performs well in moisture-resistant applications. You’ll find it in standard half-inch or five-eighths thickness, perfect for walls that experience daily humidity without deteriorating.
Green Board costs approximately twenty percent more than basic drywall. The additional expense reflects increased durability and reduced risk of mold growth in damp environments, which can lower long-term maintenance and remediation costs.
Green Board Composition
The workhorse of every bathroom renovation I’ve ever attempted involves that unassuming green-faced drywall hiding behind your tile. Green board isn’t regular drywall wearing a costume; it has substance.
That distinctive green paper face serves a functional purpose. Manufacturers coat it with wax, creating a barrier that boosts moisture resistance in steamy bathrooms. The gypsum core gets treated too, fighting off mold from the inside out.
You’ll find it in ½-inch (your wall standard) or 5/8-inch thicknesses. Green board costs about 20% more than basic drywall, but that upcharge protects against mold and water damage in damp areas.
Bathroom Suitability
Where exactly does green board belong in your bathroom?
Green board brings solid moisture resistance to spaces that get damp but not drenched. Think of it as your bathroom walls’ reliable option, not the ultimate solution.
Here’s where green board works best:
- Ceilings above tubs where steam gathers
- Walls near sinks that catch splashes from face-washing
- Powder room walls that need mold resistance without breaking the bank
- Areas outside shower enclosures where moisture lingers but doesn’t attack
Cost Considerations
A few extra bucks upfront saves you from significant problems down the road. When budgeting a bathroom renovation, factor in that green board costs about 20% more than standard drywall. That cost difference is noticeable at first, but the moisture resistance provides real benefits. Regular drywall in damp spaces develops mold growth. The thicker green paper with its waxy coating resists mold effectively in steamy bathrooms. Keep in mind it’s not waterproof. For shower surrounds, cement board is the better choice. For general bathroom walls, green board offers solid protection at a reasonable cost. Your investment protects your bathroom from moisture damage.
Blue Board Drywall: Higher Moisture Resistance for Walls

Why settle for basic walls when you can give your bathroom something built for the steamy reality of actual life? Blue Board became essential when my own tiny powder room turned into a fog machine every morning, and it made a significant difference.
Why settle for basic walls when your bathroom faces the steamy reality of actual life every single morning?
Blue board brings serious moisture resistance to the table, with that distinctive blue paper face hiding rock-solid gypsum underneath. Note that “resistant” doesn’t mean “dunkable”; waterproofing behind shower tiles remains necessary.
Here’s what makes this stuff worth your Saturday:
- That blue paper layer grips veneer plaster like they’re old friends
- Thickness options (1/2″ or 5/8″) match whatever your studs demand
- Humid air can’t compromise its moisture barrier in steamy showers
- The finish quality reaches a smooth surface when plastered properly
This is the wall treatment your bathroom needs.
Purple Board Drywall: Mold, Moisture, and Fire Protection
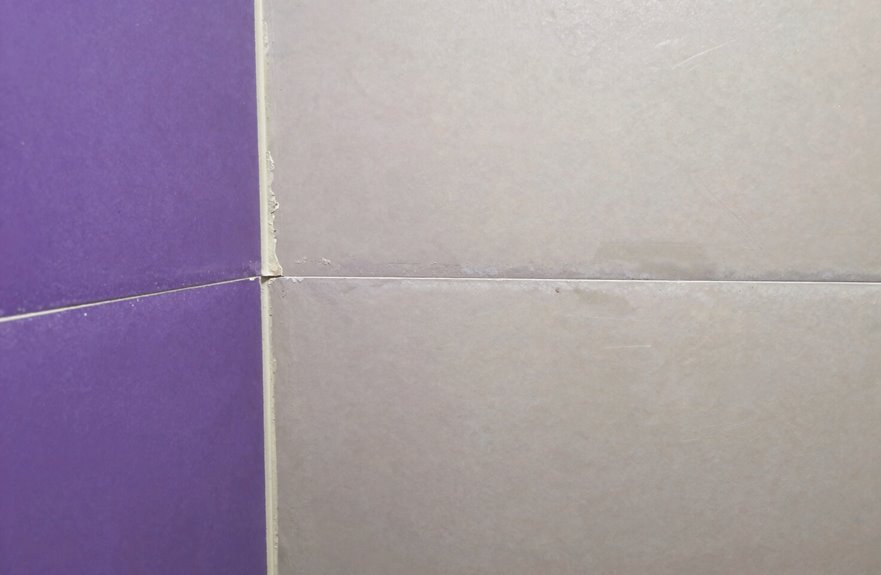
Blue Board handled the humidity effectively, but Purple Board offers a more comprehensive solution. Purple Board drywall combines moisture resistance, mold protection, and fire resistance in one product, with color coding that makes identification straightforward.
I installed it in my guest bath last spring. The moisture resistance handles steamy showers, mold protection addresses Pacific Northwest winters, and fire resistance exceeds standard drywall performance. It costs about 10% more than basic white board, which reflects the added protective benefits.
This product has limitations. For tile backing in wet zones, you need something more heavy-duty. For general bathroom walls, Purple Board delivers solid performance.
Cement Board: Waterproof Backing for Showers and Tubs
Let me break down why this stuff belongs in your wet zone:
- Cement board won’t swell, crumble, or fail like gypsum-based drywall when water hits it
- That cement core sandwiched in fiberglass mesh gives you serious moisture resistance where it counts
- It creates the perfect tile backing for showers and tubs, no extra barriers needed
- Your tile adhesive actually bonds to it, meaning your gorgeous subway tile (looking at you, Walker Zanger.) stays put for decades
Water intrusion won’t rot your studs when cement board backs your shower walls.
Type X Drywall: Fire Code Requirements in Bathrooms
How do you keep your bathroom from going up in smoke while still keeping it gorgeous? Type X drywall is the answer.
This material is the overachiever of wall boards. At 5/8-inch thick with double-paper layers, it provides a full hour of fire-resistance. In bathrooms, especially those shared walls in condos like my cousin’s Tarzana remodel, it satisfies fire-code requirements while looking sleek once painted.
Installation comes with challenges. Type X is dense and harder to cut than standard board. My arms still ache from helping install it. Contractors charge more, and you’ll need extra hands.
Type X offers an additional benefit: it muffles sound. You won’t hear your neighbor’s 6am shower concerts.
One significant limitation exists. It’s not waterproof. You must pair it with proper backing near tubs, or mold will develop like it did in my first apartment.
Will Your Bathroom Drywall Pass Inspection?
Why does something as boring as a wall inspection make my palms sweat like I’m back in driver’s ed? Probably because I’ve seen contractors (myself included) fail for picking standard 1/2-inch drywall in wet zones. Water damage will cost far more than any failed parallel parking.
Here’s what keeps you in the inspector’s good graces:
- Green board works for basic bathroom walls, though it’s not truly waterproof, just 20% pricier insurance.
- Blue board handles humidity well, especially with plaster finishes.
- Moisture-resistant options are your code-compliant choice for steamy spaces.
- Cementitious backer board belongs anywhere tiles meet water: showers, tub surrounds, and tile installations.
Skip the right backing now, and you’ll rip it all out later.
Drywall Costs: Saving Now vs. Replacing Later
I’ll grab the regular stuff, save forty bucks, and pat myself on the back, until I’m tearing out soggy, mold-speckled walls two years later because I cheaped out on green board. Ask me how I know this particular flavor of regret. Sure, that upfront sting of moisture-resistant materials isn’t fun when you’re staring at receipts, but it’s nothing compared to the gut-punch of full-gut bathroom demolition, failed inspections holding up your permit sign-off, and explaining to your partner why the shower’s now a construction zone. I’ve learned this lesson the expensive way. That “savings” evaporates fast when you’re paying for remediation, replacement, and accounting for your own lack of foresight.
Upfront Material Expenses
When selecting drywall for your project, start by understanding your options and budget constraints.
- Regular drywall – cheapest option, but not recommended for bathrooms. Moisture exposure will cause deterioration.
- Green board – a practical middle-ground option. Approximately 20% more than standard drywall, and the moisture resistance is valuable in high-humidity spaces.
- Blue board – higher cost, pairs well with veneer finishes for polished bathroom aesthetics.
- Cement board – the premium choice. Provides true waterproofing for shower surrounds and wet areas.
These drywall types vary significantly in upfront costs. Select based on your specific application and moisture exposure levels.
Long-Term Replacement Costs
How much am I really saving if I’m back here in three years tearing out soggy walls. Skipping moisture-resistant drywall now is a false economy my wallet still regrets.
Green board runs about 20% pricier than standard Sheetrock, but that moisture resistance pays dividends when you’re not paying demolition crews later. I’ve watched friends replace entire bathroom walls because we cheaped out, and those long-term costs prove significant. The labor alone to rip out moldy regular drywall, remediate, and reinstall makes that upfront green board investment look like pocket change.
For shower surrounds, cement board is the superior choice, pricey initially but delivering zero mold problems. Moisture-resistant drywall is the investment that separates smart homeowners from those facing expensive repairs down the line.
Inspection Failure Risks
Three years of failure taught me what inspectors actually enforce. Nothing hurts like failing inspection before move-in. I’ve watched friends lose weeks, money, and sanity over bathroom inspections that failed due to cheap material choices. We’re all attempting to build spaces that last.
Here’s what trips people up:
- Regular drywall in shower zones. Inspectors will fail you.
- Skipping moisture-resistant drywall where code demands it. Green board is required.
- Forgetting cement board under tub tile. Water destroys everything else.
- Assuming “almost waterproof” equals “inspector-approved.” Blue board isn’t cement board.
I learned that $20 saved on cheap Sheetrock becomes $2,000 in ripped-out walls. That cheap choice costs far more than the initial savings. Build it right the first time and pass inspection without delays or callbacks.
Wrong Drywall in the Wrong Spot: 5 Costly Mistakes
Where exactly did I think that plain white drywall was going to go in my bathroom, on the ceiling of the Sistine Chapel. I learned the hard way that bathroom moisture destroys regular drywall fast. Here are five wrecks I’ve seen or caused: First, I skipped moisture-resistant drywall behind my sink, resulting in bubbling paint. Second, I trusted green board in my shower niche. It’s mold-resistant, not waterproof, and I paid for that mistake. Third, I used blue board everywhere, forgetting it’s still gypsum under that pretty veneer. Fourth, I tiled over standard Sheetrock in my tub surround. The cracking still haunts me. Fifth, I ignored cement board where it mattered most. My contractor brother still laughs about my spa day disaster. Don’t be me; match your material to your moisture zone.
When to Tear Out and Replace Bathroom Drywall
Sometimes I walk into a bathroom and wonder who thought that soggy, bowing wall was “good enough” to live with, because I’ve absolutely been that person staring at my own handiwork and pretending I didn’t notice the telltale signs. Here’s when we all need to face facts and tear out that bathroom drywall. Your future self will thank you:
- Soft spots or bubbling paint after water exposure mean moisture resistance has failed completely
- Visible mold growth anywhere near tub surrounds signals your green board couldn’t handle real humidity
- Tile cracking or grout failing reveals cement board should’ve been there from day one
- Musty smells that won’t quit prove regular drywall is secretly rotting behind your “fresh” paint job
Don’t let shame stop you. I’ve replaced purple board that looked fine but crumbled at the touch. Water damage spreads fast.
Drywall Specs Your Bathroom Contract Should Include
Why do I still find bathroom contracts that just say “install drywall” like that’s a complete thought. We’re better than this, friend. I always specify the exact drywall type because moisture resistance isn’t optional; it’s survival. Green board (that classic USG Sheetrock mold-resistant green face) handles steamy vanities, while blue board (like National Gypsum’s XP) steps up for full bath humidity. Tile showers demand cement board, period. That gray, gritty HardieBacker or Durock is not gypsum and not negotiable. Your contract must spell out 1/2″ versus 5/8″, brand names, and locations; inspectors love specifics, and so do I. Vague specs result in mold, lawsuits, and costly shower repairs. I’ve documented cases where inadequate material specifications led to extensive water damage and remediation costs.
Start Your Bathroom Drywall Project: Next Steps
Now that I’ve discussed contract specifics, let’s get started on your project.
Here’s your crew’s battle plan for moisture-resistant success:
- Grab green board for standard bathroom walls. It fights mold but can’t handle direct water splashes.
- Deploy cement board anywhere tile meets tub or shower; it’s armor against rot. USG Durock is a reliable option.
- Reserve blue board for that high-end plaster finish you’re seeing on design sites. It’s visually stunning, but don’t paint it.
- Double-check your seams with mold-resistant mud everywhere. This prevents costly repairs down the line.
This approach will create a durable, long-lasting bathroom that withstands moisture damage.






