
Paint bubbles on your wall are trapped moisture or adhesion failures caused by separation between paint layers. Moisture sneaks in from leaks, rising damp, or humidity, while poor prep—like applying latex over oil-based paint without proper primer—creates separation between coats. Hot, humid days worsen the problem, and areas behind cabinets are particularly vulnerable.
Grab a utility knife and slice one open to check if there’s dampness underneath. Sometimes the culprit is grease or silicone residue left on the surface. I once painted over a “clean” wall that still had furniture polish residue causing failure.
Fix the moisture source first, then sand the area smooth. Seal with the right primer; Zinsser’s Gardz works well for problem spots. Repaint with compatible products. The specific primer you choose matters significantly more than the paint color, as it determines whether the new paint will adhere properly and last.
What Paint Bubbling Looks Like and Why It Recurs
Ever wonder why those infuriating blisters keep appearing on freshly painted walls?
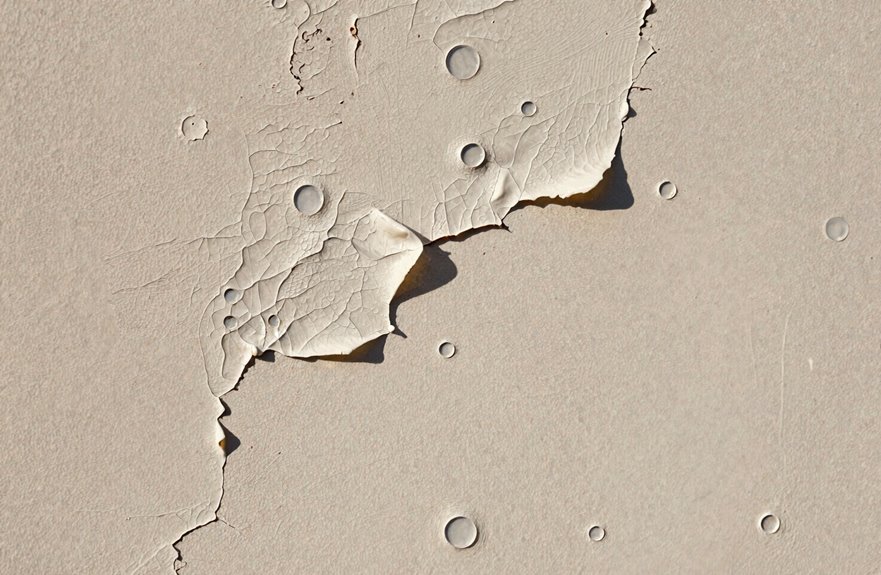
Paint bubbling results from adhesion failure between old and new coatings. Your wall retains residue from previous coats, and the new layer struggles to bond properly. Moisture intrusion, including condensation, leaks, and rising damp, pushes upward even when the surface feels dry. One homeowner repainted their kitchen three times before discovering the source of the problem was behind the cabinet.
Hot, humid days intensify the issue. Heavy sanding, patching, then sealing with oil-based primer can break this cycle of recurring bubbles.
Will Paint Bubbles Go Away on Their Own?
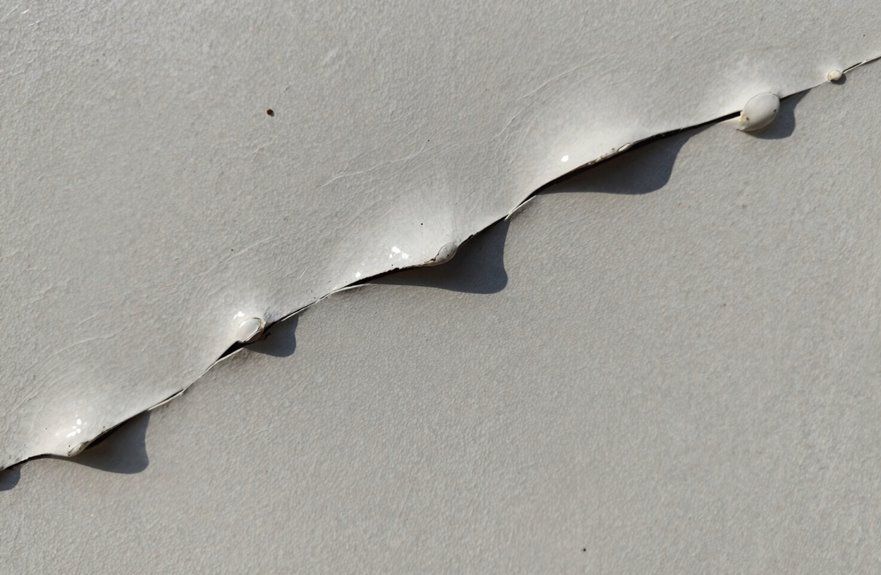
I hate to be the bearer of bad news, but those bubbles aren’t going anywhere on their own. They’re like that friend who crashes on your couch and never leaves. You’ve got to sand them down, fix whatever’s causing them—moisture, bad prep, the usual suspects—and start fresh, or they’ll just pop back up like a bad penny.
Temporary Versus Permanent Bubbles
So the fact is, we’ve all had that hopeful moment, haven’t we? Staring at that bulging latex paint, crossing our fingers, whispering “maybe it’ll just… flatten out?” I get it, friend, I’ve been there too, last Tuesday, actually, in my hallway.
But the reality of paint bubbling is this: those bubbles aren’t going anywhere. Some might shrink slightly as they dry, like a sad balloon losing air, but they never truly disappear. I’ve watched too many DIYers wait it out, only to find bigger problems later.
Moisture bubbles are especially stubborn troublemakers. Without fixing that damp source first, you’re just setting up round two of disappointment. I’ve learned this the hard way, twice over.
Once everything’s fully dry, grab your sandpaper. Smooth, clean, patch, prime, and repaint with proper technique.
Repair Necessity Explained
Those hopeful hallway moments behind us, let’s get real about what actually happens when you ignore a paint bubble. (Spoiler: it’s not pretty, and I’ve got the textured wall in my guest bathroom to prove it.) Paint bubbles absolutely will not go away on their own. I’ve waited, you’ve waited, we’ve all waited, and that blister just sits there like an unwelcome houseguest who forgot to leave.
These bubbles demand action. If they’re shallow, slice them open, sand, patch, and prime. When bubbles reach the substrate, that’s moisture talking. Leaks, humidity, or behind-the-wall issues are at play. (I once ignored a ceiling bubble for weeks; turns out my upstairs neighbor’s shower was the culprit.) Fix the source first, then sand heavily and prime with compatible products. Clean, dry, prime, paint. Taking shortcuts means inviting that bubble back.
The 6 Root Causes Behind Every Paint Bubble
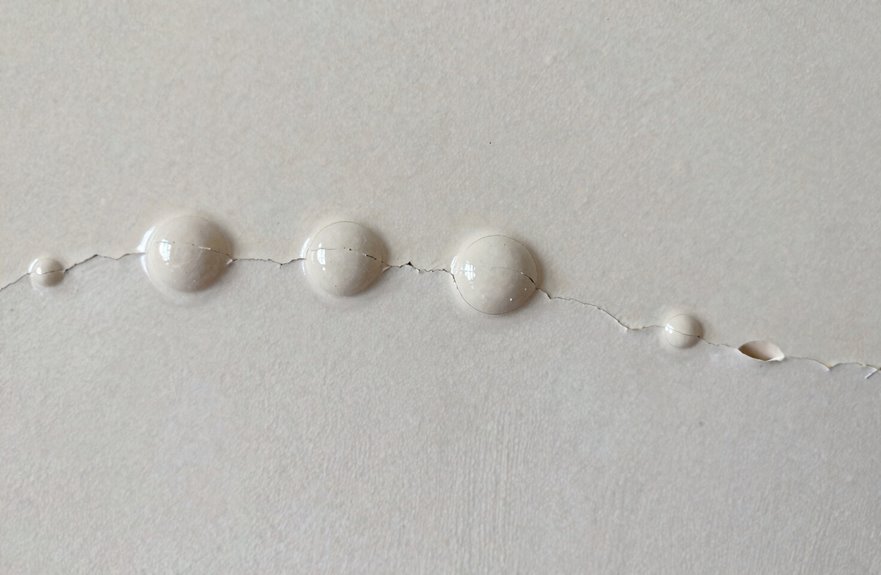
I’ve tracked down every bubble culprit worth knowing. The mix includes greasy hands (yes, I’ve painted over pizza residue), sneaky humidity that turns walls into saunas, and that classic mistake of slapping latex over oil as if they’ll magically get along. Each failure tells its own dramatic story, with moisture wicking through plaster like a slow-motion leak you’d swear wasn’t there yesterday, or that contractor’s quick-fix reducer leaving more trouble than it solved. The three main troublemakers are surface prep disasters, environmental moisture ambushes, and coating chemistry clashes. Identifying these issues before your walls start their bubble rebellion will help you avoid costly repairs.
Surface Preparation Failures
Why do bubbles form on freshly painted walls? Surface preparation failures are usually the culprit.
Surface contamination from oil, grease, or silicone residue creates invisible barriers that paint cannot adhere to, much like trying to tape wrapping paper to dusty concrete. Improper cleaning leaves behind these contaminants, which I discovered after my kitchen refresh developed a blistered appearance.
Painting over damp or dirty surfaces traps moisture and debris underneath, while skipping primer on problematic spots compromises adhesion. Incompatible paint formulas, such as latex applied over oil-based paint or vice versa, create weak bonds that fail over time. Investing an extra hour in surface preparation prevents days of rework and repainting.
Environmental Moisture Issues
When I finally tracked down the real villain behind my bathroom’s blistering paint job, it wasn’t the primer I’d skipped or the cheap roller I’d used. It was moisture, sneaky and relentless, hiding inside my walls like an uninvited houseguest who refuses to leave. Environmental moisture creates paint bubbles by trapping itself beneath your coating, and I’ve learned this the hard way (twice, actually, because I’m a slow learner).
Condensation from steamy showers, plumbing leaks, or rainwater sneaking through cracks builds persistent dampness. High humidity with poor ventilation creates a bubble factory. I’ve painted over slightly damp plaster at 10 PM (rookie mistake), only to watch blistering appear days later. Your surface must be bone-dry, or environmental moisture will ruin every repainting attempt.
Coating Incompatibility Problems
Where did I go wrong this time? I’ve learned coating incompatibility the hard way. Slapping latex over oil-based finish (or vice versa) creates a disaster sandwich. Moisture under paint gets trapped like a bad secret, and bubbles appear everywhere.
I once painted my bathroom with Benjamin Moore Aura right over old alkyd trim paint. Within weeks, blisters appeared like acne on prom night. The surface felt dry, but hidden dampness from the substrate was working against the coating.
Skip proper primer? That’s asking for trouble. Incompatible primers prevent adhesion, letting contaminants like silicone or grease (hello, WD-40 mishap.) create barriers. Add extreme humidity during curing, and you’ve got uneven solvent evaporation trapping air pockets.
Test your existing finish first. Rub with denatured alcohol; latex softens, oil doesn’t. This thirty-second check saves weekends of sanding regret.
How to Tell If Moisture or Adhesion Failure Is Causing Your Bubbles
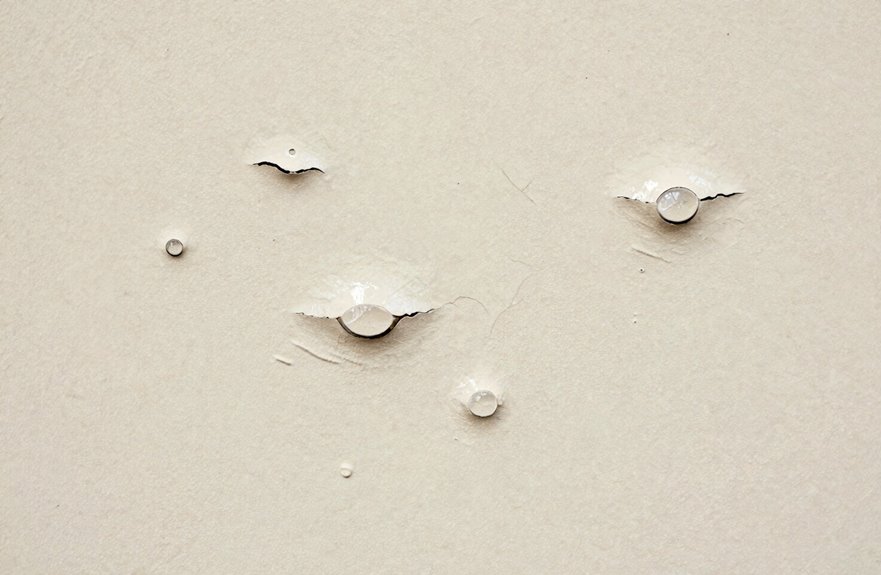
How can you tell what’s really going on beneath those bubbles? Moisture-related bubbles keep coming back in damp spots, like that corner where your upstairs neighbor’s shower leaks. Adhesion failures lift clean off with no moisture film underneath, usually because the surface wasn’t properly prepared before painting over something incompatible or grimy.
Try this test: pop a blister, sand it, prime and repaint. If it bubbles again, you have an adhesion problem, not a moisture problem. Moisture requires fixing leaks first, then applying breathable primers. Adhesion requires bonding primers and compatible topcoats.
Surface Prep Mistakes That Cause Bubbles: Oil Paint, Latex Paint, and Hot Walls
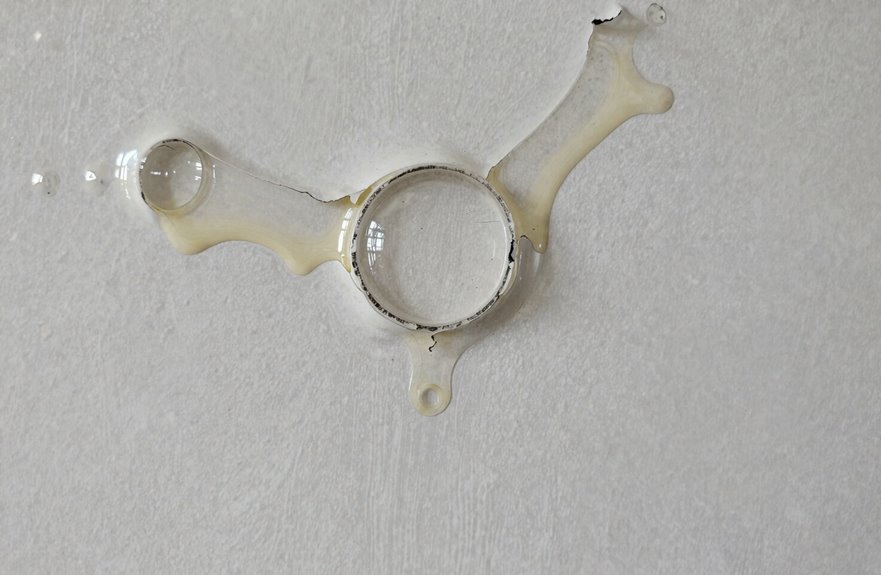
I’ve popped enough bubbles to know that Mother Nature isn’t always the culprit. Sometimes, I’m the one holding the brush.
Painting over dirty, oily surfaces is begging for trouble. That kitchen wall I rushed? The paint pulled away like wet wallpaper. Mixing oil paint with latex in one job creates disastrous results. Their incompatible formulas create a poor bond that bubbles within days.
Hot walls present a particular problem. I once painted my south-facing bedroom in July heat, a rookie move that caused rapid solvent evaporation to trap moisture and air beneath the top coat. Bubbles appeared everywhere. Not letting previous coats dry fully, or painting when humidity lingers, traps moisture that lifts fresh paint into blisters.
How to Fix Bubbling Paint Without Stripping the Wall
Three words every DIYer wants to hear: you might not need to start over. Fixing paint bubbles without stripping the entire wall takes patience, but it’s absolutely doable and far less messy than a full-scale renovation.
First, slice open those bubbles with a utility knife and peel away the loose paint film. Then sand heavily until the surface is smooth. If blisters reach the substrate, locate moisture sources and use a dehumidifier.
To fix paint properly, apply oil-based primer to seal trouble spots, then top with quality acrylic latex. Always test-patch first to avoid bathroom mistakes.
Bubbles Came Back? How to Find Hidden Moisture
Nothing deflates a fresh paint job faster than bubbles popping back up like unwanted party guests. I’ve stared at those blisters in disbelief with coffee in hand while processing the situation. Hidden moisture is usually the culprit, even when walls feel bone-dry during application.
I learned this the hard way during my bathroom reno, losing one Benjamin Moore Aura coat in the process. Moisture traps vapor beneath paint, causing bubbling immediately or weeks later. When blisters spread across multiple walls, you’re likely facing leaks, rising damp, or external water ingress.
Here’s my diagnostic cheat sheet:
| Symptom | Likely Moisture Source | My Go-To Test |
|---|---|---|
| Localized bubbling | Plumbing leak | Feel for soft drywall, check fixtures |
| Floor-level blisters | Rising damp | Tape-test plastic sheeting overnight |
| Widespread bubbling | External ingress | Inspect gutters, flashing, caulking |
| Recurring after fix | Trapped vapor | Probe with moisture meter |
Before repainting, I patch-test with Gardz or Peel Stop to confirm moisture’s involved. If bubbling returns, the wall needs more drying time. Address root sources first, then seal with stain-blocking primer to prevent the problem from recurring.
How to Choose Primers That Prevent Future Bubbling
So you’re standing in the paint aisle, staring at a wall of primers that’s somehow more overwhelming than your actual wall problems. The secret is matching the primer to your specific situation.
The secret is matching the primer to your specific situation.
For interior jobs, Premium Wood & Wall Primer (Interior) seals effectively and stops bubbling before it starts. Exterior? Exterior Latex Wood Primer (Exterior) provides weather-proofing against moisture infiltration.
Got stains or a steamy bathroom situation? Stain-blocking primer prevents both issues. Switching from oil to latex? Multipurpose latex primer/sealer or oil-based primer bridges that gap without bubbling problems.
Let it dry completely. Following manufacturer guidelines religiously prevents bubbling more effectively than any paint product can.






