
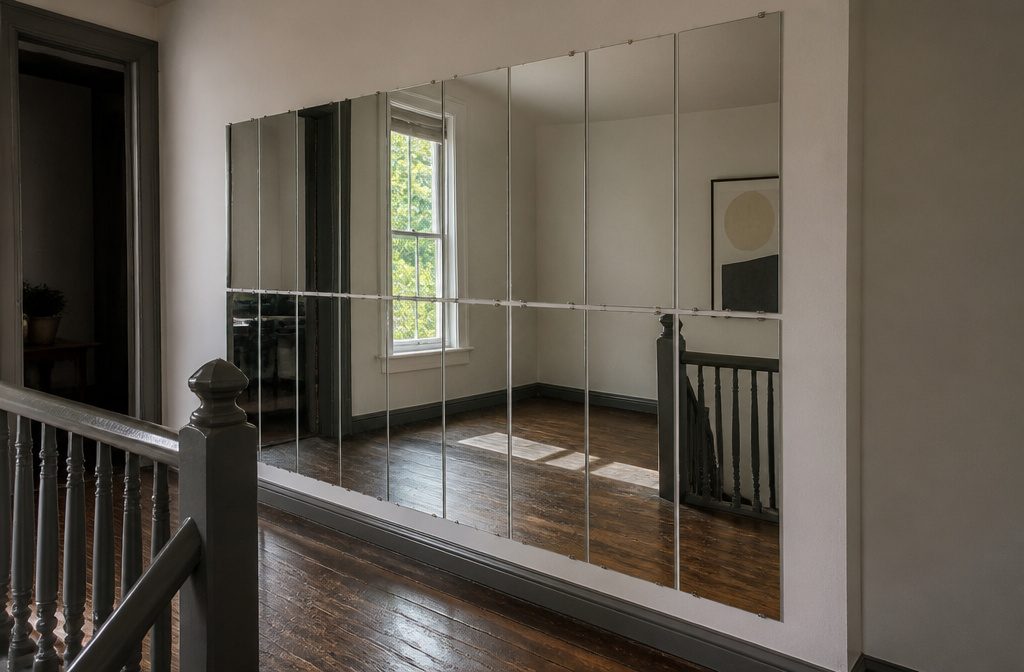
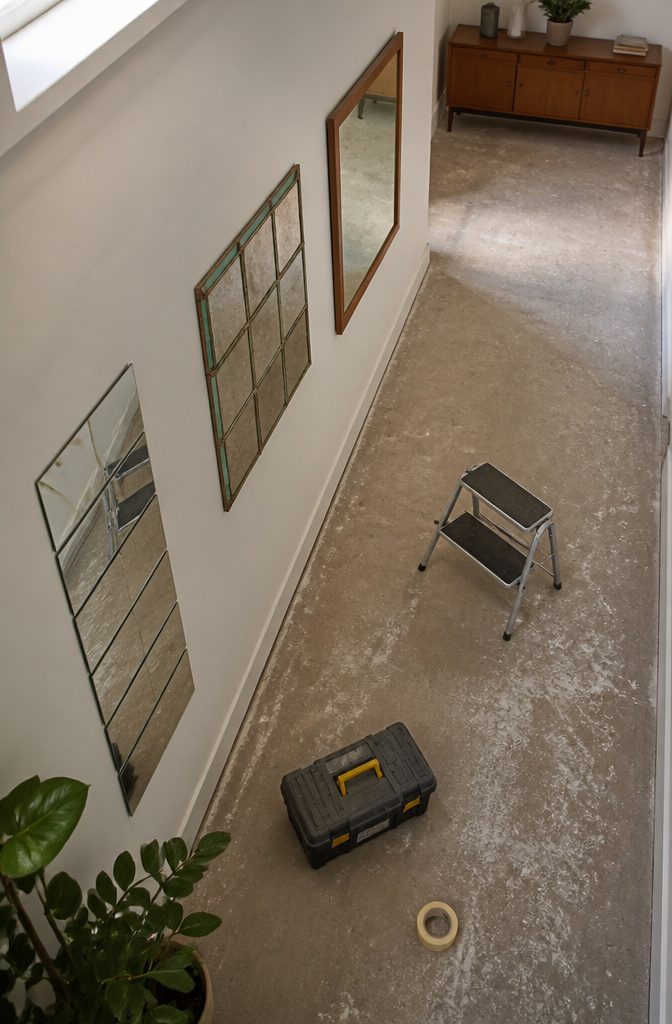
A full 8-by-8-foot mirror wall costs under $100 and takes under an hour if you tape 14 over-the-door mirrors up in two rows.
The other builds make a single mirror each. Wherever glue is involved, stain or paint first, since masking glass that’s already set in place is a slog.
1. Two Rows of Ready-Made Mirrors
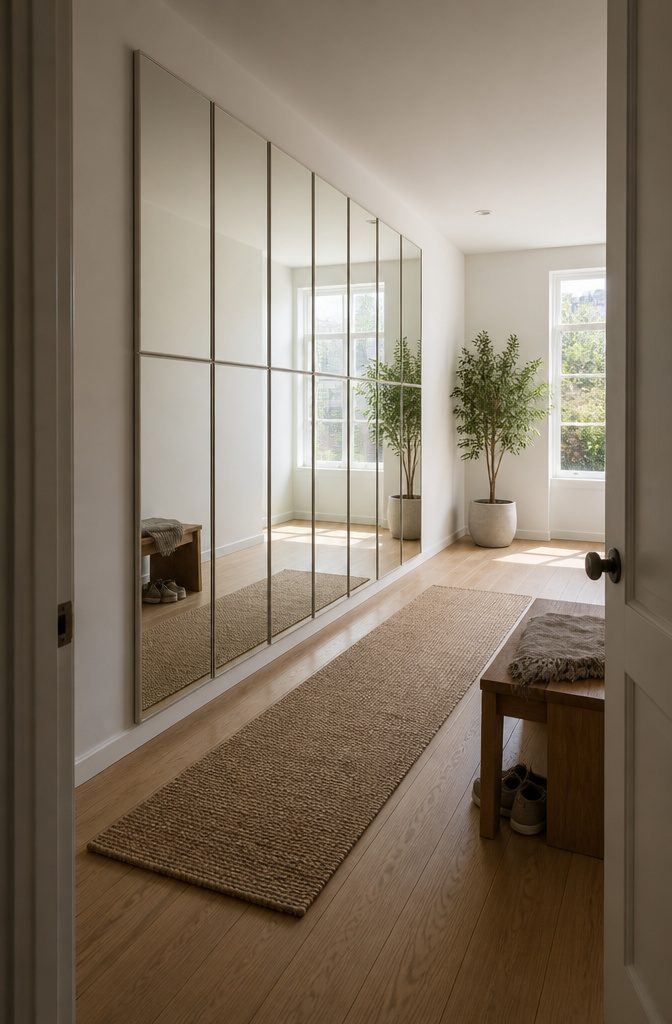
Fourteen cheap mirrors cover an 8-by-8-foot wall for under $100, against nearly $1,000 for one solid mirror or over $600 for two pieces.
- Buy 14 Mainstay over-the-door full-length dressing mirrors (about $5 each on sale at Walmart) and 2 packages of Scotch extremely strong double-sided tape.
- Cut the tape into thirds and stick squares on each mirror’s back: four corners, plus top and bottom center. Two 3-inch strips, top and bottom, also work.
- Start the first row at the floor, and cover the trim if the rows need to fit.
- Add the second row above the first, using a step stool.
- Go slowly. The mirrors are flimsy, the tape is very sticky, and the whole job reportedly takes under an hour.
2. A Paneled Mirror Build
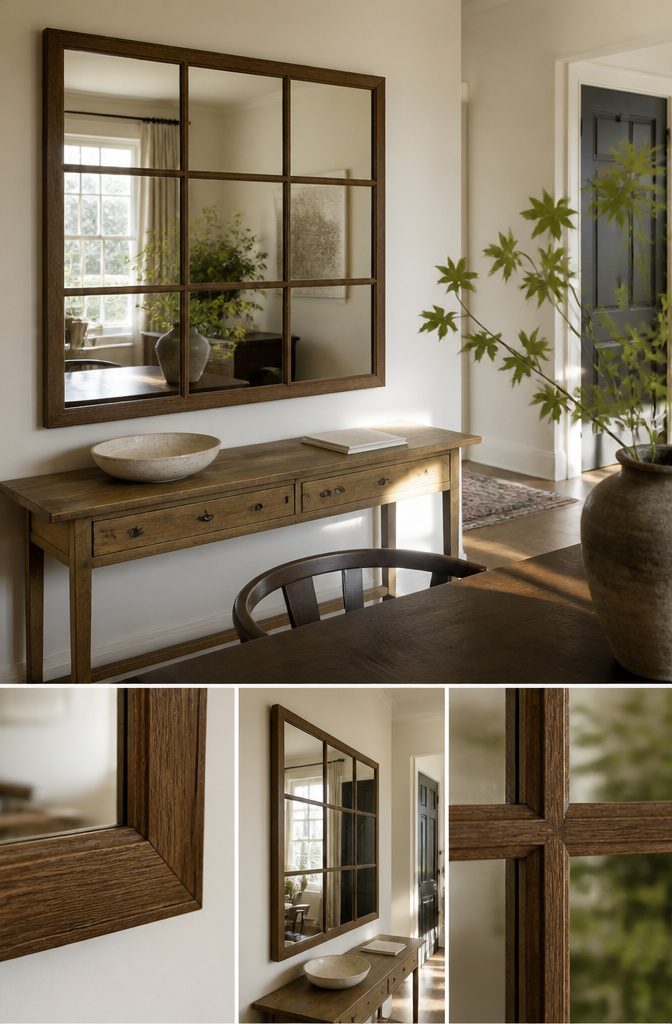
- Cut 1/2-inch plywood to 43 1/2 by 43 1/2 inches. A scrap works, or Home Depot can rip one down for you.
- Miter 2 eight-foot sticks of 2 1/4-inch casing at 45 degrees. Lay out a few mirrors first, then mark each piece against a plywood corner and cut.
- Attach the casing with Gorilla Glue Wood Glue and 5/8-inch brad nails.
- Scrape the stickers and felt pads off all 9 mirrors with a razor scraper, then clean the glass.
- Miter 1-by-2 outer trim at 45 degrees and attach it with wood glue and 1-inch brad nails. It hides the plywood edge and the casing.
- Apply one coat of Varathane Carrington stain with a foam brush and wipe it after 5 minutes. Stain or paint before the mirrors go in. If they’re already glued, tape off the glass.
- Glue the mirrors in with Gorilla Glue Epoxy, mixed on scrap wood.
- Hang it on a French cleat, which levels easily and holds heavy pieces.
Budget about an hour and $60.
3. Repaint a Trifold Dresser Mirror
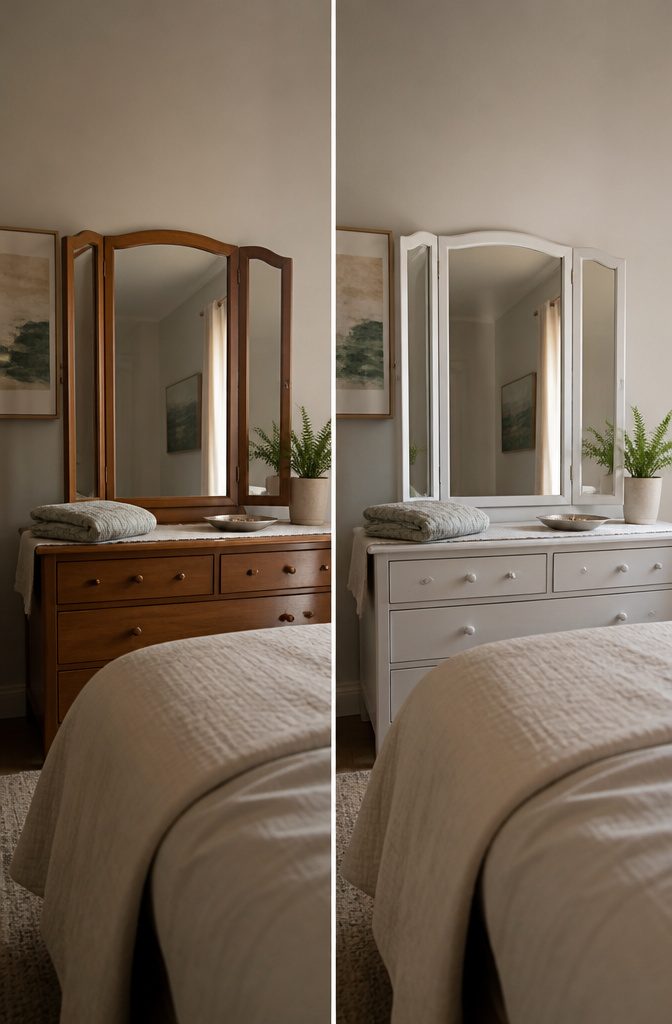
Start with a trifold dresser mirror (a $5 Craigslist find works), plus sandpaper, a screwdriver, paint, painter’s tape, two brushes and clear coat.
- Remove the hinges and hardware.
- Tape off the glass with painter’s tape. Scrap paper on top adds backup.
- Sand lightly, working into the crevices, then wipe off the dust.
- Paint the frame white against a yellow wall, or a decor-matching color on white walls. Use a medium brush for broad areas and a small one for tight spots.
- Let it dry.
- Apply clear coat. If spraying, cover the glass with paper or a bag, and scrape any overspray off gently with a razor blade.
- Let it dry.
- Hang with 3 rows of thick fishing wire and mounting tape.
- Use two people for placement and evenness.
- Add heavy-duty mounting tape at the corners so nothing shifts or falls.
4. A Mirror From Framed Glass
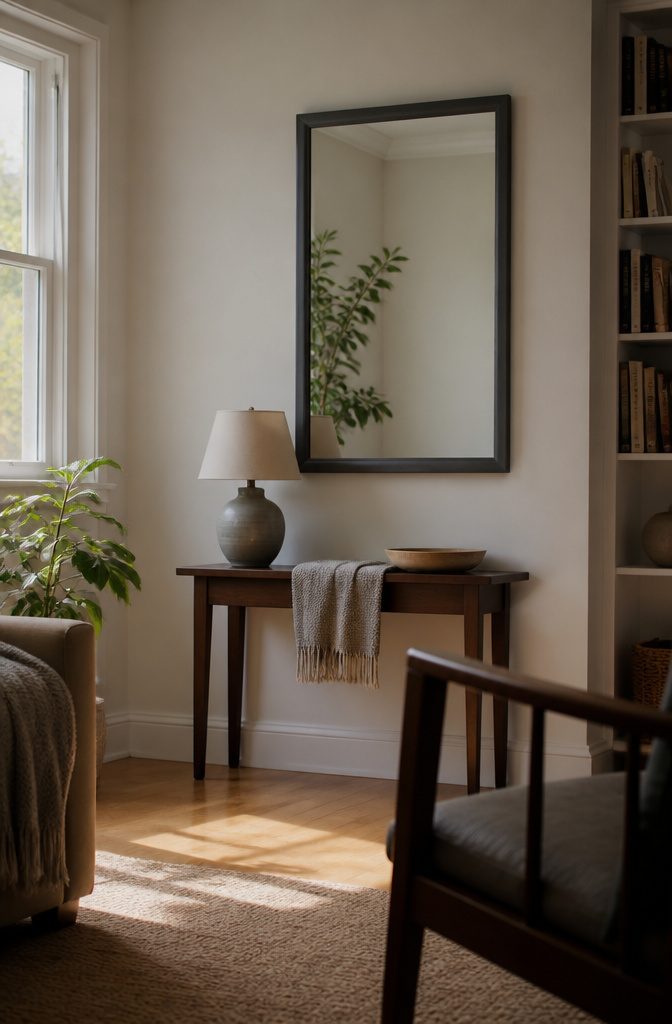
Pull the glass from a picture frame, wipe both sides with rubbing alcohol, and handle it by the edges.
Regular silver spray paint will not work, even with a shiny cap. Use paint labeled mirror-effect, in a well-ventilated space.
Prop the glass on same-height cans, spray one side in about 5 thin coats, and hold a hand under it to check opacity. The first coat dries in about 1 minute; final drying takes 10.
The haunted version holds the can 8 to 10 inches away and runs about 5 coats at 1 minute each, leaving bare patches for a taped image to show through. The frame gets 2 thin coats, and everything needs about 1 hour to dry fully.
Yes, it reflects, and metallic glossy spray can repair an old mirror. Heavy framed ones need a cleat: a 75-pound mirror on half-inch drywall alone is the cautionary case.
5. A Ceiling Medallion Mirror
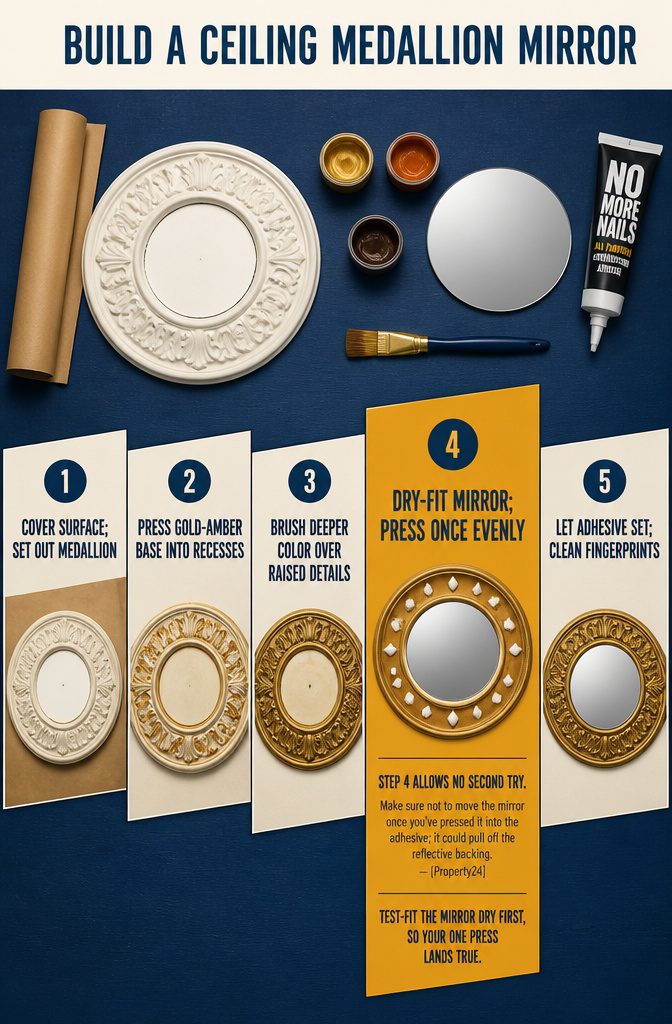
- Cover a flat surface with brown or white paper and set out the medallion.
- Press craft acrylics into the recessed edges. Mix the base coat from antique gold and a little amber, brushed sideways or pounced into the crevices.
- Once dry, brush a deeper color over the raised details.
- Dot No More Nails around the recessed center and press the mirror in evenly.
- Let the adhesive set per the package directions, then wipe off fingerprints with glass cleaner.
Step 4 allows no second try.
Make sure not to move the mirror once you’ve pressed it into the adhesive; it could pull off the reflective backing.
Test-fit the mirror dry first, so your one press lands true.
6. Decorative Mirror Ideas
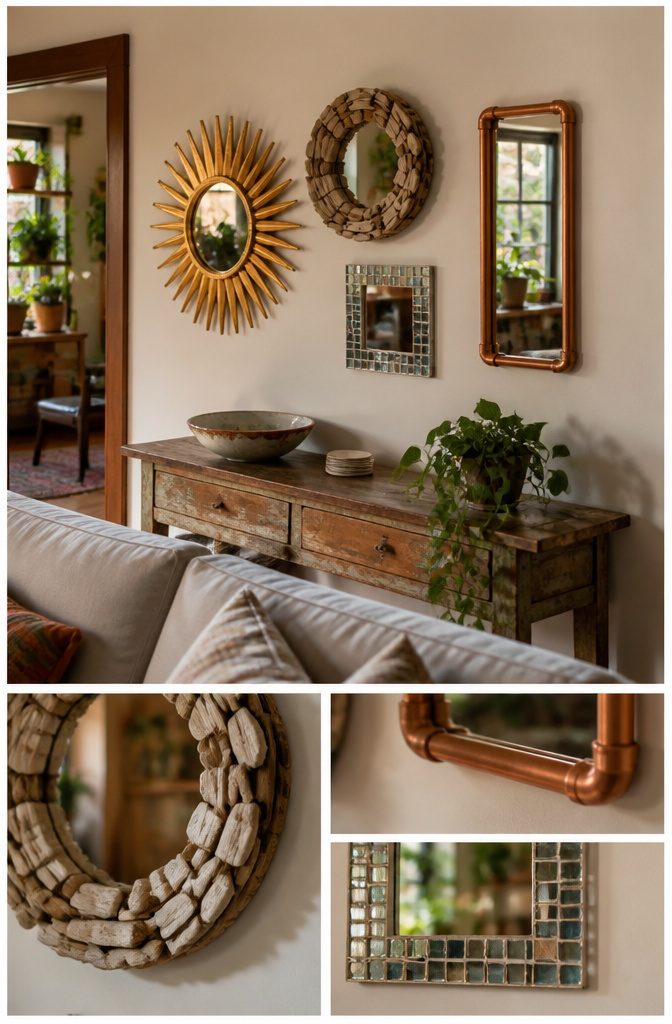
Decorative mirrors come in 15 styles, and they share a look, not a method:
- Sunburst, boho and gold frame: the statement shapes, best for a living room or entry wall.
- Black-and-white painted: a paint-only update to a plain frame.
- Copper pipe: a mirror set in a custom-designed wood frame with copper pipes.
- Jewelry storage: hidden storage behind the glass for jewelry, makeup and bathroom amenities. I’d pick this one first, since it earns its wall space twice.
- Spoon, driftwood, wood slice, nautical rope and acorn: frames built from found or craft materials.
- Mirror bowl and tiled: smaller, more sculptural pieces.
- CD: a mosaic-style mirror.
- PVC pipe: pieces joined with a glue gun.
These projects have no common build sequence. For hanging any of them, use the prep and attach steps in the other sections.
Pick the Right Mirror Project
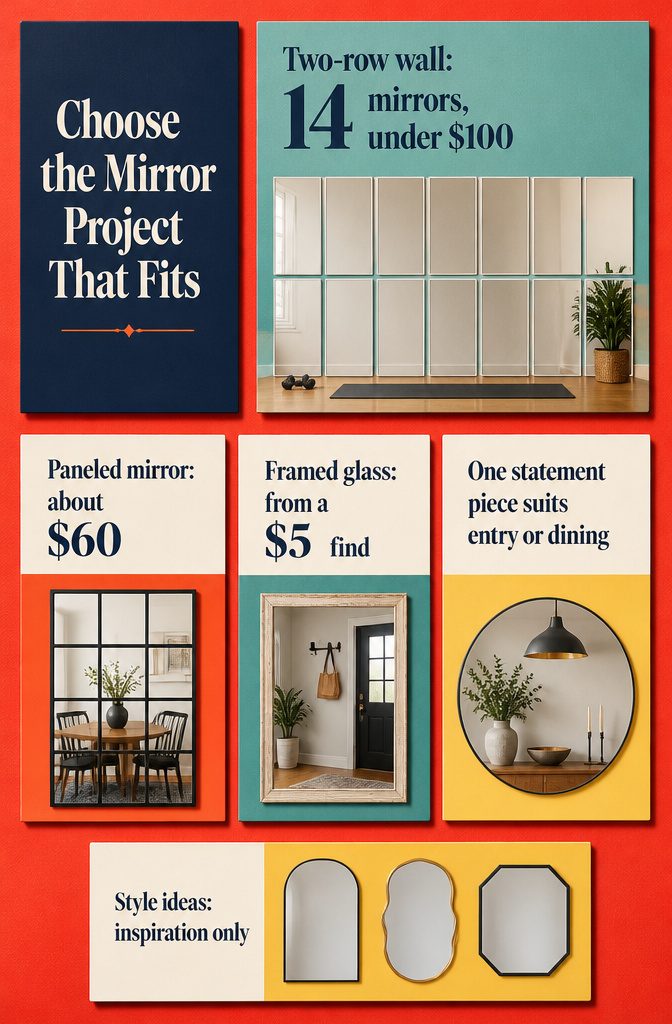
None of the six projects gives you one unbroken sheet of glass, and I think that’s fine, since a single 8-by-8-foot mirror priced out at nearly $1,000.
The only build that covers a whole wall is the two-row version: 14 over-the-door mirrors held with strong double-sided tape cover that wall for under $100. I’d pick it for a gym or dance corner.
The other four make one decorative mirror each.
The paneled mirror runs about $60, and the framed-glass version can start with a $5 Craigslist find. Choose those for a dining room or entry, where one statement piece beats a wall of reflections.
The last project is a set of style ideas, so use it for inspiration only. Each project’s steps stay in its own section.
Prep and Attach Methods Compared
Tape-backed tiles, epoxied panels and a pressed-in medallion each need different handling, so match the adhesive to the mirror.
| Method | Attaches with | Watch for |
|---|---|---|
| Thin mirror rows | Two 3-inch tape strips, top and bottom | Flimsy glass |
| Paneled build | Epoxy, then French cleat | Stain first |
| Wire-hung mirrors | Fishing wire, mounting tape | Two people |
| Spray-painted glass | Cleat for heavy frames (optional) | Handle by edges |
| Medallion | No More Nails | No repositioning |
Stain or paint before any glue goes down; taping off already-glued mirrors is miserable. Spray in a ventilated space, in thin coats.
Tape grabs instantly, so place cheap mirrors slowly. A mirror pressed into adhesive can pull its reflective backing if you shift it.
Frequently Asked Questions
Can you DIY a mirror, and what materials do you need?
Yes. A basic mirror takes a piece of glass, such as the pane from a picture frame, and spray paint labeled mirror-effect.
Regular silver spray paint won’t work, even if the cap looks shiny. If you want a whole wall rather than one piece, 14 over-the-door mirrors held with strong double-sided tape cover an 8-by-8-foot wall for under $100.
Does mirror-effect spray paint actually show a reflection?
Yes, it turns plain glass into a real reflective surface, not just a decorative one.
Spray one side of the glass in about 5 thin coats rather than 1 or 2 thick ones. Hold a hand under the pane as you go: if you can still see it, the coverage isn’t opaque enough yet.
Can you repair an old mirror with spray paint?
Yes, as long as the paint is metallic and glossy. Matte or regular silver paint won’t give you the same reflective finish.
Can you hang a 25-pound mirror on drywall?
The one benchmark it gives is a cautionary case: a 75-pound mirror hung on half-inch drywall alone. For heavy pieces, use a French cleat, which levels easily and holds the weight.