
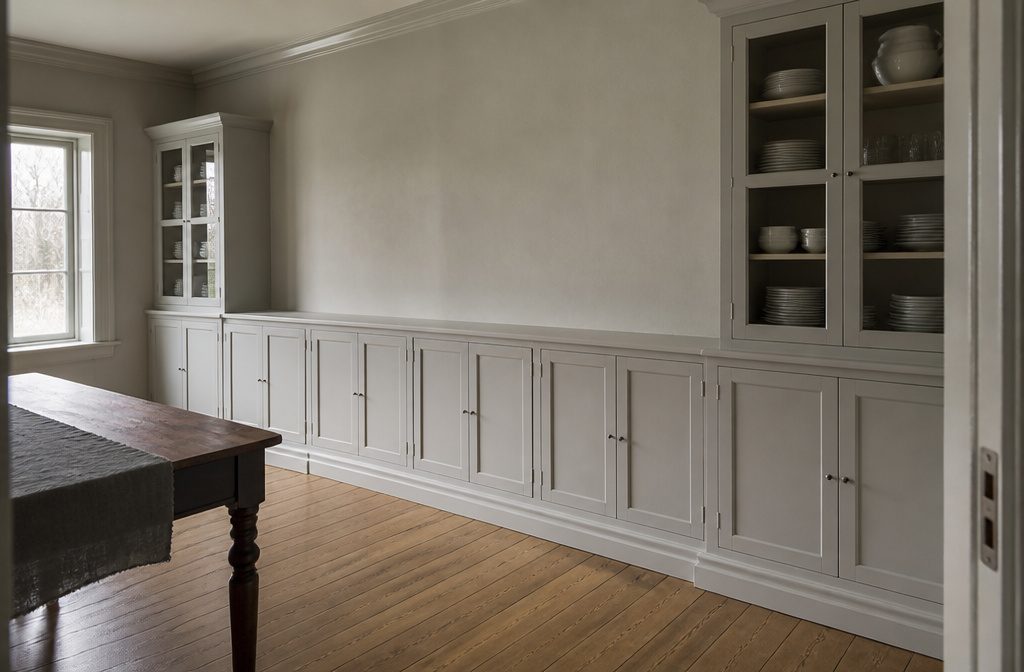
HAVSTA built-ins are IKEA’s shallow solid pine cabinets, framed in MDF, trimmed and painted so separate boxes read as one custom wall.
Baseboard changes the build: keep it, and the units need 2×3 bases to clear a 5¼-inch baseboard. A 13.5-foot dining wall shows the scale, with a tall cabinet at each end.
Plan the Layout and Depth
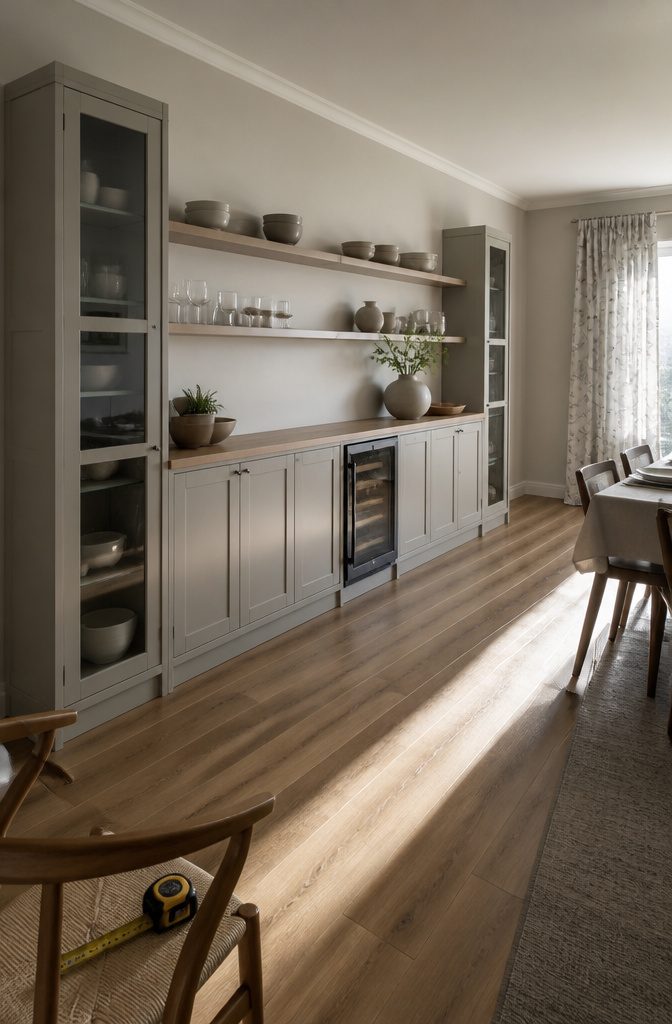
HAVSTA’s shallow depth is the reason to pick it for tight rooms. A dining room build chose it because nothing could run deeper than about 14 inches, so measure your walkway before you order anything.
A 13.5-foot wall shows how much one run can hold. That project put a tall cabinet at each end, counter-height cabinets with a countertop between them, and a beverage fridge in the middle with 24–25 inches left open for it.
Floating shelves about 7.5 feet long and 13 inches deep sat above, slipping between the two tall ends, so those cabinets decide the shelf length.
A living room build adds one more step: sketch the whole wall with every measurement, and decide how the TV will mount before buying anything. The mount changes the shelf and frame dimensions.
Assemble and Anchor the Units
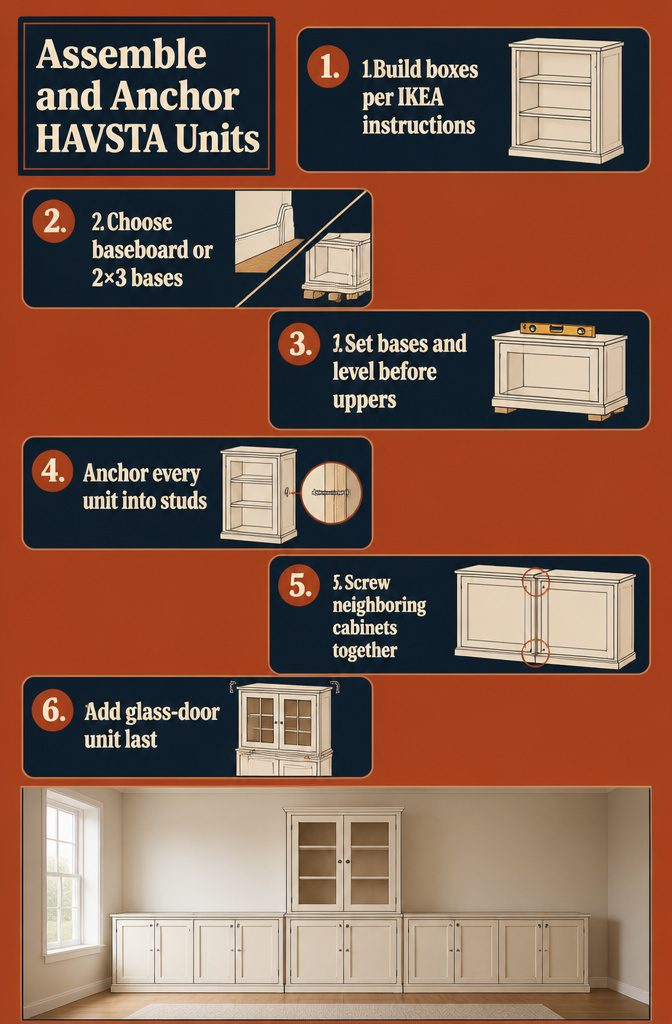
- Build each unit from the flat boxes following IKEA’s instructions. Plan on about 10 boxes and 4–6 hours for assembly and installation together.
- Choose how to handle the baseboard. Pulling it lets the units sit flush. Keeping it means building bases from 2×3s (actually 1.5×2.5 inches) laid on their sides, so they stand 1.5 inches tall. Added to the 4¾-inch factory base, that clears a 5¼-inch baseboard.
- Set the bases and level them before any upper goes on. I’d budget extra time, since leveling takes repeated adjustment.
- Anchor every unit into studs, and use wall anchors where no stud falls.
- Screw neighboring cabinets together near the front and the back.
- Add the glass-door unit last. Screw it to the lower from underneath, then tie it to the wall above with small L-brackets.
Build the Frame and Shelf

Frame the HAVSTA units in 18mm MDF so they read as one continuous piece, and cut the shelf last, once you know your TV width and the size of any baskets going on it.
Measure twice, because MDF won’t forgive a short cut. For a TV wall, rout thin grooves into 9mm MDF to make a decorative back panel, and install the panel before the TV.
Floating shelves take more math. Wall brackets 2.5 inches tall, with supports about 10 inches apart, let a 7.5-foot shelf slip over them like a sleeve.
Top and bottom panels of ½-inch red oak plywood add 1 inch, so the 1×4 red oak front, which actually measures ¾ × 3½ inches, covers the 3.5-inch stack exactly, with the seams on top and bottom instead of in front.
Even with careful measuring, the fit between the tall cabinets still took repeated sanding, so leave yourself room to sand.
Add Trim and Close Gaps
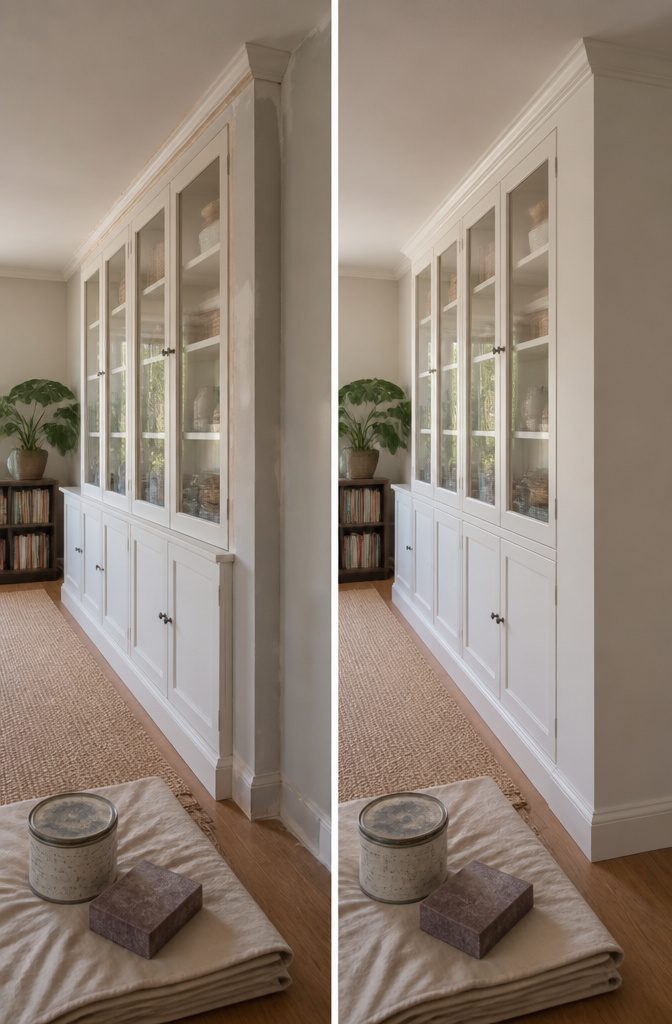
Crown molding is what makes separate boxes read as one built-in. It gives the run a finished top edge, so it looks like part of the house instead of furniture pushed against a wall.
The corner cuts need to be precise, so I’d pay a handyman for that step and do the rest myself. Hiring out one piece doesn’t make the project any less yours.
Filler comes next.
Press wood filler into every seam and nail hole, sand it smooth, then run caulk between the cabinets and the wall. Expect the top to be the slow part, because the gaps up there run larger.
One builder needed multiple rounds of filling and sanding before everything sat flush. Wrap baseboards around the base the same way, then prime and paint.
Paint and Stain
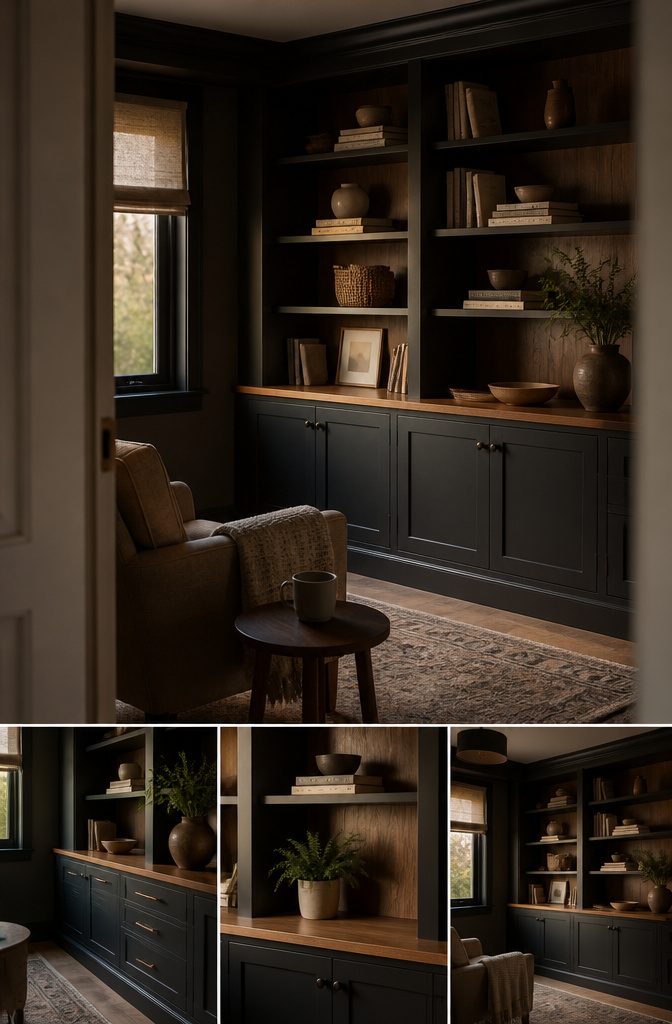
Dark paint does the most to hide flat-pack seams. Iron Ore (Sherwin-Williams SW 7069) in satin reads as a soft charcoal-black, and it covers seams and shelf-pin holes so the wall looks like one piece.
INSL-X by Benjamin Moore Trim & Cabinet Paint is a durable choice that hasn’t chipped over years of use.
The label promises no sanding and no primer, but I’d still prime once the filler and caulk are dry, since those patches are the spots most likely to show through.
Added wood can take stain instead.
Sand with 120 grit, then 180, wipe off the dust, and brush on two coats of Varathane Hazelwood. Finish with three coats of polyurethane on tops and fronts, one underneath.
The stock brushed-silver knobs can be sprayed black, or swapped for champagne-bronze pulls.
Details That Finish the Build
None of these extras belongs on every build, so pick the one that suits your wall.
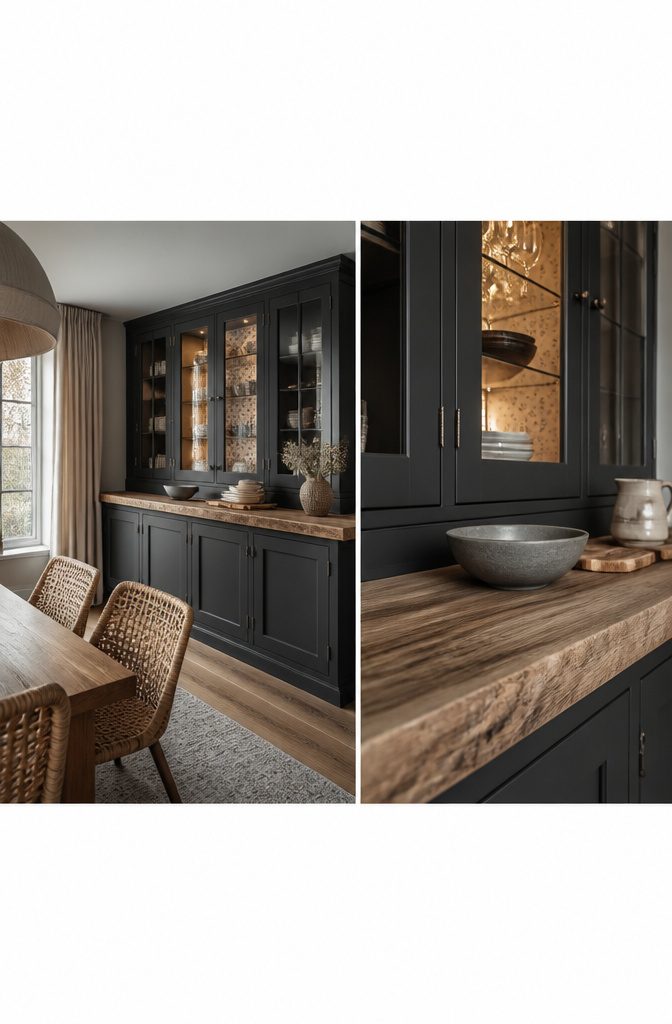
A raw-edge piece of reclaimed wood between the upper and lower cabinets makes two stacked sets read as one piece of furniture with a wood counter. Choose a board with visible grain and a few flaws.
Light the center glass-front cabinet and line its back panel with wall covering, but keep that treatment to one or two cabinets, because lining every section gets busy. It looks best against dark paint like Iron Ore.
For a backsplash, set the ceramic tile after the shelves are up so you can cut around them.
On a TV wall, router thin grooves into a 9mm MDF panel and mount an extendable arm bracket through it. A HAVSTA TV stand can also become a storage bench for dining banquette seating.
Why HAVSTA Reads as Built-In
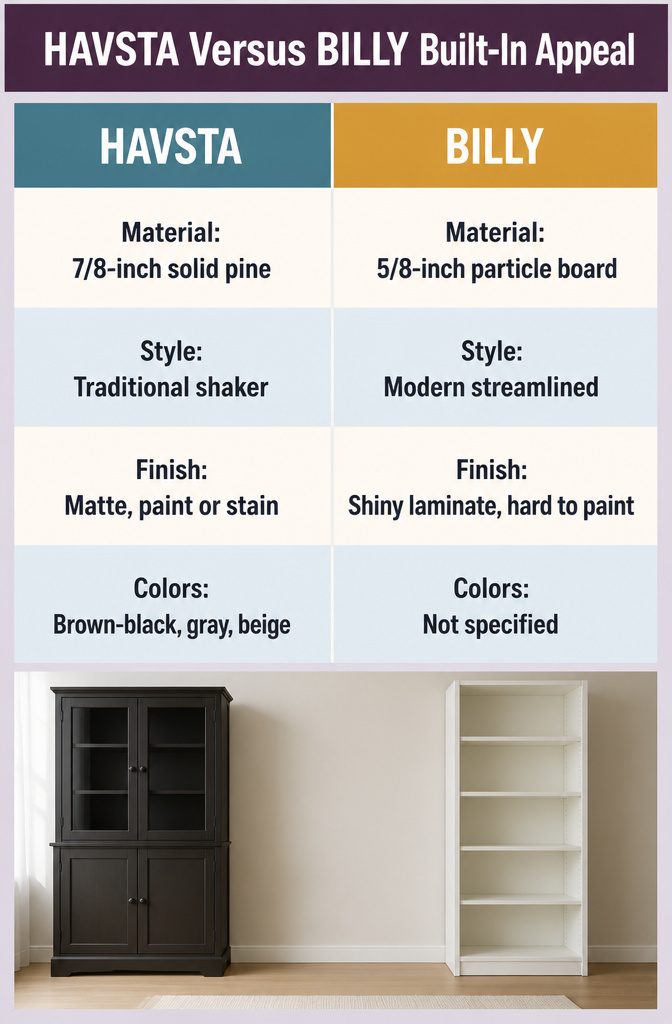
A 7/8-inch solid pine board gives HAVSTA the weight of furniture built on site, and its shaker doors look traditional from day one.
BILLY reads modern and usually needs extra trim before it looks attached to a wall. For any wall meant to look custom, I’d pick HAVSTA.
Side by side:
| HAVSTA | BILLY | |
|---|---|---|
| Material | 7/8-inch solid pine | 5/8-inch particle board |
| Depth | Base cabinets 18.5 inches; narrow cabinets and bookshelves 13–18 inches | n/a |
| Style | Traditional shaker | Modern, streamlined |
| Finish | Matte, takes paint or stain | Shiny laminate, hard to paint |
| Colors | Dark brown-black, medium gray, light beige | n/a |
Storage and Room Use
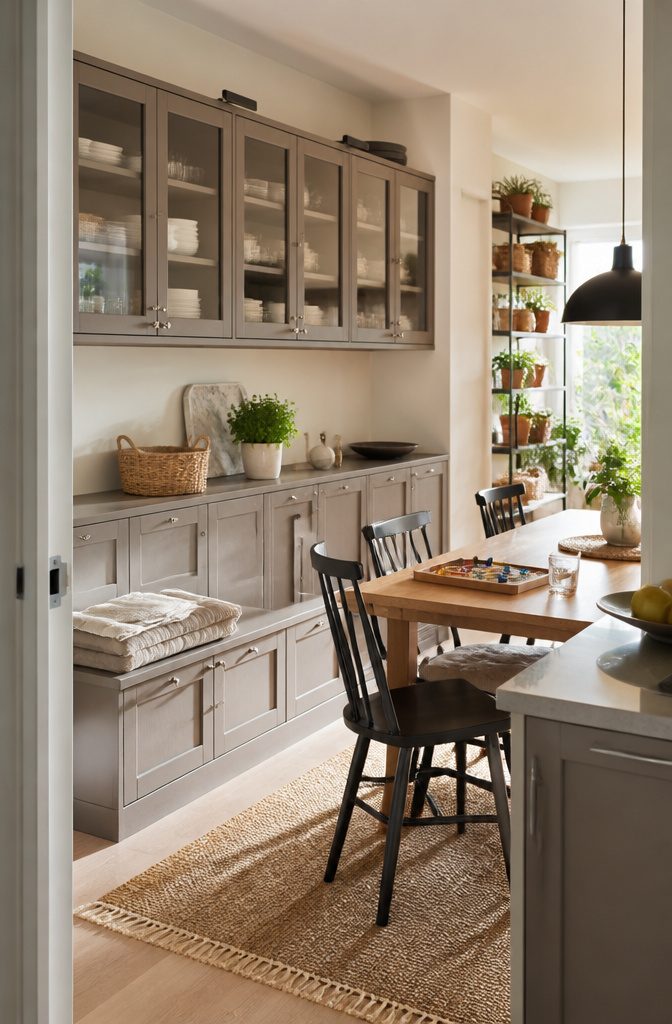
HAVSTA earns its keep well beyond a single media wall. These are the uses with real results behind them:
- Dining banquette and wall cabinets: One dining room has used them daily for over 3 years, and the owner still rates the quality. That settles the durability question for me.
- Living room toy and game storage: Doors hide toys and board games, so the room looks tidy again by evening.
- Coffee bars, entertainment consoles and fireplace nooks: The units run 13–18 inches deep, so they add storage without eating much floor.
- Beverage fridge wall: A 13.5-foot dining wall has a tall cabinet at each end, counter-height cabinets with a countertop, and wood floating shelves above. Leave 24–25 inches open in the middle for the fridge to slide in.
Cost Against Custom Built-Ins
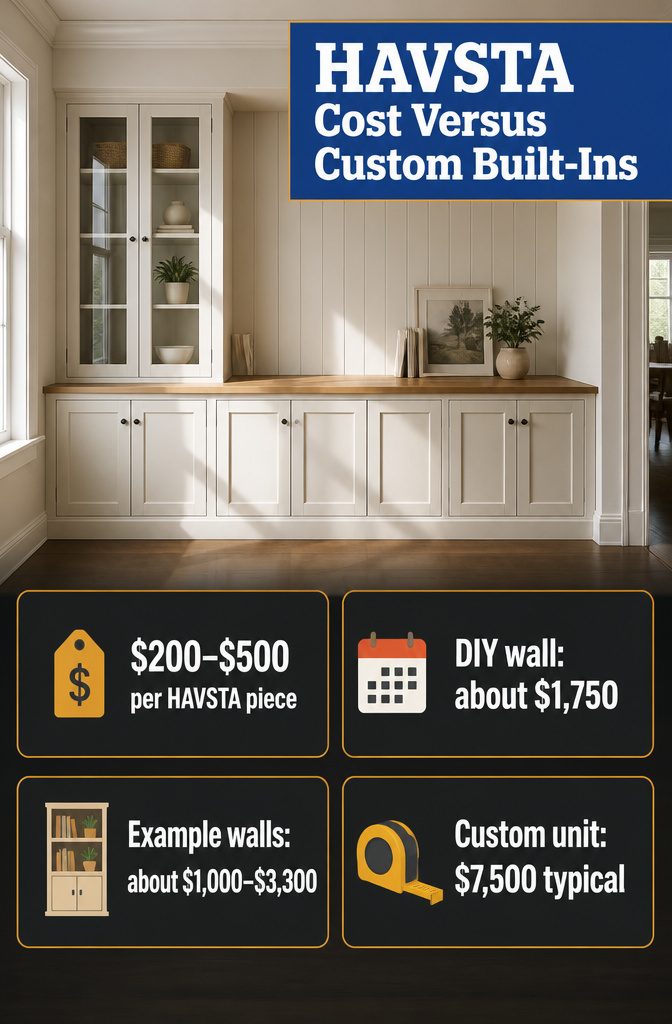
Each figure below comes from a different wall, so treat them as ranges rather than a price list. Cabinet count, glass units and hired labor all move the total.
| Option | Cost | Labor |
|---|---|---|
| Five cabinets and one glass unit | Under $3,300 | Handyman included |
| DIY wall | About $1,750 ($1,275 cabinets, $475 supplies) | 3–4 days over a couple of weekends |
| Wall and alcove with added trim | About $1,000 | n/a |
| Custom wall unit | About $7,500 typical; $3,000–$10,000+ overall | n/a |
HAVSTA runs $200–$500 per piece and costs more than BILLY, but I’d pay the difference for the solid wood build and the shaker-style doors. Even the priciest HAVSTA wall here lands well under a custom one.
Frequently Asked Questions
How long does it take to install IKEA Havsta cabinets?
Plan on 4–6 hours to assemble and install about 10 boxes.
Trim, filler, caulk and paint come after that. One DIY wall took 3–4 days spread over a couple of weekends once the finishing work was included.
Can you paint IKEA Havsta cabinets?
Yes, the matte pine takes paint or stain. Iron Ore (Sherwin-Williams SW 7069) in satin worked well, and INSL-X by Benjamin Moore Trim & Cabinet Paint has held up for years without chipping.
Even though that paint says no primer is needed, prime the filler and caulk patches once they dry, since they are the spots most likely to show through.
How do you make IKEA cabinets look built-in?
Add crown molding along the top, since it makes separate boxes read as one piece that belongs to the house.
Fill every seam and nail hole, caulk where the cabinets meet the wall, wrap baseboard around the base, then paint a deep color like Iron Ore to hide the joints.
Natural wood touches and lighting in a glass-front cabinet add to the effect.
Is an IKEA built-in hack cheaper than custom built-ins?
Yes, by a wide margin.
One wall with 5 cabinets and a glass unit came in under $3,300 with a handyman included, while a typical custom wall unit runs about $7,500. A fully DIY wall cost about $1,750, and custom work can reach $10,000 or more.