
I learned the hard way that a “30-inch” cabinet rarely measures 30 inches inside. Mine was just 28.5 inches once those sneaky 3/4-inch sides stole their cut. You’ll want a sink roughly 26–27 inches wide, leaving that crucial 2–3 inch margin for clips, brackets, and proper installation. I once watched an installer wedge a 29-inch basin in there, which created significant installation problems.
Don’t forget horizontal blocking under the flange, or you’ll crack your quartz like my neighbor did. Measure twice to avoid costly mistakes, and install proper support structures before demolition day.
Start With Your Cabinet’s True Inside Width, Not the 30 Label
Why do we keep falling for the same trap? I did too until I learned that “30-inch” on a cabinet label means almost nothing.
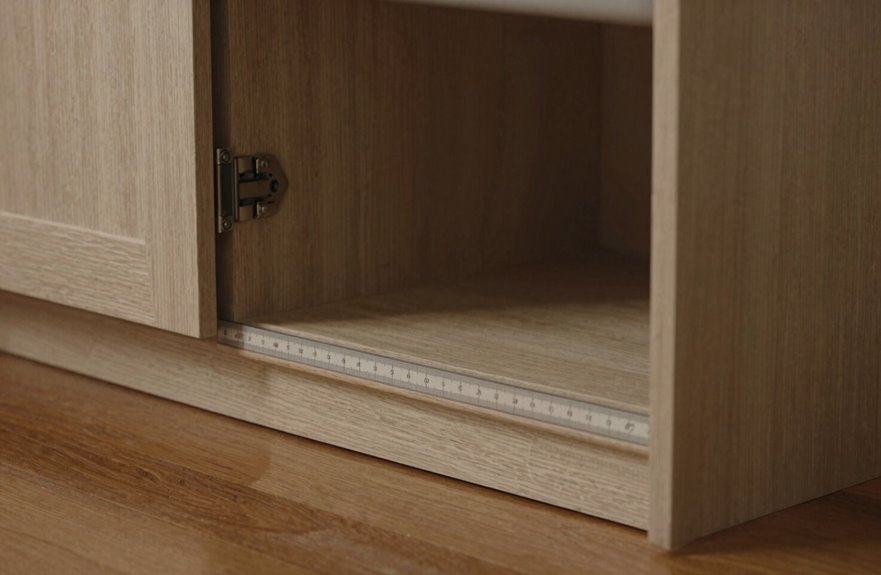
The inside width of that gorgeous base cabinet is really 28.5 to 29 inches, thanks to those 3/4-inch-thick cabinet sides. I measured mine three times before accepting it. Some brands hit 28.5 exactly, others flirt with 29. You need to grab that tape measure yourself.
That “30-inch” sink you’re eyeing often includes the flange, not the actual basin. Check the sink minimum size spec against your true cabinet measurement, or you’ll face problems during installation. Even a quarter-inch fit tolerance error per side will compromise the entire project. Precision is essential.
The 2–3 Inch Rule: How Much Smaller Your Sink Must Be
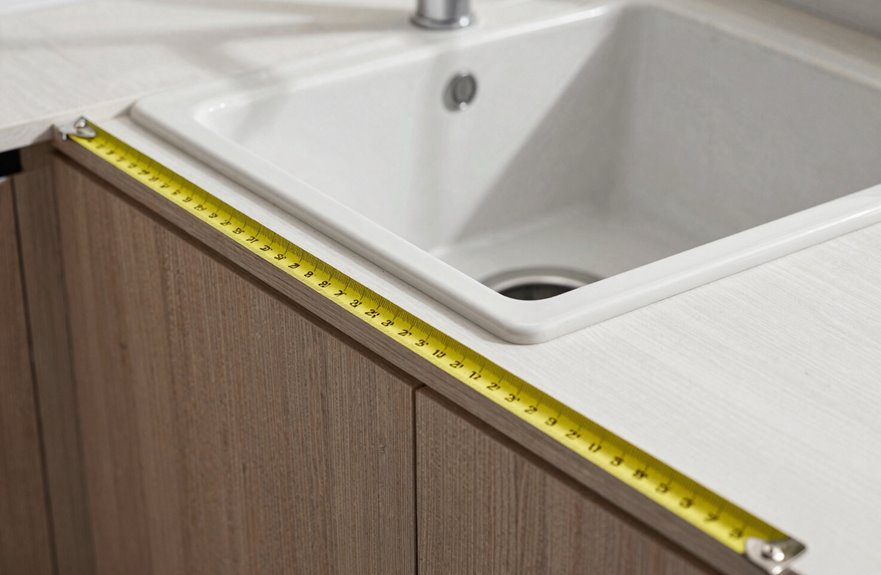
Now that I’ve got my true cabinet width locked down (28.5 inches on the nose), I’m staring at the next puzzle: how much breathing room does this thing actually need.
The 2–3 inch rule is essential. Your sink size must shrink to fit your actual cabinet interior, not that shiny “30-inch” label on the front. I learned this the hard way with my first kitchen, when I had to return a beautiful Blanco sink. The rule says your cabinet should exceed the sink by roughly 2–3 inches total. For my 28.5-inch interior, I’m hunting for something around 26 to 27 inches wide. That mounting clearance is essential. Those clips, brackets, and your own two hands need space to work. Skip this margin, and installation becomes difficult in a cramped cabinet.
Can a 29-Inch Sink Fit in a 30-Inch Cabinet?
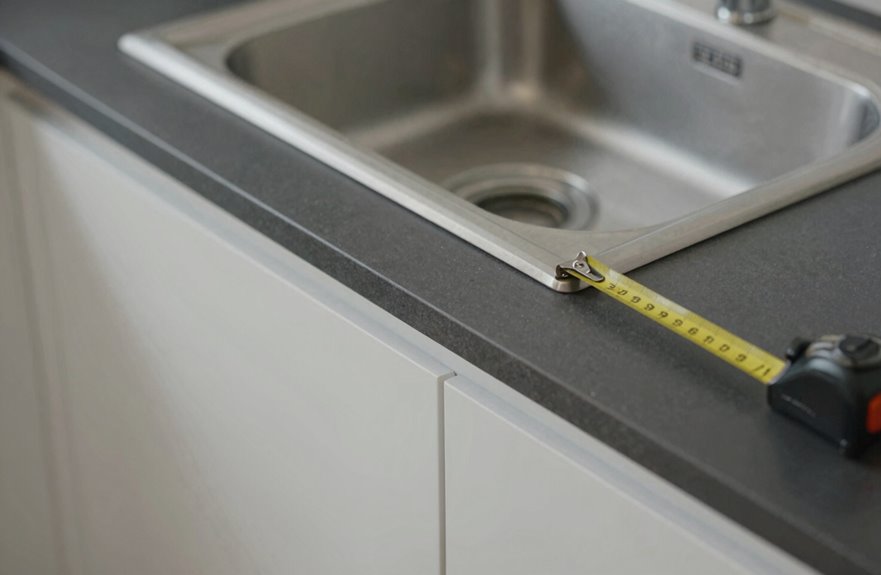
So here’s the question that stopped me dead in my tracks at the showroom: could I squeeze a 29-inch sink into my 30-inch cabinet and call it a victory? The answer requires careful measurement and planning.
The cabinet interior width matters most, typically 28.5 to 29 inches inside that 30-inch box. Exterior versus basin size trips everyone up. That “29-inch” label might mean the flange, not the bowl. Check your minimum cabinet size spec religiously. Mounting clearance needs about 1-1/2 inches for clips and wiggle room, which turns this “perfect” fit into a significant challenge. I’ve seen this mistake happen with models like the Kraus farmhouse sink.
| What You’re Measuring | Why It Deceives You | Your Reality Check |
|---|---|---|
| Exterior dimensions | Includes the flange lip | Subtract 0.5–1 inch immediately |
| Basin size only | Ignores mounting edges | Add hardware width back in |
| Cabinet interior width | Often 0.5–1.5″ narrower than face | Measure with the doors OFF, people. |
| Minimum cabinet size | Manufacturer’s “safe” number | Treat as gospel, not suggestion |
| Mounting clearance | The forgotten hero | That 1-1/2″ prevents installation problems |
Tight fits demand surgical precision. Accurate measurements before purchase prevent costly installation problems.
Installing a 29-Inch Sink: Clip Clearance and Hardware Needs
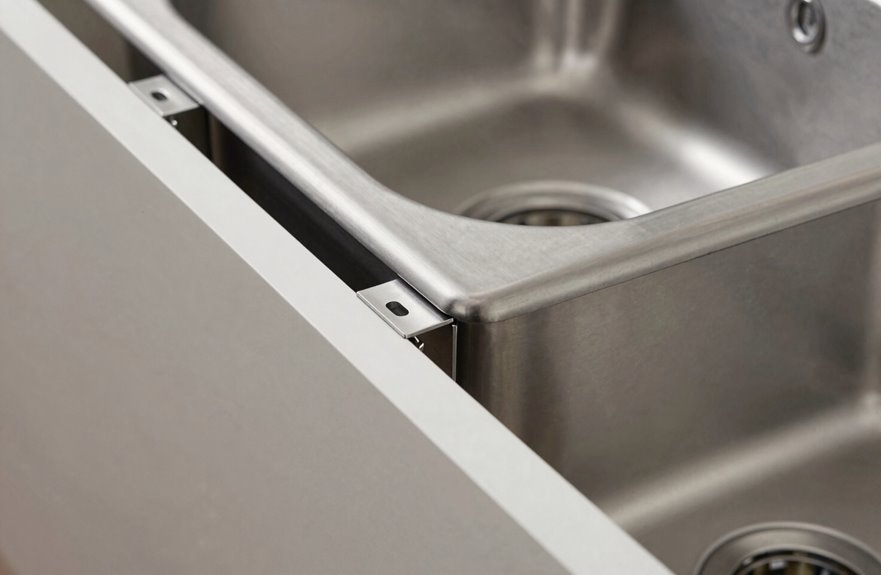
I stepped out of that showroom with my measurements scrawled on a napkin, confident I’d found the solution, only to get home and realize I’d forgotten about the clips entirely. This critical detail doesn’t appear on those shiny display cards: that 29-inch sink might technically fit into your 28.5-inch cabinet interior, but those undermount clips take up significant space and require proper accommodation.
You need 1 inch clearance on each side for hardware installation, as a minimum. Those Allora Insert Sink Clips require adequate room for installation, plus you’ll want horizontal blocking under that flange to distribute weight properly. I learned this while examining my cabinet interior width late at night, realizing I’d left zero access space. Measure your clearance carefully before purchasing, and account for clip installation needs.
Advanced Techniques When Standard Clearance Won’t Work
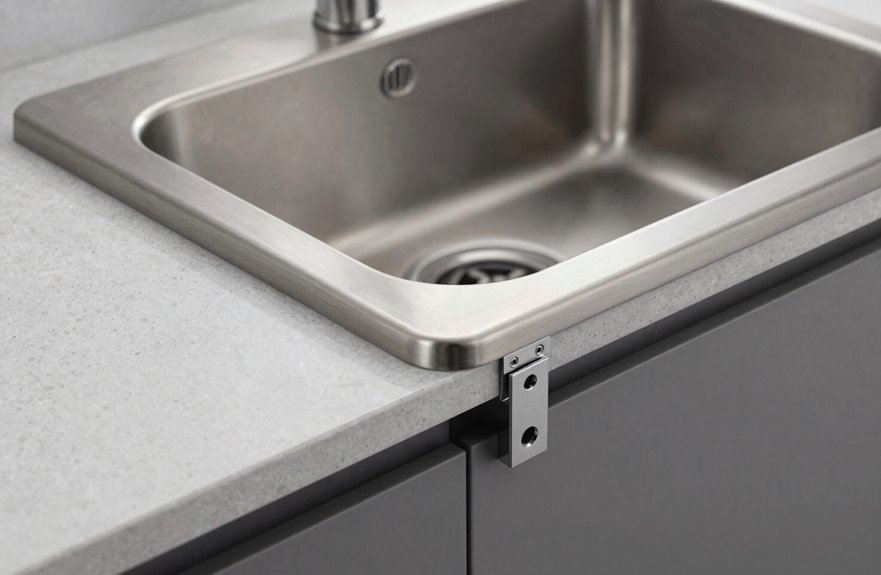
Add horizontal blocking under the flange to spread the load effectively. Precision fabrication is critical; maintain 0.25-inch margins. Follow approved mounting hardware specifications and use only skilled installers for this installation, which requires proper liability management.
Choose Your Mount: Undermount, Drop-In, or Farmhouse for 30-Inch Bases
Once you’ve wrestled that blocking into submission (and maybe questioned your life choices), you’re ready to pick how your sink actually sits in the cabinet.
For 30-inch cabinet installations, cabinet clearance is critical. I’ve learned this the hard way, twice.
- Undermount: These deliver a sleek reveal and allow you to wipe debris directly into the basin. The requirement is at least 1.5 inches of clearance, so a 29-inch basin is your maximum size. Measure before ordering.
- Drop-in: The traditional choice. The lip sits on your countertop, and cutout alignment is straightforward. Hardware clearance is less restrictive.
- Farmhouse: Visually striking but requires cabinet modification, reinforcement, and structural assessment due to the apron front.
Those 0.25-inch margins will expose any measurement errors during installation.
Why a “30-Inch” Sink Might Only Have a 28-Inch Basin
Why does that shiny “30-inch” sink you just unboxed look suspiciously petite in the basin? I’ve been there, friends, measuring tape in hand, muttering at my Kohler box like it’s personally wronged me. Manufacturers quote exterior dimensions while the actual basin size remains unclear. That “30-inch” stamp refers to the rim-to-rim measurement, not the bowl you’ll actually scrub dishes in. Your cabinet interior width typically shrinks to 28.5–29 inches once those ¾-inch sides eat into the space. So that 30-inch exterior versus interior dimensions game means your basin might clock in at 28 inches. Installation clearance becomes tight. Always check minimum cabinet specs against your true interior width before committing. Verify your measurements before purchase to avoid costly mistakes.
Single or Double Bowl? Space Constraints in 30-Inch Cabinets
That measurement headache you just survived gets worse when you pick the wrong bowl configuration.
Your 30-inch base gives you maybe 28.5 inches of interior clearance (those sneaky cabinet walls), so your basin width hits a hard ceiling fast. Here’s what actually works:
- A single-bowl gives you one generous basin, perfect for that oversized sheet pan you swore you’d use.
- A double-bowl splits your space, allowing you to soak dishes and rinse vegetables simultaneously.
- Always verify if that “29-inch” label means exterior or basin width. Manufacturers often obscure this distinction.
I’ve seen friends force a 29-inch single-bowl into barely-there clearance and experience installation problems. Stick to 26-28 inches for practical installation, or hunt down a true 29-inch double-bowl if you need maximum capacity.
How Sink Depth Adds Space Without a Wider Cabinet
I’ve got to tell you about my favorite trick for squeezing more out of that stubborn 30-inch cabinet. Going deep, such as 9–10 inches instead of the standard 7-inch depth, prevents your stockpot from hanging over the edge. You’re essentially building upward instead of outward, which works well because most homeowners cannot expand cabinet width without significant remodeling.
That extra depth requires serious structural reinforcement. Products like Kohler’s Vault series demand reinforced cabinet bases and precise undermount clips. Without proper support, you’ll develop countertop stress cracks.
Maximizing Vertical Space
How do we squeeze more washing room out of a cabinet that stubbornly refuses to grow sideways? We go deep.
I learned this the hard way when I crammed a stock sink into my first kitchen reno and watched pots teeter on the rim like circus performers. A deep sink changes everything, pushing 9–10 inches down instead of demanding precious cabinet interior width we simply don’t have.
What works:
- Undermount installs steal back every millimeter of vertical clearance, eliminating the lip that would consume workspace.
- That 28.5-inch cabinet interior width means working with 0.25-inch margins; this is achievable.
- Setting the bowl atop cabinet walls first (the “build-up” trick) buys even more depth, though your countertop thickness will be affected.
Vertical space is the most effective solution in narrow kitchen layouts.
Structural Support Needs
To go deeper solves the width problem, but now you’re asking that cabinet to bear more weight than it was ever designed for, like trusting a folding chair with your great-aunt’s porcelain collection. Sink depth demands serious cabinet support.
That interior clearance of barely 28-1/2 inches means every fraction counts. You’ll need horizontal blocking under the flange. Skip this, and you’ll watch your cabinet flex like a gymnast.
Mounting hardware becomes essential here. Proper clip access isn’t optional, it’s necessary. Some pros set the sink atop cabinet walls before countertops (Kohler’s vault sinks love this trick), but uneven surfaces create installation problems.
Get that extra depth, nail the weight distribution, and your 30-inch base will function properly under all conditions, including heavy use.
Leave Room for Future Repairs in Tight 30-Inch Installations
Why do we squeeze sinks into 30-inch cabinets like we’re stuffing a sleeping bag into its sack? (Spoiler: I’ve done both badly, and neither ends well.) You’re standing there in your kitchen, measuring tape in hand, and that 29-inch sink is calling your name, tempting, right?
Tight fits create problems when the garbage disposal leaks at 10 PM. Cabinet clearance isn’t negotiable; it’s survival.
Here’s what actually matters for installation space and future repairs:
- Leave that 0.25-inch margin per side (I know, it feels criminal) so you’re not wrestling pipes like an alligator
- Add horizontal blocking under the flange. My buddy Mike’s quartz cracked when he skipped this, and I still have the photo
- Remember that 1-inch clip clearance eats your interior space, so measure twice, cry never
That “29-inch” label sometimes refers to the flange, not the basin. Ask me how I discovered that. Skilled fabrication costs more upfront, but you’ll avoid the need to dismantle your entire kitchen for one stubborn clip when repairs become necessary. Future repairs require accessible space and proper clearance to prevent costly damage and installation complications.






