
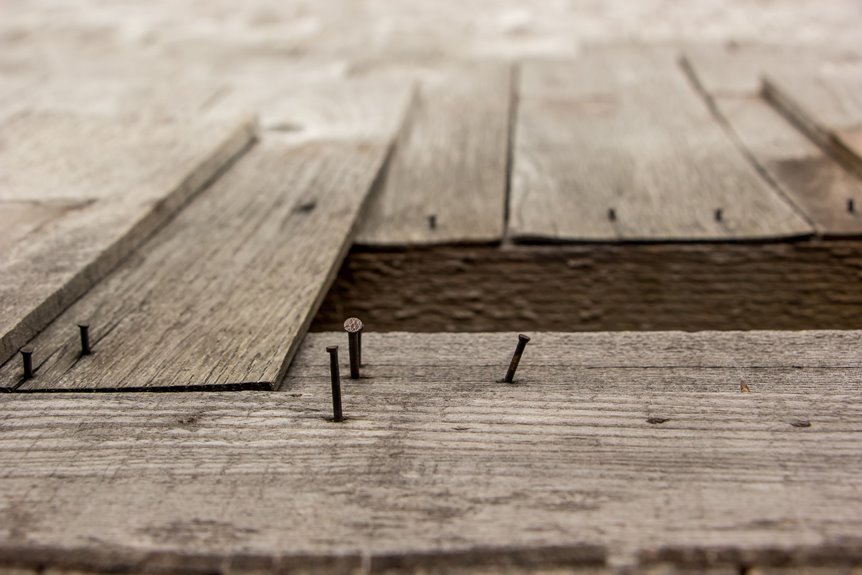
Floors creak because wood moves constantly. The usual suspects include boards rubbing against each other, seasonal expansion and contraction from humidity swings, and fasteners that have failed, such as nails that missed joists entirely or screws backing out after years of use. Wide-plank oak is especially prone to creaking; it flexes more, creating micro-gaps where fasteners once held tight.
A hallway that sounds like a haunted house every October may simply be a characteristic quirk, or it could signal a structural issue if sagging spots or gaps appear large enough to slide a quarter through.
Solutions range from simple fixes like powdering graphite between boards or driving screws from below, to consulting a professional if the structural integrity is questionable. Engineered flooring would have prevented many of these problems, though older homes often carry this creaking as part of their existing character.
What Makes Floors Squeak (and When to Worry)
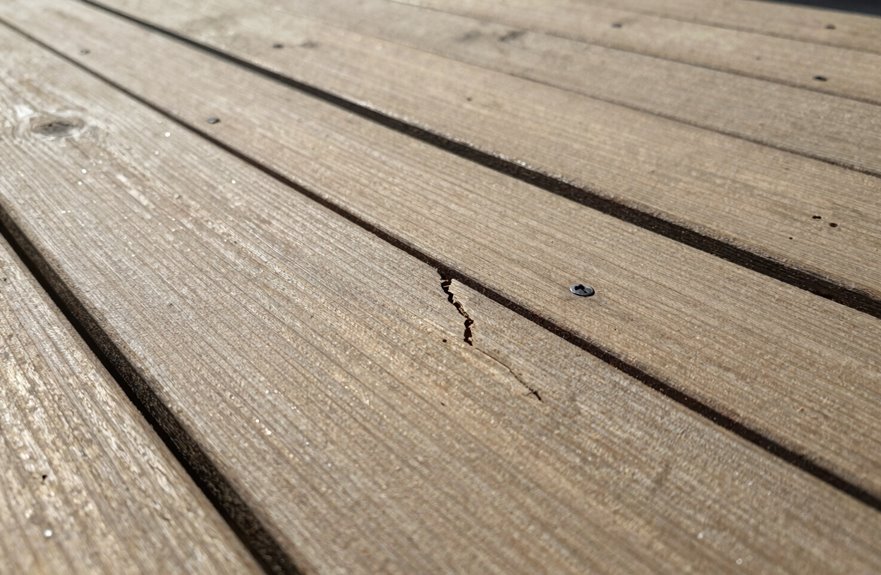
Why do our floors insist on announcing every single step we take? I’ve wrestled with this in my own 1920s bungalow, where every midnight snack becomes a theatrical event, and I’ve learned the mechanics behind it.
Squeaks occur when floorboards rub against each other or the subfloor beneath. It’s friction, pure and simple. Temperature swings and humidity changes make wood expand and contract, creating gaps that protest underfoot. Loose nails, wobbly screws, or weakened subflooring let boards shift with every step.
Wood’s endless war with humidity—expanding, contracting, leaving gaps that shriek under every careless footfall.
Solid hardwood squeaks more than engineered options. I’ve watched my oak planks perform seasonal concerts while my neighbor’s laminate stays whisper-quiet.
Pay attention to visible gaps between boards, sagging sections that feel like trampolines, or widespread creaking across multiple rooms. Those signal deeper structural movement, possibly joist issues, that requires professional inspection.
Quick Fixes for Squeaky Floors From Above
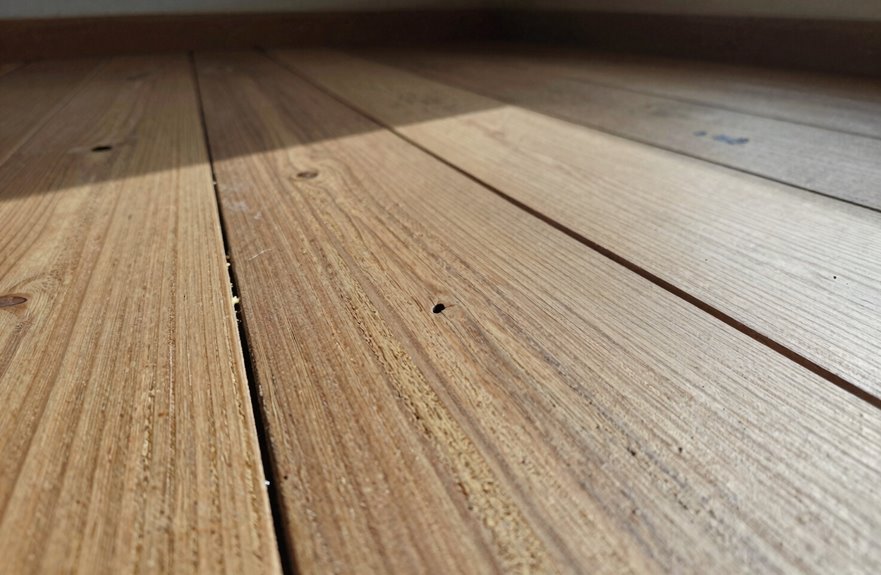
I’m so excited to share these game-changers with you because nobody wants to sound like they’re walking through a haunted house every time they grab midnight snacks. We’ll kick things off with powdered lubricants, which function as a quieter alternative to WD-40. You can sprinkle them between boards to reduce friction without damaging hardwood floors like I once did in my 1920s bungalow. Then we’ll look at squeak repair kits, those effective packages from brands like Squeeeeek No More that come with snap-off screws and special jigs, and finish with surface screw tightening, where you’ll drive finish screws through carpet or hardwood right into joists for immediate noise reduction.
Powdered Lubricants Quick
How exactly do you silence a squeaky floor without tearing up your gorgeous oak planks? I reach for powdered lubricants, graphite or talcum powder, which work effectively for this purpose.
I sprinkle the powder right along the seam where two boards rub together, that annoying friction point driving me crazy at 2 AM. Then I sweep or vacuum gently, working it deep into the gap. My first attempt was embarrassingly messy, but I learned from that experience.
This trick works beautifully for narrow gaps and light squeaks, but it won’t fix loose boards or structural problems. I reapply every few months, especially after deep cleaning or humid days when friction returns.
Skip oil-based stuff indoors though. Oil attracts dust like my cat attracts judgment.
Squeak Repair Kits
Where exactly do you turn when powdered graphite isn’t cutting it anymore. I’ve been there, standing in my hallway at 2 AM, wincing with every step. That’s when I grabbed a squeak repair kit. It works like a friendship bracelet for your squeaky floors, connecting you with people who sleep through the night.
These kits let you work from above, so no creepy basement required. You tighten boards to joists with clever fasteners or shims. Mine came with a small syringe of powder, like a tiny doctor’s kit for hardwood, and screws that break off below the surface, invisible as that stain you swear no one notices. They’re perfect for accessible spots, though my whole subfloor situation eventually needed professional backup. Taking incremental steps toward a complete solution makes sense.
Surface Screw Tightening
Why settle for temporary relief when you can actually fix that floor yourself? Surface-screw tightening lets us tackle those loose boards right from above, no demolition required.
I grab my drill, feeling like a total DIY rockstar, even if I barely passed woodshop. We’re targeting boards that shimmy against joists, re-securing them so they stop that awful rubbing. Pilot holes first; nobody wants split oak. I space screws along edges and supports, watching that board suck tight against the subfloor. It’s deeply satisfying, like popping bubble wrap but more grown-up.
| Tool | Purpose | Pro Tip |
|---|---|---|
| Drill/driver | Drive screws flush | Don’t overtighten! |
| Counter-sink bit | Hide screw heads | Fill with matching putty |
| Stud finder | Locate joists accurately | Mark with painter’s tape |
This method won’t fix underlayment issues or joist problems. Afterward, I check neighboring boards and keep humidity steady. Consistent moisture levels prevent future shifting, and secured boards eliminate the noise that interrupts sleep.
Fixing Squeaks From Underneath (Basement or Crawlspace)
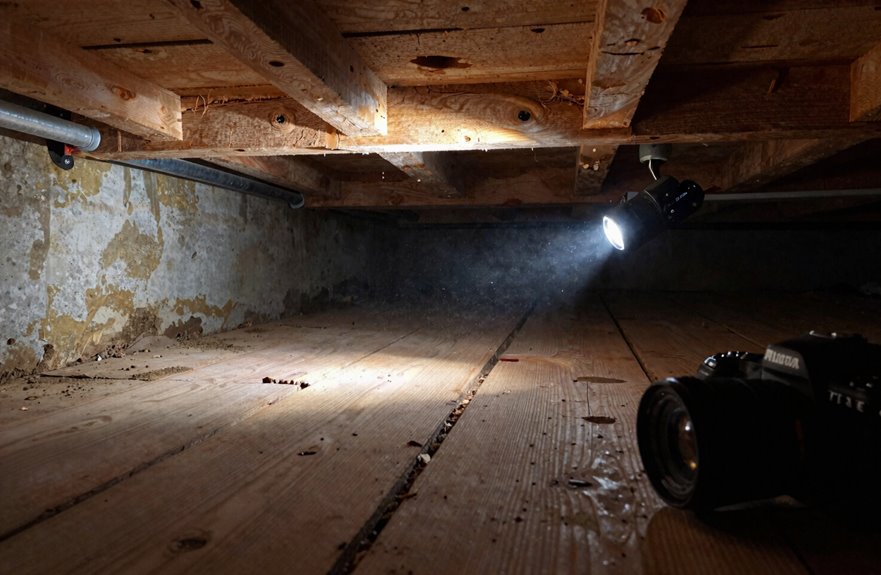
You’ve got the upper hand from below. Grab your subflooring screws and trace those squeak lines like a treasure map. Have someone walk above while you watch so you can pinpoint the problem together. Drive screws through the subfloor into joists, feeling that satisfying grab when everything tightens. No more rubbing, no more noise.
Sometimes add blocking between joists too; just chunky little bridges that stop the flex. When you spot gaps, construction adhesive works effectively. Level uneven spots with shims, because once that subfloor sits properly, the whole floor stays quiet. A secure subfloor eliminates floor squeaks.
How Humidity and Seasonal Changes Trigger Squeaks
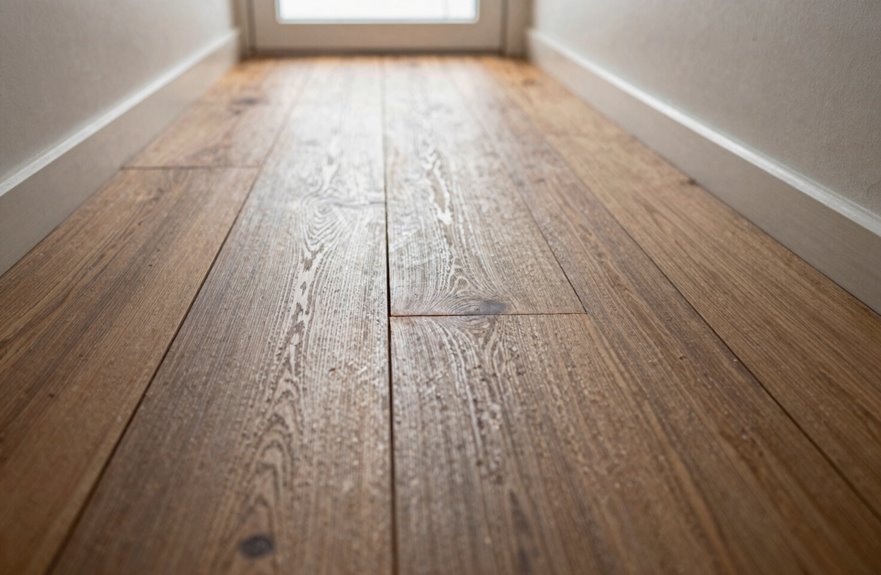
All the screws and blocking in the world won’t matter if your floorboards are basically doing yoga behind your back. I learned this the hard way in my own bungalow; humidity is the sneaky culprit we never invite to the party.
When summer hits, wood swells like I’ve just discovered sourdough. That expansion cranks up pressure between boards and the subfloor, and suddenly every step sounds like a haunted house. Come winter, the poor things shrink back, leaving gaps that rub and squeak with each footfall.
Living somewhere with wild swings, hello Colorado friends, means your floors are practically doing seasonal CrossFit. Those humidity-driven gaps open and close like my commitment to morning runs, creating friction that turns your hallway into a percussion section.
Why Wood Floors Squeak More Than Other Materials
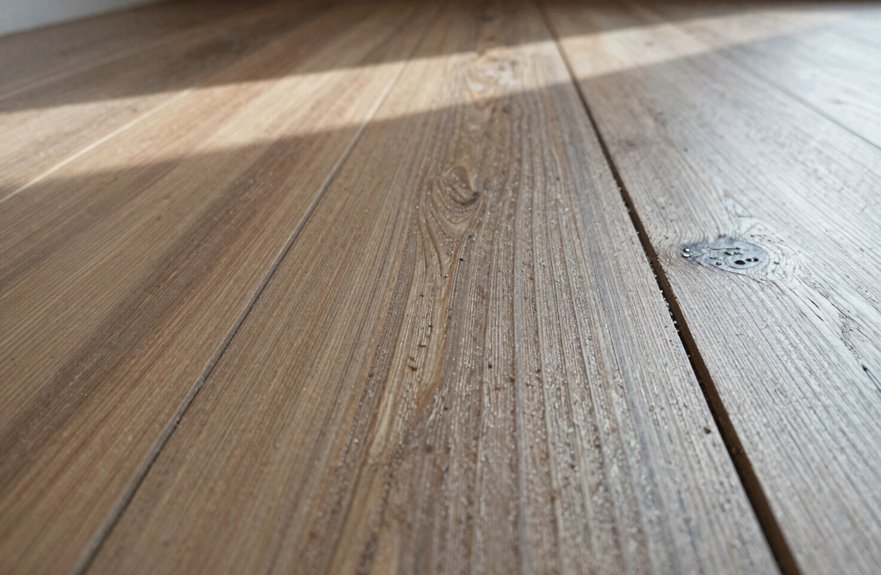
Walking into my living room after installing oak hardwood, I swore I’d made a terrible mistake. Every step announced my arrival like a squeaky herald trumpet. I’d chosen solid hardwood flooring over engineered options, and boy, was I learning why that matters.
Wood is a living material. It breathes, swells, and shrinks, especially solid planks, which move far more than engineered or laminate when humidity swings hit. My wide-plank oak had massive surface area rubbing against fasteners and subfloor with every season change. Winter dried it into a squeaky skeleton; summer plumped it back up.
Engineered wood stays stabler due to its layered construction, which resists dimensional changes. But I wanted that authentic, chunky farmhouse aesthetic that Joanna Gaines would approve of, and I paid the acoustic price for it. Hardwood flooring requires accepting its acoustic trade-offs as part of the aesthetic choice.
How Loose Nails and Screws Create Gaps
I’ve learned the hard way that nails don’t stay secure forever. Mine started loosening after just a few seasons of our old farmhouse expanding and contracting with seasonal changes. You’ll notice the telltale signs when your floorboards start rubbing together with that nails-on-chalkboard squeak every time you walk across them at night. Screws backing out present another problem; I once watched a perfectly good oak board slowly lift as if trying to escape, all because the metal couldn’t handle wood’s dimensional changes between humid summers and dry winters.
Nail Loosening Over Time
Because I’ve spent many weekends crawling around my own house with a flashlight and a growing sense of existential dread, loose nails represent a common homeownership problem.
Here’s what happens: nails loosening occurs as wood expands and contracts through seasonal humidity swings, which pushes those fasteners outward bit by bit. When installers drive nails too shallowly (we’ve all seen those mystery floorboards that just feel hollow), the clamping force weakens and boards start moving against the subfloor. Oak planks can create micro-gaps where nails once held tight. Each step triggers that familiar groan because nail-loosened boards rub against fasteners or neighboring planks, creating friction.
The fix involves re-driving with long screws anchored directly into joists. This solution eliminates the problem of wood movement causing fastener displacement and prevents the noise and safety issues associated with loose flooring.
Screw Back-Out Issues
Few things make me want to dramatically collapse onto my living room rug quite like the slow, theatrical squeak of a floorboard announcing my midnight snack run to the entire household. I’m talking about you, nails back-out.
Here’s what happens: those fasteners work themselves loose from joists over years of use and my questionable dance moves, leaving gaps where boards rub against subfloor. It’s like a tiny violin nobody asked for. Inadequate fastening or misdriven screws make it worse. I’ve seen it in my own 1920s bungalow, where half the nails missed joists entirely.
Temperature swings and humidity changes expand those gaps further. The fix involves re-securing with proper pilot holes and screws near joists. This eliminates the squeaking that would otherwise alert your household to late-night kitchen trips.
Why Wide Joist Spacing Causes Floor Movement
Why do some floors feel like you’re walking across a suspension bridge built by a weekend warrior with a new nail gun. I ask myself this every time I tiptoe across my aunt’s 1970s ranch in Ohio, praying the living room doesn’t announce my midnight snack runs. Wide joist spacing is the culprit here, and I’ve seen it turn perfectly good oak into a percussion instrument nobody asked for.
When joist spacing stretches beyond 16 inches, my aunt’s hits 24 because 1970s builders apparently didn’t prioritize stability, the subfloor loses its backbone. I’ve watched that plywood bow between joists like a sad hammock, pushing and pulling boards until they squeak out their complaints. Without blocking, those joists wobble independently. Each footstep becomes a symphony of friction. Seasonal humidity swings make it worse, amplifying every creak.
Why Your Subfloor Separates From Joists
Wide joist spacing might get the party started, but loose subfloors are the real culprits causing floor noise issues. Nails loosen over decades of foot traffic, letting the subfloor flex and rub against joists like a squeaky cell door in an old movie.
Inadequate fastening at panel edges creates gaps you can feel under bare feet. Water damage can warp OSB panels after leaks, such as from a dishwasher, and suddenly the floor begins to squeak and move. Missed glue beads and incorrect fastening patterns both invite subfloor separation.
Subfloor separation results from a combination of loose fasteners, inadequate edge fastening, water damage, and installation errors that compound over time.
How Poor Installation Leads to Early Squeaks
I’ve seen freshly installed floors start squeaking within months because nine times out of ten, it’s completely preventable. Fastener placement errors, like missing joists with a nail gun, leave boards unsecured and wobbling. Subfloor attachment failures let the whole surface pull away from its framing over time. These aren’t mysterious gremlins; they’re visible, fixable blunders I’ve photographed in dozens of homes, often right beside beautiful Pergo installations that deserved better execution.
Fastener Placement Errors
How many times have you walked across a gorgeous vintage oak floor, heard that telltale groan, and thought that’s character? I’ve been there too. That “character” often results from fastener placement errors made during installation.
When nails or screws miss joists entirely, or barely bite the surface, your boards become loose, wiggling with every step. Gorgeous installations have been ruined by this problem.
Here’s what actually goes wrong:
- Missing the mark – fasteners that don’t hit joists leave boards floating like a bad IKEA memory
- Wrong hardware – nailing when you should screw lets everything loosen over time
- Rushed edges – transitions and stairs skimped on fastening become squeak central
That “vintage charm” is often just a shortcut from installation day creating problems later on.
Subfloor Attachment Failures
Where exactly does that squeak start when your floor betrays you at 2 AM? It’s almost always subfloor attachment failures.
When your subfloor isn’t secured tightly to those joists (think of it like a weak handshake), the plywood starts moving. Nail guns can miss joists entirely, leaving fasteners loose and unsupported. Then every step becomes a tiny earthquake.
Inadequate screws, skipped glue, boards pulling away. These are common mistakes. The gaps vibrate and squeak. But proper subfloor attachment—glue plus screws with full joist contact—keeps everything locked firmly in place. No movement means no squeaking.
When Squeaks Signal a Structural Problem
Why do some squeaks make me drop my coffee and sprint for the flashlight? Because not every creak in our beloved wood floors is just character. Sometimes it signals a real structural problem.
Not every creak is just character. Sometimes it signals a real structural problem.
Here’s when to take action:
- Gap alert. Visible spaces between boards or sagging spots mean your subfloor is separating from its joists. Moisture is usually the culprit.
- The whole-house symphony of squeaks spreading room-to-room indicates settling or joist weakness. This points to foundation-level issues, not minor quirks.
- Basement detective work that reveals loose connections between subfloor and joists from below signals structural integrity concerns, not cosmetic problems.
If those squeaks intensify with humidity swings, that indicates legitimate structural movement from expansion cycles rather than poor installation. Homes naturally respond to moisture and temperature changes, but excessive movement warrants professional evaluation.
Signs Your Floor Needs Professional Repair
Persistent squeaks spreading across multiple rooms indicate serious floor damage. Visible gaps, loose subflooring, or boards that rattle despite tightening suggest hidden damage beneath the surface. Floor joists that are bowing, cracking, or showing moisture damage, such as the deterioration found beneath older home kitchens, indicate structural trouble that requires professional repair. Checking from below by inspecting warped plywood or missing nails will confirm whether professional intervention is necessary.
How to Prevent Floor Squeaks Before They Start
How do we stop floors from sounding like a haunted house before they even start. It’s all about outsmarting that sneaky wood movement we talked about.
Here’s my battle plan, learned through experience:
- Acclimate everything first — I leave subfloor and flooring in the room for days, letting them adjust to the humidity before installation. This prevents surprise shrinkage later.
- Build in that expansion gap — I always leave about 1/8 inch at edges and ends. Wood swells in summer, and that gap provides necessary space. Skip this, and you’ll hear every seasonal complaint.
- Screw and glue like you mean it — I drive screws deep into joists (nails don’t provide adequate hold) and lay continuous adhesive. This creates solid, silent floors with no rubbing or squeaking.
Choosing Squeak-Resistant Flooring Materials
So where do we begin when facing the flooring aisle. I’ve been there, overwhelmed by samples. For hardwood floors that won’t squeak at 2 AM, engineered options work well because they’re more moisture-resistant than solid planks, so they don’t expand and contract as dramatically. Avoid wide-plank trends, as they squeak more with all that surface area flexing. Leave 1/8-inch expansion gaps at edges, acclimate everything to room conditions first, and fasten with screws, not nails. This approach eliminates the squeaking that disrupts nighttime trips to the kitchen.






